 blog
10 Best Youth Hockey Ice Awareness Drills
Table of Contents
- Why Ice Awareness Drills Matter for Youth Hockey
- Hockey Scanning Drills: Building Visual Recognition
- Hockey Decision-Making Drills: From Awareness to Action
- U10 Hockey Drills: Age-Appropriate Progressions
- Building a Youth Hockey Practice Plan Around Awareness
- Common Mistakes and How to Fix Them
- Making Awareness Drills Stick Off the Ice
- Frequently Asked Questions
Last Updated: October 9, 2026
Why Ice Awareness Drills Matter for Youth Hockey
Ice awareness is the foundation of smart hockey. Young players who understand where to look and what to do with the puck stop chasing it around the rink.
Awareness drills are a fast way to improve positioning without overwhelming young athletes.
Most youth coaches focus on skating speed and shooting accuracy. Both matter. But a fast skater who doesn't know where to go wastes all that speed.
Here's what we'll cover in this guide:
- The 10 best youth hockey ice awareness drills organized by skill level and game situation
- How to set up each drill and what coaching cues actually work
- Age-appropriate progressions so you can scale difficulty as your team improves
- Common mistakes that waste practice time and how to fix them
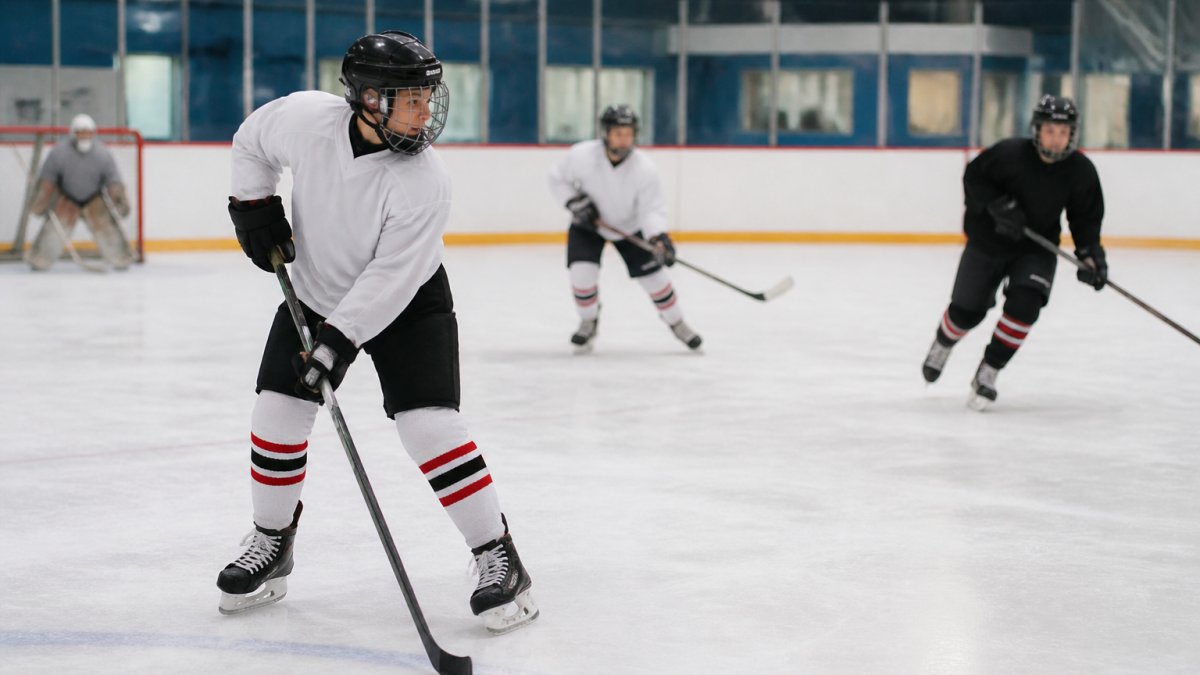
Hockey Scanning Drills: Building Visual Recognition
Scanning means looking around the ice while controlling the puck. Most young players keep their head down. They focus on the puck and miss everything else.
Scanning drills teach players to lift their eyes and process information faster. These drills work for U8 through U12 because the skill translates directly to game situations.
Drill 1: Head-Up Passing Lanes
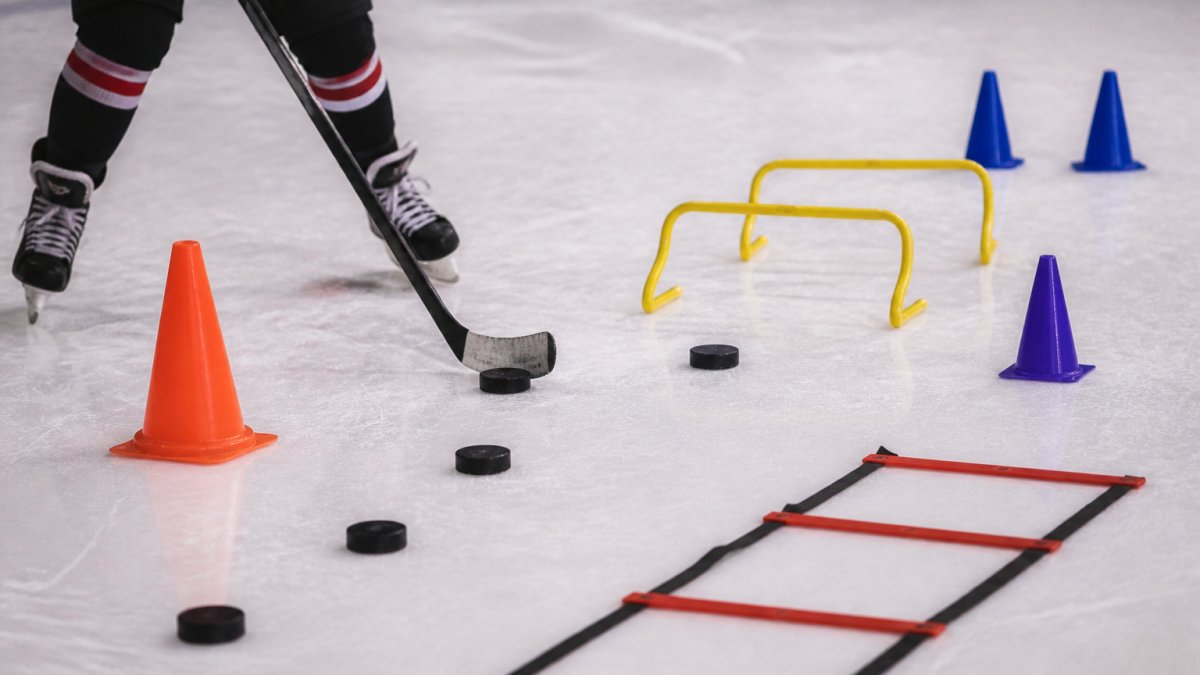
Setup: Place five cones in a loose line across the ice. One player starts with the puck at one end. Three teammates stand at different spots along the cones.
How to run it: The player with the puck skates forward while calling out the position of each teammate. "One at the left, two in the middle, three at the right." Then they pass to the open player.
Coaching cues: "Eyes up before you pass. You should see the ice before you touch the puck."
What it teaches: Players learn that passing decisions happen before they receive the puck. Head position changes everything.
Age progression:
- U8-U10: Stationary teammates, slow skate
- U10-U12: Teammates move slowly, medium skate speed
- U12+: Teammates move at game speed, full-speed skate
Drill 2: Mirror and React
Setup: Pair up players. One has the puck, one is the defender. Mark a small area about 20 feet by 20 feet.
How to run it: The player with the puck skates in random directions. The defender mirrors their movement without making contact.
Coaching cues: "Watch their shoulders, not the puck. Their body tells you where they're going."
What it teaches: Defenders learn to read body language instead of chasing the puck. Offensive players understand how their movement communicates intent.
Common mistake: Young players stare at the puck. Stop them and say, "Look at the chest and shoulders."
Drill 3: Wall Scanning with Movement
Setup: Players line up along the boards with the puck. Teammates stand in the middle of the ice at different distances.
How to run it: Players skate along the wall while passing to teammates in the middle. Each pass requires them to look away from the puck, find a teammate, and execute the pass without stopping.
Coaching cues: "Pass and move. Don't wait for the return pass. Be ready for the next play."
What it teaches: Scanning happens during movement, not standing still. Players learn to process the ice while their feet are moving.
Age progression:
- U8-U10: One pass per turn
- U10-U12: Two passes, then rotate
- U12+: Continuous movement with three or more passes
Hockey Decision-Making Drills: From Awareness to Action
Awareness without decision-making is incomplete. A player who sees the ice but doesn't know what to do with that information still makes poor choices.
Decision-making drills combine scanning with the pressure of making a choice quickly. These drills simulate game speed and game situations.
Drill 4: One-on-One Reaction
Setup: One attacker with the puck faces one defender. They start 30 feet apart.
How to run it: The attacker skates toward the defender and must decide: shoot, pass, or deke. The defender reacts to that choice. Play ends when the defender gets the puck or the attacker scores.
Coaching cues: "Make a decision before you get close. Don't wait until the defender is on top of you."
What it teaches: Players learn that early decisions are better decisions. Waiting creates pressure and limits options.
Why it matters: One-on-one situations happen constantly in games. Players who decide early create space for themselves.
Drill 5: Two-on-Two Battle
Setup: Two attackers with the puck face two defenders in a small area (about 40 feet by 40 feet).
How to run it: Attackers try to score. Defenders try to win the puck. Play for 30 seconds, then rotate.
Coaching cues: "Look for support. Don't try to beat both defenders alone."
What it teaches: Players learn to use teammates as options. Support creates space and improves chances.
Common mistake: Young players try to deke through two defenders. Stop the drill and reset. "Pass to your teammate. Two players are better than one."
Drill 6: Three-on-Two Transition
Setup: Three attackers start at the blue line with the puck. Two defenders start at the red line.
How to run it: Attackers move downhill and make a decision: shoot, pass, or continue. Defenders backcheck and try to stop them.
Coaching cues: "Use your speed. Get to the net before the defenders catch up."
What it teaches: Transition situations require speed and quick decisions. Players learn that numbers advantage only works if they use it fast.
Why it matters: Three-on-two is one of the most common game situations. Teams that execute this drill well score more goals.
U10 Hockey Drills: Age-Appropriate Progressions
U10 players are developing hand-eye coordination and basic game awareness. They understand simple concepts but struggle with multi-step decisions.
These drills are designed for that skill level. They teach awareness without overwhelming young players.
Drill 7: Half-Ice Regroup and Support
Setup: Divide the ice in half. Five players on each side. One team starts with the puck behind their goal line.
How to run it: The team with the puck moves it up the ice and passes to a teammate. The receiving player then passes back or continues forward. Teams play until someone scores or the puck goes out of bounds.
Coaching cues: "Pass to the open player. If nobody is open, skate forward and create space."
What it teaches: Support means being in a position to help. Players learn that passing creates better scoring chances than shooting from bad angles.
Age progression:
- U8: Simple pass and shoot
- U10: Pass, receive, pass again
- U12: Continuous movement with multiple passes
Drill 8: Small-Area Puck Protection
Setup: Create a small box about 20 feet by 20 feet. Two players inside with the puck. Two defenders outside trying to win it.
How to run it: Players with the puck keep it away from defenders for 30 seconds. Count how many times they successfully protect it.
Coaching cues: "Use your body to shield the puck. Feel where the defender is."
What it teaches: Puck protection is a skill, not just strength. Young players learn to use positioning and body awareness to keep the puck.
Why it matters: Players who can protect the puck make better decisions because they have more time.
Building a Youth Hockey Practice Plan Around Awareness
A good practice plan balances awareness drills with skating, shooting, and game-speed play. Most teams spend 15-20 minutes on awareness work.
Here's how to structure it:
Warm-up (5 minutes): Skating and light passing to get players moving.
Awareness focus (10-15 minutes): One or two drills from the list above. Spend time on setup and coaching cues.
Transition play (5-10 minutes): Three-on-two or two-on-one situations to apply awareness in game-like speed.
Game-speed scrimmage (10 minutes): Let players play with minimal coaching. Observe and note areas for next practice.
Cool-down (5 minutes): Light skating and stretching.
This structure works for U8 through U12. Adjust drill difficulty and speed based on your team's level.
Drill 9: Backchecking and Coverage
Setup: One attacker starts with the puck at the blue line. One defender starts at the goal line.
How to run it: The attacker skates toward the net. The defender plays them tight. The three players at the red line backcheck and help the defender.
Coaching cues: "Get back fast. Don't let them get a clean shot."
What it teaches: Backchecking is about speed and positioning. Players learn that getting back quickly is more important than where they were.
Why it matters: Teams that backcheck well give up fewer scoring chances. This drill teaches that habit.
Drill 10: High-Tempo Full-Ice Race
Setup: Players line up at the goal line. They race to the opposite goal line, touch it, and return. The coach watches for effort and form.
How to run it: Players race at full speed. Time them or just watch for maximum effort. Repeat three to five times with short rest.
Coaching cues: "Legs moving the whole time. Don't coast."
What it teaches: Conditioning and work ethic. Players learn that awareness only works if they have the legs to execute it.
Why it matters: Tired players make poor decisions (Mental Fatigue and Sports Performance of Athletes). This drill builds the conditioning that supports smart play.
Common Mistakes and How to Fix Them
Mistake 1: Running drills without coaching cues. Young players don't automatically understand what a drill teaches. Stop the drill and explain the point.
Mistake 2: Letting players go through the motions. If players aren't focused, the drill doesn't work. Watch for head position, effort, and decision-making.
Mistake 3: Skipping the progression. A drill that's too easy wastes time. A drill that's too hard frustrates players.
Mistake 4: Not connecting drills to game situations. Young players need to see why a drill matters.
Mistake 5: Spending too long on one drill. Attention spans are short at U8 and U10. Move between drills every 10-15 minutes.
Making Awareness Drills Stick Off the Ice
Drills are only half the solution.
Here's how to reinforce awareness between practices:
Watch games together. Point out players who scan the ice. "See how she looked around before she passed? That's what we work on in practice."
Use video. Record your team playing. Show clips of good awareness and poor awareness.
Practice at home. Ask players to practice passing against a wall while moving.
Talk about positioning. Before games, remind players where to be.
Make it fun. Players who enjoy drills practice harder. Use games, competition, and variety to keep them engaged.
Tools like Hockey Positioning™ help players visualize where they should be on the ice.
Ice awareness is a skill that separates good youth hockey players from great ones.
The teams that master awareness don't just skate faster or shoot harder. They play smarter.
Frequently Asked Questions
What is ice awareness in hockey?
Ice awareness is a player's ability to read the game, knowing where teammates and opponents are positioned, anticipating play development, and making decisions without looking at the puck. It combines scanning (looking around), decision-making (choosing the right play), and positioning (being in the right place). Young players who develop strong awareness stop chasing the puck and start playing with purpose, which is the foundation of effective youth hockey.
How can young hockey players improve their awareness on the ice?
Dedicated practice drills that isolate awareness skills build this ability. Scanning drills teach players to look before receiving a pass. Decision-making drills force quick choices under pressure. Small-area games develop spatial awareness in confined spaces. Repetition of these drills trains the brain to process information automatically. Tools like interactive visual learning apps, where players see positioning outcomes instantly, reinforce these patterns.
What are good U10 hockey drills for puck control and awareness?
U10 players benefit from half-ice games that combine puck control with decision-making in a smaller space. Small-area drills (like three-on-three in a quarter of the ice) force frequent touches and quick choices. Battle drills teach puck protection while staying aware of opponent pressure. Regroup drills on half ice build passing accuracy and support positioning. These age-appropriate drills develop puck handling skills while training players to look up and make decisions, not just move the puck mechanically.
How often should youth players practice hockey awareness drills?
Awareness drills should be part of every practice session, ideally 10-15 minutes of focused work per practice. Consistency builds automaticity; players who drill awareness skills weekly can improve in decision-making speed and positioning. Mixing scanning drills, decision-making games, and small-area play throughout the season keeps awareness sharp and prevents the common mistake of only drilling skating and shooting while neglecting the mental side of the game.