 blog
Hockey Drills: A 2026 Guide for Coaches and Players
Table of Contents
- Why Hockey Drills Matter for Player Development
- Hockey Drills for Beginners: Building the Foundation
- Hockey Puck Control Drills: Mastering Stick Skills
- Hockey Skating Drills: Speed, Agility, and Edge Work
- Small-Area Games and One-on-One Drills
- Hockey Practice Plans: Structuring Your Sessions
- Game-Situation Drills: Transition, Offense, and Defense
- Turning Drills into Real On-Ice Improvement
- Frequently Asked Questions
Last Updated: October 14, 2026
Why Hockey Drills Matter for Player Development
Hockey drills are the foundation of every player's growth on the ice; without structured practice, players develop hard-to-break bad habits.
The difference between chasing the puck and anticipating the play is deliberate practice: drills teach positioning, timing, and decision-making, building muscle memory so players react without thinking.
This guide covers hockey drills by skill level and game situation, plus how to build practice plans that stick.
Hockey Drills for Beginners: Building the Foundation
New players need simple, repetitive drills that build core skills one at a time.
Basic Passing and Receiving Drills
Passing is the first skill young players master, teaching them to keep their head up and anticipate teammates.
The Stationary Pass Drill works for players aged 5-8. Pairs stand about 10 feet apart, passing back and forth and focusing on hitting their partner's stick while the coach corrects hand position.
The Give-and-Go Drill teaches passing and moving: Player A passes to Player B, moves to open ice, receives the return pass, and shoots.
Fundamental Skating and Movement Drills
Skating is the engine that powers everything else; efficient movers have time to make good decisions.
Forward and Backward Skating builds the foundation: players skate to the blue line and back while the coach watches stride and balance.
Crossover Drills teach quick direction changes: players skate in circles, crossing one foot over the other to build edge control and agility.
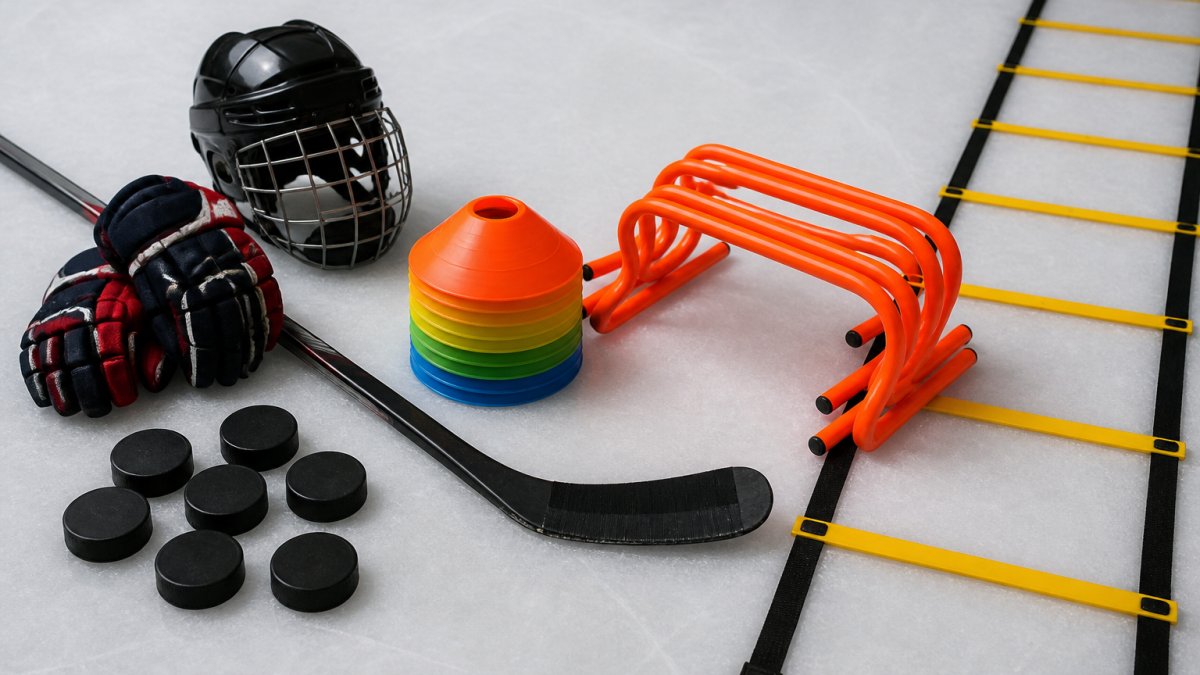
The Cone Weave teaches tight turns: place cones in a line and have players skate around each one.
Hockey Puck Control Drills: Mastering Stick Skills
Stick skills separate confident players from hesitant ones.
Dribbling and Stick-Handling Progression
Stick handling starts with basic control and builds to game-speed moves.
Stationary Stick Handling is the first step: players stand still and move the puck side to side with their wrists, keeping it close.
The Figure-Eight Drill combines skating and stick handling: players skate a figure-eight while handling the puck.
Obstacle Course Stick Handling uses cones in a weaving pattern; players skate through while keeping the puck on their stick, building game-speed control.
Shooting and Scoring Drills
Shooting drills build confidence and accuracy.
One-Timer Drills teach shooting without stopping the puck: a partner passes and the shooter shoots immediately, mirroring games. Run 10 minutes; players aged 9+ benefit most.
Snap Shot Practice focuses on accuracy: players shoot at a target area and count successful shots, creating friendly competition.
Scoring from Different Angles teaches where goals come from: set up positions around the goal and have players shoot from each spot to learn high-percentage scoring areas.
Hockey Skating Drills: Speed, Agility, and Edge Work
Speed and agility separate good players from great ones.
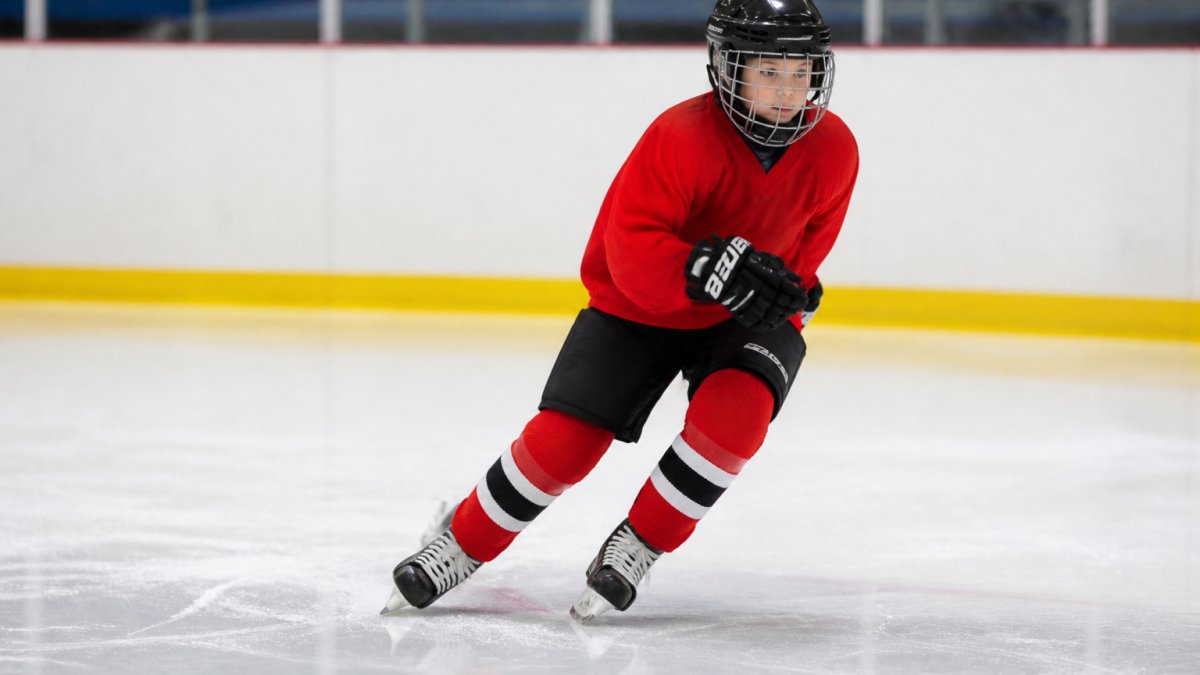
Acceleration Drills build speed quickly: players sprint goal line to blue line, focusing on powerful first steps.
Edge Work Transitions teach weight shifts and direction changes: players skate forward, transition to backward, and turn on their edges.
The Ladder Drill uses cones in a ladder pattern; players skate through with quick, short steps to improve foot speed.
High-Tempo Skating combines speed with direction changes: players skate the full ice, turning on whistle blasts that the coach increases in frequency.
Small-Area Games and One-on-One Drills
Small-area games teach players to think and react under pressure.
One-on-One Battles put one attacker against one defender in a small zone, attacker trying to score and defender trying to stop them.
Two-on-Two Games add complexity: two attackers against two defenders, teaching spacing and teamwork.
Two-on-Three Scenarios simulate being outnumbered: two attackers face three defenders, teaching decision-making under pressure. Run 5 minutes; advanced players develop poise here.
Hockey Practice Plans: Structuring Your Sessions
A good practice plan balances skill work with game-situation drills. Structure matters more than duration.
Building a Complete Practice from Individual Drills
A strong practice has four parts: warm-up, skill block, game-situation block, and cool-down.
| Time | Block | Drill | Setup | Coaching Cues |
|---|---|---|---|---|
| 0-8 min | Warm-up | Forward and Backward Skating + Crossover Drills | Full ice, no pucks | Long strides, knees bent, head up |
| 8-20 min | Skill block | Stationary Pass Drill → Give-and-Go Drill | Pairs, 10 ft apart; then groups of 3 | Hit the stick, move after passing |
| 20-32 min | Skill block | Figure-Eight Stick Handling + Cone Weave | Cones in line, one puck per player | Keep puck close, use wrists, tight turns |
| 32-45 min | Game situation | Two-on-Two Games (small area) | Half ice, two nets or one net + cones | Support the puck, communicate, gap control |
| 45-55 min | Game situation | Breakout to Two-on-Two | Full ice, 3 forwards + 2 D | Quick up, support, attack with speed |
| 55-60 min | Cool-down | Light skating + stretching | Full ice | Breathe, loosen up, review one key takeaway |
Warm-Up (5-10 minutes): Skating drills, forward and backward skating, crossovers, light stick handling.
Skill Work (15-20 minutes): One or two skills, passing or shooting, not both.
Game Situations (10-15 minutes): Small-area games or transition drills that tie skills together.
Cool-Down (5 minutes): Light skating, stretching, and one coaching point from the session.
Adapting Drills by Age and Skill Level
Younger players need simpler drills; older players need complexity and speed.
Ages 5-7: Stationary drills and basic movement, kept short (3-5 minutes) with rest breaks.
Ages 8-10: Add movement, extend to 8-10 minutes, introduce small-area games, and teach positioning basics.
Ages 11-13: Game-speed drills for 10-15 minutes plus tactical elements like breakouts and entries.
Beginners (any age): Start with isolated, stationary skills before adding movement.
Equipment, Player Count, and Rink-Space Requirements
One of the biggest practical gaps in most drill lists is not knowing what you need before you step on the ice. Use this quick-reference table to choose drills that fit your roster and facility.
| Drill | Min. Players | Equipment | Space | Time |
|---|---|---|---|---|
| Stationary Pass | 2 | 1 puck per pair | Small area | 3-5 min |
| Give-and-Go | 3 | 1 puck per group | Half ice | 10 min |
| Forward/Backward Skating | 1+ | None | Full ice | 5 min |
| Crossover Drills | 1+ | None | Full ice | 3-5 min |
| Cone Weave | 1+ | 5-8 cones | Half ice | 10 min |
| Stationary Stick Handling | 1+ | 1 puck per player | Off-ice or small area | 3 min |
| Figure-Eight Stick Handling | 1+ | 1 puck per player | Half ice | 5-8 min |
| Obstacle Course Stick Handling | 1+ | Cones, 1 puck per player | Half ice | 15 min |
| One-Timer Drills | 2+ | 1 puck per pair, net | Half ice | 10 min |
| Snap Shot Practice | 1+ | Pucks, net | Half ice | 8-10 min |
| Acceleration Drills | 1+ | None | Full ice | 5-6 reps |
| Edge Work Transitions | 1+ | None | Full ice | 8 min |
| Ladder Drill | 1+ | 6-10 cones | Half ice | 10 min |
| One-on-One Battles | 2+ | 1 puck, net or cones | Small area | 3-5 min |
| Two-on-Two Games | 4+ | 1 puck, net or cones | Half ice | 5-8 min |
| Simple Breakout | 3+ | 1 puck, net | Full ice | 10 min |
| Stretch Pass Breakout | 3+ | 1 puck, net | Full ice | 8-10 min |
| Entry Drills | 3+ | 1 puck, net | Full ice | 10 min |
Measurable Outcomes and Ways to Adapt Difficulty
Drills only work if you can tell whether players are improving. For each drill, define a simple success criterion and a progression/regression.
- Stationary Pass: Success = 8 out of 10 passes hit the partner's stick. Progression: add movement. Regression: shorten distance to 5 feet.
- Give-and-Go: Success = complete 3 consecutive give-and-go sequences without losing the puck. Progression: add a defender. Regression: walk through the pattern at half speed.
- Cone Weave: Success = complete the course without hitting a cone. Progression: tighten cone spacing. Regression: widen spacing and slow down.
- One-Timer: Success = 5 out of 10 shots on net. Progression: increase pass speed. Regression: use a stationary puck.
This structure works for all age groups. Adjust drill difficulty based on player age, experience, and the success criteria above. For a printable one-page practice plan template, see our USA Hockey practice plan resources.
Game-Situation Drills: Transition, Offense, and Defense
Game-situation drills teach players to execute under real conditions and develop hockey sense. Each needs clear setup, execution steps, coaching cues, and adaptations for mixed-ability groups. Below are three core drills with those details.
Breakout and Entry Drills
Breakouts start with the puck in the defensive zone. Players must move it up ice safely.
The Simple Breakout uses two defensemen and one forward. Setup: two D behind the net, one forward at the hash marks.
The Stretch Pass Breakout teaches long passes. Setup: one D in the corner, one forward at the far blue line.
Entry Drills teach moving the puck into the offensive zone.
Two-on-Two and Two-on-Three Scenarios
These drills mirror real game situations. Players learn to execute under pressure.
Two-on-Two Full Ice puts two attackers against two defenders across the full ice. Setup: two forwards at one blue line, two defenders at the other.
Two-on-Three Overload teaches attackers to work against a numbers disadvantage. Setup: two attackers, three defenders, half ice.
Breakout to Two-on-Two combines entry and small-area play. Setup: full ice, three forwards and two defensemen.
Safety and Inclusive Adaptations
Game-situation drills involve contact and high intensity. Before starting, establish clear body-contact rules.
Workload management: Keep shifts short (30-45 seconds) and rotate lines frequently, 3 lines of 4-5 players, each getting 3-4 shifts per drill.
Adaptations for physical abilities: For limited mobility, reduce space or allow extra time.
Inclusive language: Use "players" and "athletes" rather than gendered terms.
For more on safe contact and inclusive coaching, see USA Hockey's American Development Model.
Turning Drills into Real On-Ice Improvement
Watch for Common Mistakes: Players often rush through drills. Slow them down.
Keep Score When Possible: Friendly competition drives effort.
Repeat Drills Frequently: Skills develop through repetition.
Film Review Helps: Video shows what players actually did versus what they thought they did.
Progressive Difficulty: Start simple and add complexity gradually.
Hockey Positioning™ helps players understand where to be on the ice.
Frequently Asked Questions
What are the best hockey drills for beginners?
Beginners should start with fundamental drills that build confidence: basic passing and receiving with stationary targets, straight-line skating, and stick-handling in small areas. Progress to give-and-go passing, C-passes, and simple one-on-one games. Focus on repeating each drill multiple times to develop muscle memory. Age-appropriate drills for younger players (5-8) use shorter distances and lighter sticks. Older beginners (9-13) can handle more complex positioning and game scenarios. Consistency matters more than complexity, master basics before advancing to high-tempo drills.
How do you structure an ice hockey practice?
A typical 60-minute practice follows this flow: 5-10 minutes warm-up and skating, 15-20 minutes skill-focused drills (passing, puck handling, shooting), 15-20 minutes game-situation drills (breakouts, transitions, small-area games), and 10-15 minutes scrimmage or high-tempo play. Always end with a cool-down. Adjust timing based on player age and skill level. For younger players (5-8), keep drills shorter and rotate frequently to maintain engagement. Competitive players benefit from longer skill-building blocks and more game-simulation work. Practice plans should include measurable outcomes, track improvements in passing accuracy, skating speed, or positioning.
What drills improve hockey skating and puck control?
Hockey skating drills include crossovers, forward and backward transitions, agility ladder work, and high-tempo edge drills. For puck control, use stick-handling progression drills with cones, figure-eight patterns, and game-speed dribbling. Combine skating and puck control in transition drills where players move at speed while controlling the puck. Small-area games force players to improve both skills under pressure. Test progress by measuring skating times in short sprints and counting successful passes in confined spaces. Adapt difficulty by increasing cone spacing or adding defensive pressure.
Will practicing hockey drills on an interactive app actually improve my child's positioning on the ice?
Interactive apps complement on-ice coaching by making positional play visual and easy to understand. Seeing players move into correct positions for every game scenario, power plays, breakouts, defense coverage, helps young players recognize patterns they'll encounter during games. However, app-based learning works best alongside regular ice time and coaching feedback. The app reinforces what coaches teach and gives players time to visualize scenarios at home. Combined with structured practice drills, this approach helps players stop chasing the puck and understand their role in the team's positioning system.