 how-to
7 Visual Learning Tools That Teach Youth Hockey Positioning
Quick Summary
Visual learning tools for youth hockey show players where to be on the ice, letting them watch movement and repeat scenarios that a verbal cue cannot convey. Interactive apps let kids drag the puck and see teammates move, while static diagrams suit quick pre-practice explanations. Start with one player's job and build up in stages.
- Interactive apps let players drag the puck and watch positions update right away.
- A player can run the same scenario ten times in a few minutes.
- Static diagrams work well for explaining a single set play in under two minutes.
- Show one player's job first, then add teammates one at a time.
- Ten-minute sessions a few times a week beat one long weekend session.
Table of Contents
- Why Visual Learning Tools Work for Youth Hockey Positioning
- Types of Visual Learning Tools for Hockey Players
- Hockey Strategy Apps for Team Coaches: What to Look For
- Using Hockey Drill Diagrams Without Losing Young Players
- Teaching Hockey Systems to Beginners in Stages
- Teaching Youth Hockey Power Play and Penalty Kill With Visuals
- Putting Visual Tools Into Your Child's Weekly Routine
- Frequently Asked Questions
Why Visual Learning Tools Work for Youth Hockey Positioning
Last Updated: November 2, 2026
Most young hockey players aren't short on effort. They're short on a picture of where they should be. A nine-year-old can skate hard for an entire shift and still end up chasing the puck, because nobody has shown him where his teammates and opponents will be. That's the gap visual learning tools for youth hockey are built to close, and it's why this guide from Hockey Positioning™ walks through the options that actually help.
Positioning is hard to teach with words alone. Coaches describe spacing, gaps, and support angles, and kids nod along without seeing any of it. A visual tool turns that talk into something a player can watch, move through, and remember.
Here's why seeing it helps:
- Kids learn by watching movement. A moving diagram shows timing that a verbal cue cannot.
- Repetition is quick. A player can run the same scenario ten times in a few minutes.
- Mistakes are safe. Putting a player in the wrong spot on a screen costs nothing, unlike a bad shift on game day.
Hockey Positioning™ is built around this idea. It is an interactive app for players aged 5 to 13 and for adults new to the sport. Users drag the puck across a full ice surface and watch players move into their correct spots for each scenario, from power plays to penalty kills.
Types of Visual Learning Tools for Hockey Players
Visual tools come in a few forms, and each one fits a different stage of learning. Some are interactive and let the player make choices. Others are fixed images a coach can draw and reuse. Knowing the difference helps you pick the right one for your player's age and experience.
Interactive Ice Surfaces and Drag-and-Drop Apps
Interactive tools let a player move the puck and see the result right away. This is the strongest format for building positional habits, because the player is making decisions, not just watching.
For example, a player can drag the puck into the defensive zone and watch the forwards and defensemen shift into their coverage spots. Then they can drag it back out and see the whole team reset.
To get the most from an interactive app:
- Start with one scenario, such as a breakout, before moving to harder ones.
- Ask the player to predict where teammates will go before you show them.
- Run the same play again with a different puck location to test understanding.
Static Drill Diagrams and Whiteboard Plays
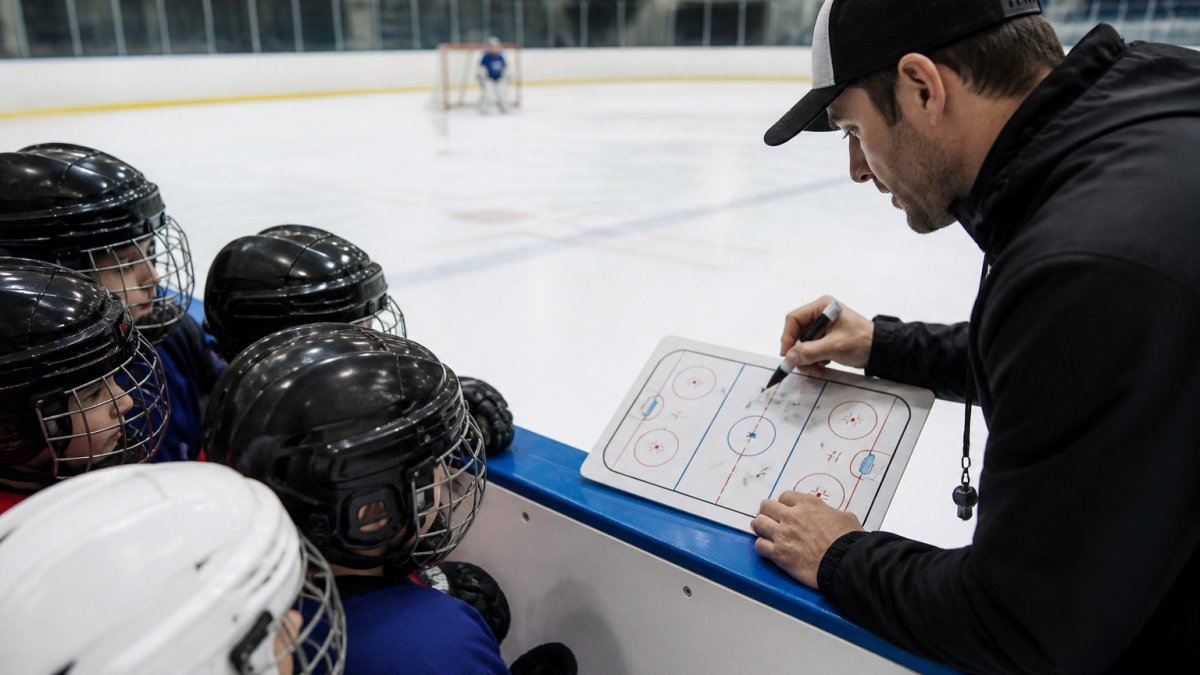
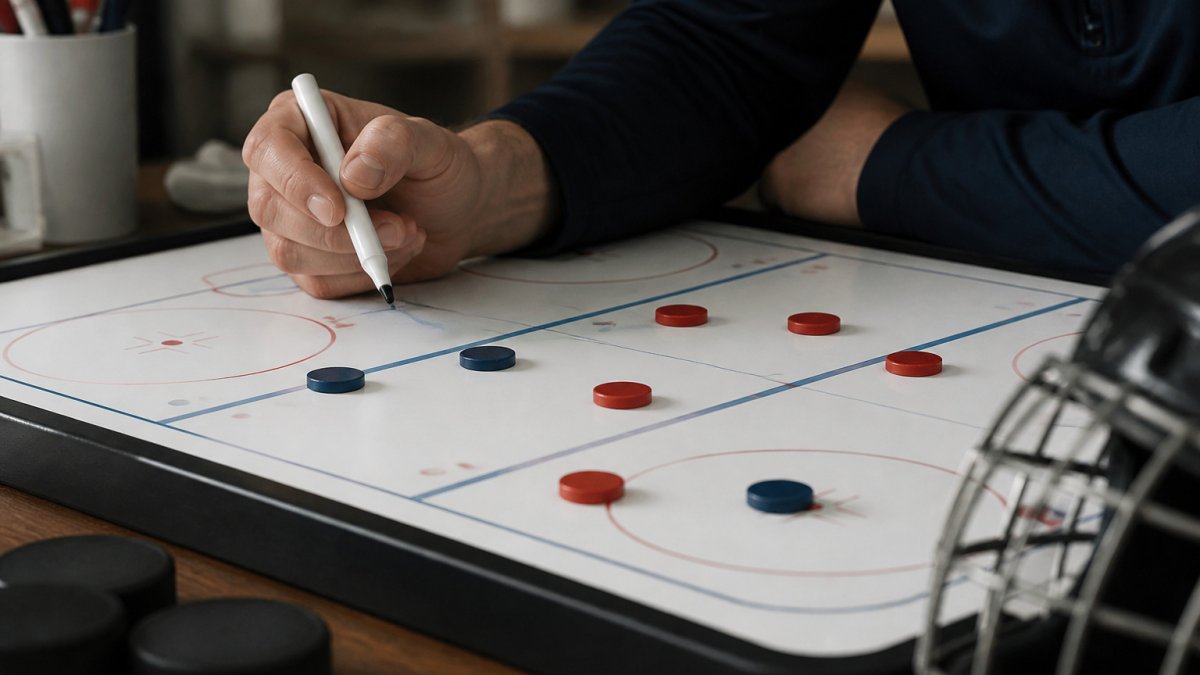
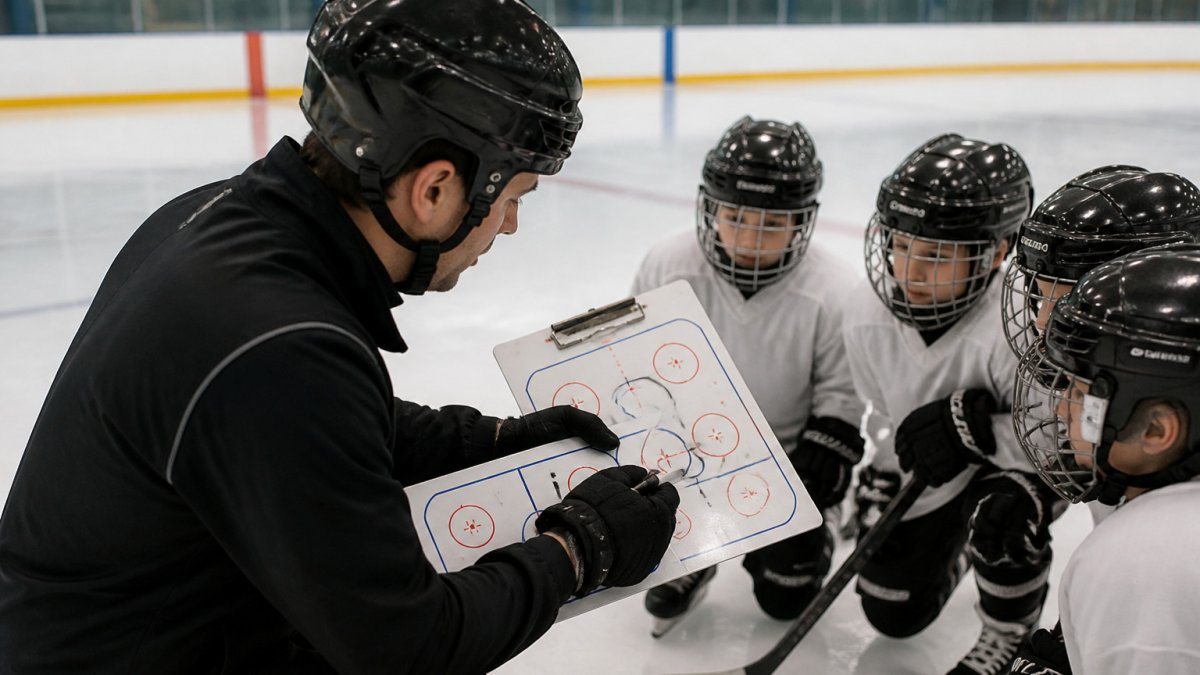
Printed diagrams and whiteboard sketches are still useful. A coach can draw a simple setup in the locker room and explain it in under two minutes.
Static diagrams work best for:
- Explaining a single set play before practice
- Reviewing a play after a game
- Giving parents something to look at during the car ride home
Static images can't show movement, so pair them with a moving example when you can.
The article describes two main formats, and each suits a different stage of learning.
| Format | Best for | Key difference |
|---|---|---|
| Interactive ice surfaces and drag-and-drop apps | Building positional habits | Player makes choices and sees results right away |
| Static drill diagrams and whiteboard plays | Explaining one set play quickly | Fixed images; cannot show movement |
| Interactive app, ages 5 to 13 | Young players and adults new to the sport | Puck dragged across full ice surface |
| Static diagram, under two minutes | Pre-practice explanation | Pair with a moving example when possible |
Hockey Strategy Apps for Team Coaches: What to Look For
Coaches often ask which strategy app is worth using across a whole team. Many providers offer something useful, so the choice comes down to what your players need. Here are the features to check before you commit.
- Full-ice coverage. The app should cover every zone and common scenario, not just one corner of the rink.
- Age-appropriate design. Look for clear visuals and simple controls if you coach younger players.
- Scenario depth. Power plays and penalty kills are where positioning matters most, so confirm they're included.
- Coaching notes. Short tips at each puck location help you explain the reason behind each position.
Hockey Positioning™ covers these areas. It offers full ice positioning for every game scenario and pro coaching tips at every puck location. Its sounds and customizable jersey colors also help keep younger players engaged.
Also check whether the app fits your budget and your team's schedule. Pricing and access details are on the Hockey Positioning™ website, so check there for current options before you decide.
Using Hockey Drill Diagrams Without Losing Young Players
Diagrams are useful, but they can lose kids fast if they're too dense. A slide covered in arrows and X's will confuse a seven-year-old. Keep it simple.
A common mistake is showing the whole system at once. Pick one player's job and show only that. Once they understand it, add the next player.
Try this approach:
- Show one player's position and movement.
- Ask the player to point to where that player should go.
- Add a second player and repeat.
- Run the full play only after each piece makes sense.
This keeps the drill manageable and gives every player a clear role.
Teaching Hockey Systems to Beginners in Stages
Beginners need stages, not a full playbook on day one. A new player learning positional play should move from basic ideas to complex ones over several weeks.
A simple progression looks like this:
- Stage 1: Stay with your player. Learn to find your man or your zone.
- Stage 2: Support the puck carrier. Learn where to go to offer a pass option.
- Stage 3: Cover and recover. Learn what to do when the puck changes hands.
- Stage 4: Run full systems. Put all the pieces together in a set play.
Adults new to the sport benefit from this same ladder. A visual tool lets them see the game's logic without needing to decode a complicated chalkboard drawing.
Teaching Youth Hockey Power Play and Penalty Kill With Visuals
Power play and penalty kill are the scenarios where positioning decides the outcome. They're also where kids most often stand still or drift too far from the play.
For the power play, visuals help players see the spacing that creates shooting lanes. For the penalty kill, they show how to box out and pressure the puck without leaving open lanes.
Work through each scenario one step at a time:
- Show the setup and ask players to name their roles.
- Run the play slowly and stop at each key moment.
- Replay the penalty kill with the puck moved to the other side of the ice.
Competitive players who already know basic systems still gain from these scenarios. Advanced strategies depend on the same positional fundamentals, so reviewing them visually sharpens details that are easy to miss in practice.
Putting Visual Tools Into Your Child's Weekly Routine
Visual learning works best in short, regular sessions. Ten minutes a few times a week beats one long session on the weekend.
Here's a simple weekly plan:
- Two or three sessions: Each one covers a single scenario, such as a breakout or a faceoff.
- After practice: Replay one thing the coach worked on that day.
- One review: Let your child teach you a play. Explaining it locks it in.
Keep it fun. Let your child pick the jersey color or the scenario to start with. Kids stick with tools they enjoy, and enjoyment is what turns a quick session into a habit.
Visual tools won't replace good coaching, but they give young players a clear picture of where to be. If you want to see how Hockey Positioning™ fits into a weekly routine, its website has details on the app and how to try it.
Frequently Asked Questions
What are the best visual learning tools for youth hockey?
The most useful visual tools fall into two groups: interactive apps that let a player move pucks and players across a full ice surface, and static diagrams drawn on a whiteboard or printed sheet. Interactive tools show cause and effect, such as where teammates should move when the puck changes hands, which static drawings cannot do. Static diagrams still work well for quick reviews before practice or for a team's playbook. For most young players aged 5-13, an interactive app combined with a short whiteboard session during practice covers both learning styles and keeps the lesson short and concrete.
How do you teach hockey positioning to young players?
Start with one scenario at a time, such as a breakout from the defensive zone, and have the player identify where each teammate should be before any skating happens. Use the puck as the reference point: ask the child where they should be when the puck is on the left boards versus the slot. Visual tools help here because the child can drag the puck and watch the positions update. Repeat the same scenario across several sessions before moving to the next one, and link each position to a simple reason, like being open for a pass or covering an opponent.
Are hockey strategy apps useful for youth teams?
Strategy apps can help youth teams when coaches use them to support on-ice teaching rather than replace it. A coach can project a scenario on a screen before practice, ask players to name the positions, then run the same setup on the ice. Apps are most valuable for explaining systems like power plays and penalty kills, where players need to know their spot relative to four or five teammates. Keep sessions short, since young players lose focus quickly, and pair each visual with a physical drill so the lesson carries over.
Can hockey drill diagrams help kids with on-ice awareness?
Drill diagrams help when they show movement rather than only static positions. A diagram with arrows for skating paths and a numbered sequence lets a child follow the drill step by step. Diagrams are less effective when they are too detailed for the child's age, so simplify them to three or four players and one puck path. Ask the player to explain the diagram back in their own words, and use it as a reference during practice when the same situation comes up on the ice.