 how-to
7 Off-Ice Drills to Build Youth Hockey Positioning at Home
Quick Summary
Youth hockey players can build positioning at home with three short drills: cone map reading, shadow positioning against a partner, and two-on-two support spacing in a small grid. Run each one for 10 to 15 minutes, two or three times a week, in a clear, safe space. Positioning at home works best when the player names the open spot before moving.
- Run each drill for 10 to 15 minutes, two or three times a week.
- Clear furniture and sharp objects, and use a non-slip surface before starting.
- Cone grids are about 6 to 10 feet apart for younger players.
- Track correct reps as a percentage, reviewing progress every two weeks.
- Shrink the grid by 2 feet once a player hits the benchmark twice in a row.
Table of Contents
- Why Positioning Is Hard to Teach Without a Rink
- Setting Up a Safe Small Space for Youth Hockey Positioning Drills
- Learning the Core Positions: Winger, Center and Defense
- Step-by-Step Off-Ice Drills for Building Hockey IQ at Home
- At-Home Hockey Training Exercises by Age and Skill Level
- Tracking Progress and Fixing Common Positioning Mistakes
- Planning Your Weekly Home Positioning Routine
- Frequently Asked Questions
Why Positioning Is Hard to Teach Without a Rink
Last Updated: November 3, 2026
Positioning is the part of youth hockey that most kids never really learn, and it is a skill that benefits from positioning at home between practices. A player can skate fast and shoot hard, yet still spend most of a shift chasing the puck. The core skill still has to be practiced, and that is where at-home training comes in.
Most coaches teach positioning on the ice, where players can see where teammates are and where the play is going. Off the ice, that picture is missing, which is why positioning at home has to rely on imagination and simple drills. A kid in a living room cannot feel the spacing between two wingers or the timing of a back-check. That makes positioning one of the harder skills to build between practices.
A common mistake is treating positioning as a talent. It is not. It is a set of habits: where to stand, when to move, and how to support a teammate. Habits can be trained anywhere with the right drills.
- Positioning is about decisions, not just speed. The case for positional awareness in youth hockey explains why this skill matters so much.
- Kids learn it best through repetition and feedback.
- Off-ice drills can build the mental picture before the next game.
Setting Up a Safe Small Space for Youth Hockey Positioning Drills
Most home drills need less room than parents expect. A clear strip of garage floor, a basement, or a driveway can work well. The goal is a flat, open surface with no hazards near the play area.
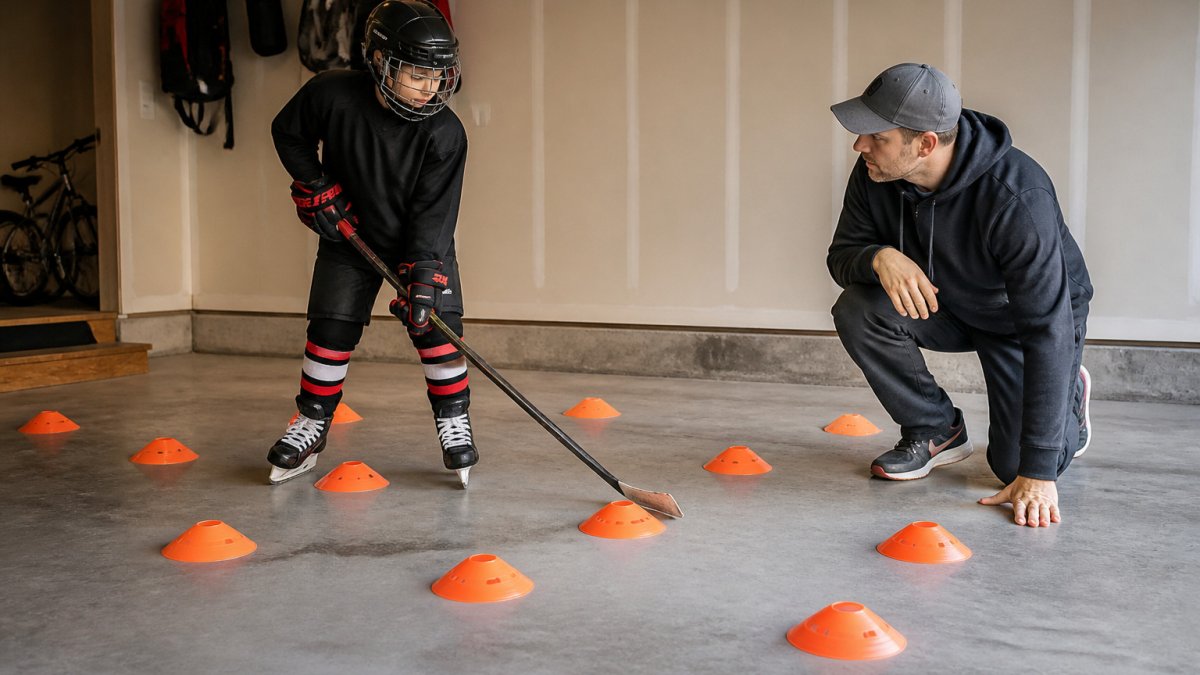
!A young hockey player in full gear stands on a garage floor with cones laid out in a neat grid, a parent nearby checking the space
Before the first session, check these basics:
- Clear all furniture, toys, and sharp objects from the area.
- Use a non-slip surface, such as a rubber mat or smooth concrete.
- Keep a few feet of space around the drill zone.
- Wear helmets, gloves, and shoes with good grip.
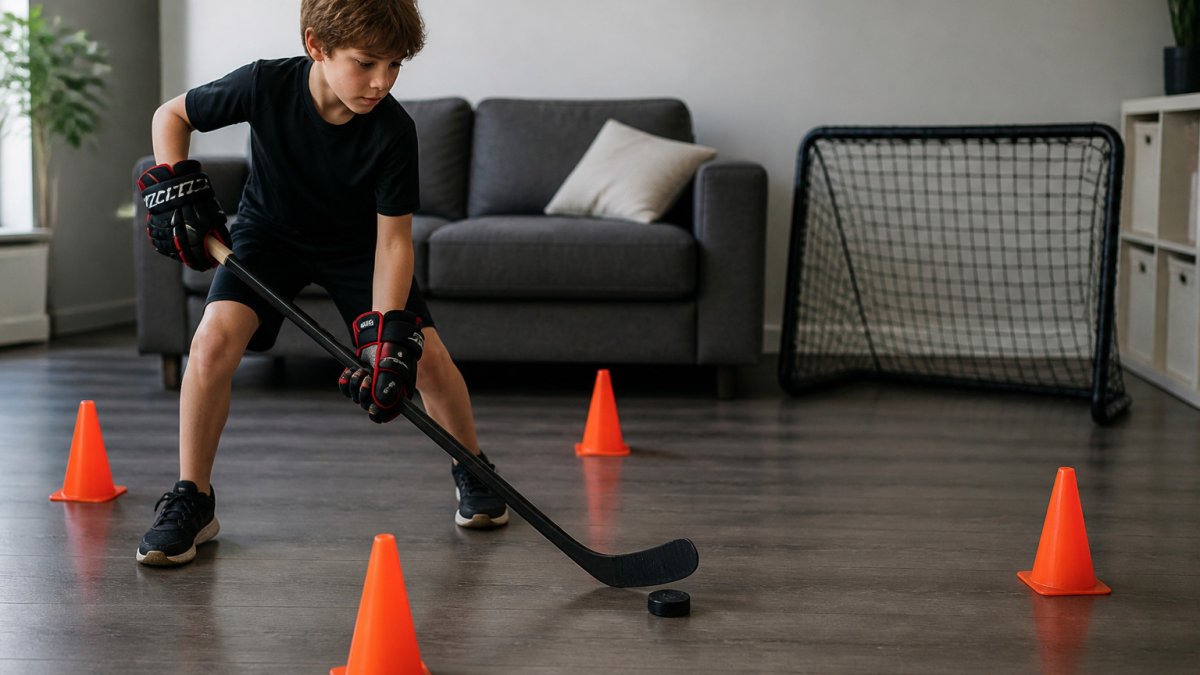
Lay out cones in a simple grid, usually about 6 to 10 feet apart for younger players. A step-by-step guide to teaching positioning at home walks you through setting up the space. Adjust the distance as the player improves. A parent or older sibling can act as a safety spotter during the first few sessions.
Learning the Core Positions: Winger, Center and Defense
Each position has a job on the ice, and players need to know what that job is before they can practice it.
Teaching the roles first makes every drill more useful. A winger drill that focuses on supporting the puck carrier from the boards teaches different habits than a defense drill that focuses on gap control.
- Winger: Stay wide, support the puck carrier, and read the play along the boards.
- Center: Cover the middle, stay between the puck and the net, and move the puck to open teammates.
- Defense: Hold the blue line, keep the gap tight, and make a safe first pass.
Explain these roles in plain language. Ask the player which position they play and what their first job is when the puck changes hands.
Step-by-Step Off-Ice Drills for Building Hockey IQ at Home
These three drills build the mental side of positioning. Run each one for 10 to 15 minutes, two or three times a week.
Drill 1: Map Reading With Cones
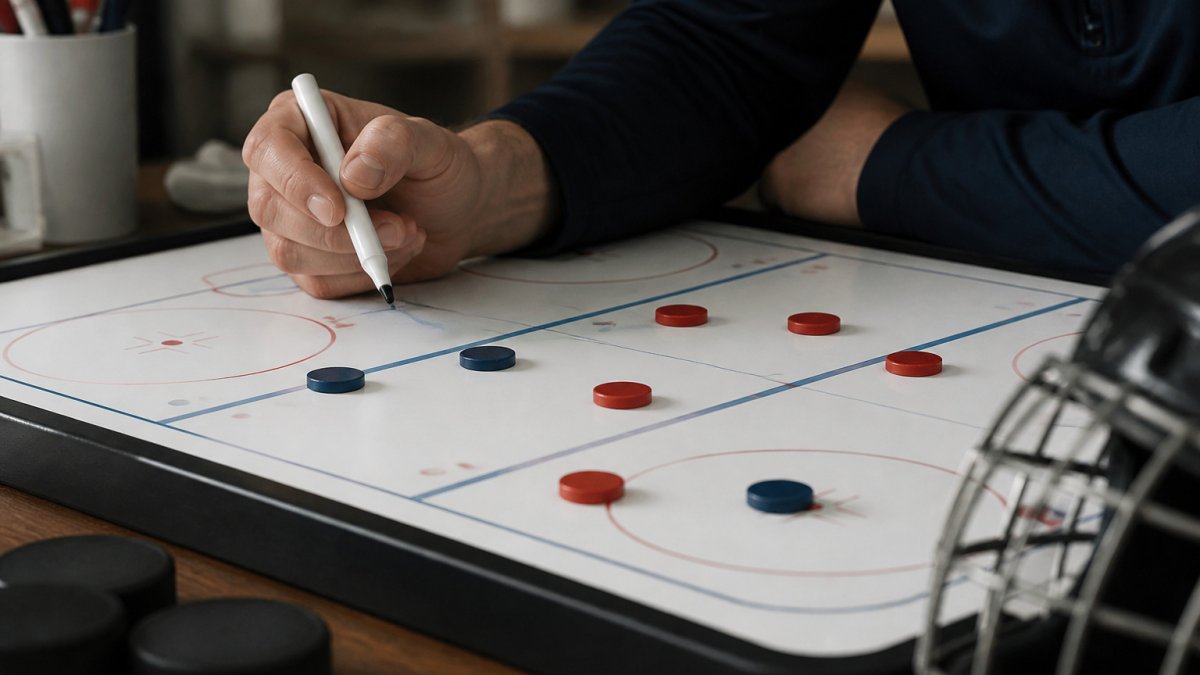
Set up four cones in a square to represent the offensive zone. Place a ball or light object at one corner. The player must move to the spot where a teammate would be best positioned to receive a pass.
- Call out a puck location, such as "left corner."
- The player walks or jogs to the open spot.
- Check the spacing and ask why that spot is open.
- Repeat with five to ten different puck locations.
Drill 2: Shadow Positioning Against a Partner
Have a partner act as the puck carrier. The player mirrors their movement and stays in a supporting position, one stick length away. This teaches gap control and reaction timing.
- The partner moves slowly in a straight line, then changes direction.
- The player keeps the same distance and angle.
- Switch roles after two minutes.
- Increase speed as control improves.
Drill 3: Support Spacing in a Small-Area Game
Play a two-on-two game in a small grid, about 15 by 20 feet. Each team must keep at least one player wide and one player deep. Points are scored by passing to a teammate who is in a supporting spot.
- Start with a basic rule: no one stands in the same lane as a teammate.
- Stop play when spacing breaks down and ask the players to reset. A targeted guide to stop chasing the puck covers one of the most common positioning mistakes.
- Award a point only for a pass to an open, supported teammate.
Watch out: Keep the drills in a safe space. Never run them near furniture, windows, or breakable objects.
At-Home Hockey Training Exercises by Age and Skill Level
A drill that works for a 12-year-old rep player will frustrate a 6-year-old beginner and bore a 13-year-old. The table below adapts the three core drills, cone map reading, shadow positioning, and small-area support spacing, by age band, with concrete session lengths, grid sizes, and success criteria.
| Age band | Session length | Grid size | Drill focus | Success criterion |
|---|---|---|---|---|
| 5-7 | 8-10 min | 10-12 ft cones | Cone map reading only; one partner | Player names the open spot before moving 4 of 5 reps |
| 8-10 | 12-15 min | 8-10 ft cones | Add shadow drill; two-on-two spacing | Holds one-stick-length gap for 30 seconds without drifting |
| 11-13 | 15-20 min | 6-8 ft cones | All three drills; add position roles | Completes a two-on-two sequence with zero lane collisions |
| Beginners (any age) | 10 min | 12 ft cones | Cone map reading; slow walk pace | Points to the correct spot on 3 of 4 calls |
| Advanced | 20 min | 5-6 ft cones | Shadow drill at speed; second puck carrier | Maintains gap through two direction changes in 10 seconds |
Position-specific adjustments. A winger practicing cone map reading should start from the wall cone and move to the half-boards support spot. A center should start in the middle cone and rotate to the weak-side support spot. A defenseman should start at the top cone and practice stepping up to the blue-line cone versus retreating to the net-front cone.
Beginner vs. advanced pacing. Beginners need the grid large and the pace slow so they can see the open space before moving. Advanced players need the grid shrunk and a second puck carrier added so they must scan and decide under pressure.
Watch out: Do not advance a player to a smaller grid until they can name the correct spot before moving in the current grid; shrinking too early turns the drill into guessing.
Tracking Progress and Fixing Common Positioning Mistakes
Positioning progress is invisible day to day, so track it with numbers the player can see. Use a one-page log with four columns: date, drill, reps attempted, reps correct, and one note on the mistake that repeated. Review every two weeks and compare the correct-rep percentage, not the raw count.
Benchmarks by drill. These are starting targets most youth players can reach within four to six weeks of two sessions per week:
- Cone map reading: 8 of 10 correct spot calls in under 60 seconds, moving at a jog.
- Shadow positioning: Hold a one-stick-length gap for 45 seconds through two direction changes without drifting more than 2 feet.
- Small-area support spacing: Complete a two-on-two sequence with zero lane collisions and at least three passes to an open, supported teammate in 90 seconds.
If a player hits the benchmark twice in a row, shrink the grid by 2 feet or add one decision (a second puck carrier, a called direction change, or a position-role switch). If they miss it three sessions in a row, enlarge the grid and slow the pace before trying again.
Common mistakes and the fix.
- Standing too close to the puck carrier. Fix: place a cone one stick length from the carrier and require the player to touch it before receiving a pass.
- Following the puck instead of moving to open space. Fix: pause the drill when the puck moves and ask the player to point to the open spot before taking a step.
- Drifting into a teammate's lane. Fix: mark lanes with tape or cones and stop play the moment two players share a lane.
- Forgetting the defensive role after a turnover. Fix: call "turnover" mid-drill and require the player to name their defensive first job before the next rep.
Watch out: A log that records only "good session" or "bad session" hides the pattern; record the specific mistake each time so the fix targets the repeat, not the mood.
Planning Your Weekly Home Positioning Routine
A simple weekly plan keeps training consistent without overwhelming the player. Three short sessions work better than one long session.
- Monday: Map reading with cones (10 minutes).
- Wednesday: Shadow positioning with a partner (10 to 15 minutes).
- Friday: Support spacing in a small-area game (15 minutes).
Add a short review at the end of each week. Ask the player to name one position they felt confident in and one they want to improve.
Hockey Positioning™ is available on the App Store, with an interactive ice surface for visualizing positional play between sessions.
Frequently Asked Questions
How can youth hockey players practice positioning at home?
Youth hockey positioning training at home works best with a few cones, a small clear floor and short sessions of 15 to 20 minutes. Set up a marked zone that represents the ice, then have the player move to the spot where a winger, center or defender should be as a teammate moves the ball or puck. Ask the player to say out loud why they chose that spot. Repeating this two or three times a week builds the habit of reading play before it happens, even without skates on a rink.
Can beginners learn hockey positioning without skating?
Yes. Most of the decision-making part of positioning is about reading space, timing and support, and those skills can be trained off the ice. Beginners can learn where each position is expected to be during a breakout, a forecheck or a penalty kill using cones, a tablet diagram or a partner walking through the play. Skating technique still needs ice time, but the spacing and awareness that make a player appear to be in the right place can be practiced at home.
How often should youth players practice hockey skills at home?
Two to three sessions of 15 to 25 minutes per week is a realistic target for most children aged 5 to 13 alongside their regular practices and games. Shorter, frequent sessions tend to hold attention better than long ones, and rest days matter for growing bodies. Keep the focus on quality repetitions and one or two skills per session, and increase duration gradually as the child gets older or more confident.
How can I help my child improve hockey IQ at home?
Hockey IQ training at home mostly means asking questions while you practice. After a drill, ask where the open teammate was, why the player chose to pass or carry, and where they should have been on the next play. Keeping a simple log of which positional errors appear most often gives you a measurable benchmark, such as tracking how many times per game your child ends up out of position. Praise the reasoning as well as the result.
Start building positional awareness at home today. Download Hockey Positioning™ from the App Store to practice where to be on the ice with visual, step-by-step guidance.