 how-to
7 Steps to Teach Hockey Positioning to Kids
Quick Summary
Teach hockey positioning to kids by explaining each position's job in simple terms, teaching space and coverage with visual zones, and running short small-area drills. Praise good spots first, then correct mistakes with questions rather than criticism.
- Keep position names and jobs short so a child can repeat them back.
- Use cones or tape to mark zones and move only when the puck changes sides.
- Keep each small-area drill to 3 to 5 minutes, then stop and ask what players saw.
- Ages 5-7 should learn through game-based activities with simple cues like finding open ice.
- Ask your child what they saw on the ice instead of whether they scored or won.
Table of Contents
- Why Positioning Matters More Than Skating Speed for Young Players
- Step 1: Explain the Basic Hockey Positions in Simple Terms
- Step 2: Teach Space and Coverage with Visual Zones
- Step 3: Run Youth Hockey Positioning Drills in Small Areas
- Step 4: Build a Youth Hockey Practice Plan by Age Group
- Step 5: Use a Hockey Positioning App for Kids to Reinforce Learning
- Coaching Language and Corrective Feedback That Works
- Your Next Step: Starting Positioning Practice This Week
- Frequently Asked Questions
Why Positioning Matters More Than Skating Speed for Young Players
Most young hockey players chase the puck. They skate hard, crowd the play, and end up exactly where the puck was a second ago.
This guide from Hockey Positioning™ walks you through seven steps. You will learn how to explain positions in plain language, teach space and coverage, run small-area drills, build a practice plan by age group, reinforce ideas with a training app, and correct mistakes without discouraging young players.
Good positioning helps a child in every part of the game. A player who stands in the right spot gets more passes, defends more calmly, and wastes less energy.
Watch out: if you only correct kids when they make a mistake, they learn to fear the puck. Praise the right spot first, then fix the wrong one.
Step 1: Explain the Basic Hockey Positions in Simple Terms
Kids learn best when a position has a clear job. Forwards score and create chances. Defensemen protect the net area and move the puck out of danger. Goalies stop shots. Keep the names and jobs short so a child can repeat them back.
A simple way to explain it:
- Forwards: Get open, shoot, and help the team attack.
- Defensemen: Stay between the puck and the net.
- Goalie: Stops the puck and talks to teammates about coverage.
Trying a few roles builds hockey sense, so a child understands how each job fits the team. Whether a young player should specialize in one position is a question for later. At this age, broad knowledge matters more.
Step 2: Teach Space and Coverage with Visual Zones
Space is the main idea behind positioning. Players should know which area they cover and which teammate is close by. A helpful habit is to ask, "Who is near you, and who has the puck?"
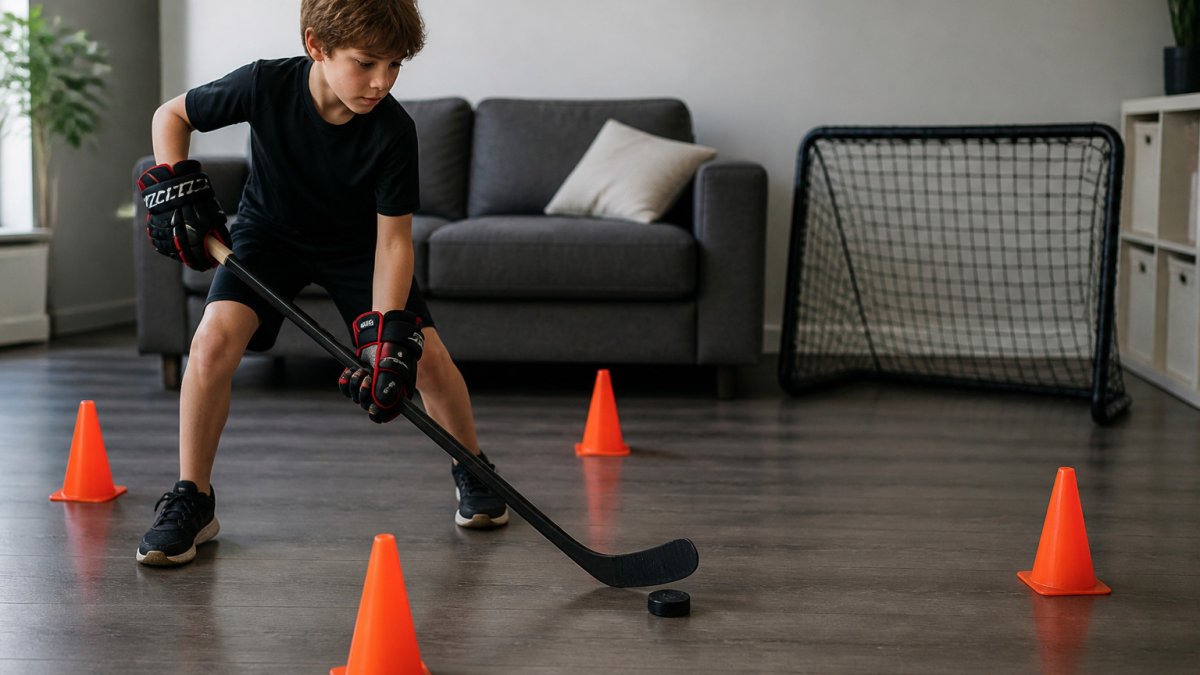
Use cones or tape to mark zones on the ice or floor. Then ask players to stand in one zone and move only when the puck changes sides. Keep the explanation short:
- Stay in your area until the puck moves.
- Move toward the puck carrier, not toward the puck itself.
- Keep your head up so you can see teammates and opponents.
- Keep knees bent and shoulders over your knees for balance.
A common mistake is teaching zones as rules that never change. Explain that good players adjust. If a teammate is out of position, the nearest player should cover the gap.
Step 3: Run Youth Hockey Positioning Drills in Small Areas
Small-area games are the most efficient way to teach positioning because they force players to make rapid decisions in tight spaces. For ready-made beginner positioning drills, see beginner positioning drills for youth hockey. Instead of long laps, use drills that fit into a half-rink or a marked square. Below are three drills with setup, coaching cues, and variations.
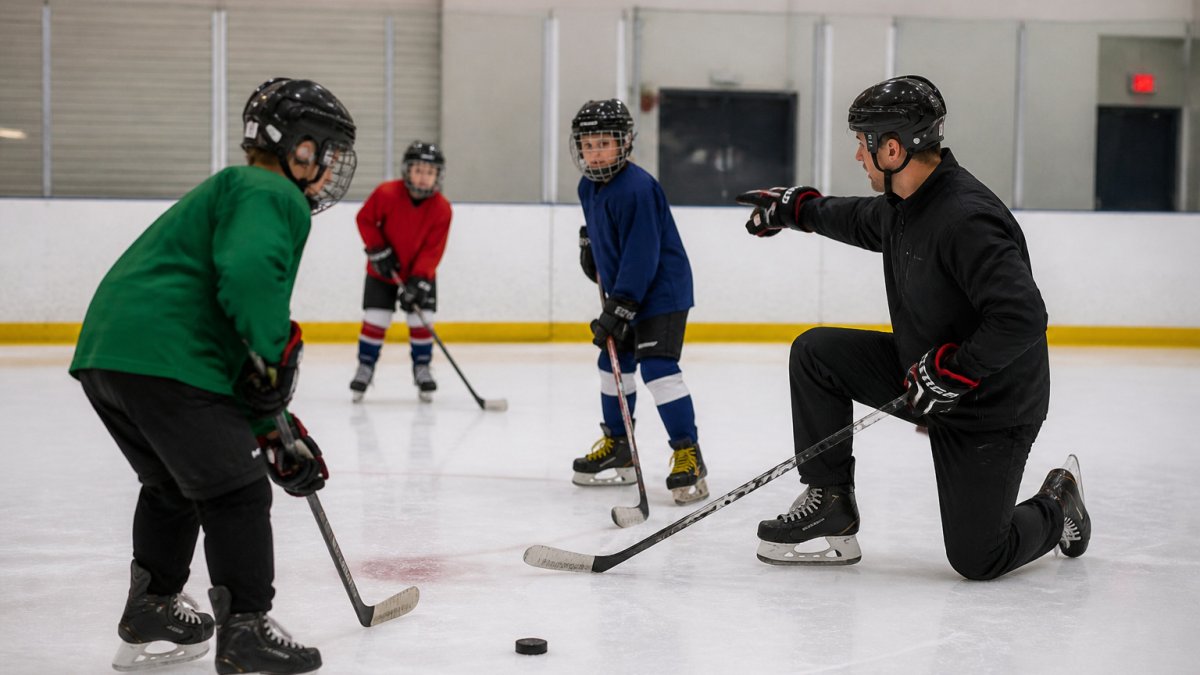
Drill 1: Three-on-Two Cover
- Setup: Mark a 30x30 foot area in front of the net. Three attackers start at the blue line with pucks; two defenders start in front of the net. On the whistle, attackers try to score; defenders must prevent open shots and passes.
- Coaching cues: "Stay between your check and the net." "Talk to your partner, who has the puck carrier?" "Keep your stick in the passing lane."
- Variation: Add a third defender after two minutes to show how coverage changes with numbers.
- Common error: Defenders chase the puck carrier into the corner, leaving the front of the net open. Correct by freezing the play and asking, "Who is covering the player in the slot?"
Drill 2: Puck-Carrier Shadow
- Setup: Pair players. One carries a puck in a 20x20 foot square; the other shadows without trying to take the puck. The defender must stay between the carrier and a designated "goal" (a cone or the net).
- Coaching cues: "Stay on the defensive side." "Keep your head up, see the carrier's hips, not the puck." "Match their speed, don't lunge."
- Variation: Add a second carrier and a second defender to create a 2v2 shadow game.
- Common error: Defenders turn their back to the carrier or cross their feet. Correct by demonstrating a proper defensive stance: knees bent, stick on the ice, eyes on the chest.
Drill 3: Support Triangle
- Setup: Three players form a triangle in a 30x30 foot area. One player has the puck; the other two must move to create passing lanes and support. A coach or fourth player acts as a passive defender.
- Coaching cues: "Get open, don't hide behind the defender." "Move to the open space, not toward the puck." "After you pass, move to a new spot."
- Variation: Add a second defender and make it a 3v2 keep-away game.
- Common error: Players stand still after passing. Correct by enforcing a "pass and move" rule: every pass must be followed by a change of position.
Keep each drill to 3 to 5 minutes, then stop and ask what the players saw. Short breaks help kids notice space, not just move their feet. For more drill ideas, coaches can compare interactive hockey drills for youth teams.
Step 4: Build a Youth Hockey Practice Plan by Age Group
A one-size-fits-all practice plan fails young players because attention spans, coordination, and decision-making change dramatically between ages 5 and 13. The table below outlines a progressive teaching plan that matches positioning concepts to developmental stages. Use it as a starting framework, not a rigid script.
| Age Group | Main Focus | Session Length | Positioning Goal | Sample Session Structure |
|---|---|---|---|---|
| 5-7 | Skating and puck control | 30-40 minutes | Move toward the puck | 10 min fun skating games, 10 min puck touches, 10 min small-area tag or keep-away, 5 min cool-down |
| 8-10 | Basic roles and spacing | 45-60 minutes | Know your zone | 10 min warm-up with pucks, 15 min station drills (2-3 stations), 15 min small-area game (3v3), 10 min cool-down and quick Q&A |
| 11-13 | Coverage and support | 60-75 minutes | Read teammates and gaps | 15 min dynamic warm-up, 20 min positional drills (breakouts, coverage), 20 min small-area game with coaching stops, 10 min cool-down and video review |
For ages 5-7, keep every activity game-based. Use simple cues like "find the open ice" and "stay between your check and the net." For kid-focused guidance on penalty kill positioning, see the dedicated page.
For ages 8-10, introduce basic zone responsibilities. A common pattern is to divide the ice into three lanes (left, center, right) and teach players to stay in their lane until the puck moves.
For ages 11-13, shift to reading teammates and gaps. Introduce concepts like support triangles, backchecking lanes, and defensive side positioning. Use video review for 5 minutes after practice to show one good positioning decision and one teachable moment.
A common mistake is advancing too quickly. If a group of 9-year-olds cannot hold their zones in a 3v3 game, do not move on to breakouts. Repeat the same core idea for three or four sessions before adding complexity.
Step 5: Use a Hockey Positioning App for Kids to Reinforce Learning
A hockey positioning app for kids can help when a child needs to see a play more than once. A visual tool gives players a way to review a play after the ice.
Hockey Positioning™ is an interactive app for players aged 5 to 13 and adults new to hockey. Users drag the puck across a full interactive ice surface and see players move to their correct spots for each game scenario, including power plays and penalty kills. Coaching tips appear at each puck location.
The app can be used as a supplement to practice. Use it for a few minutes after a session, then ask the child to explain one position out loud.
Coaching Language and Corrective Feedback That Works
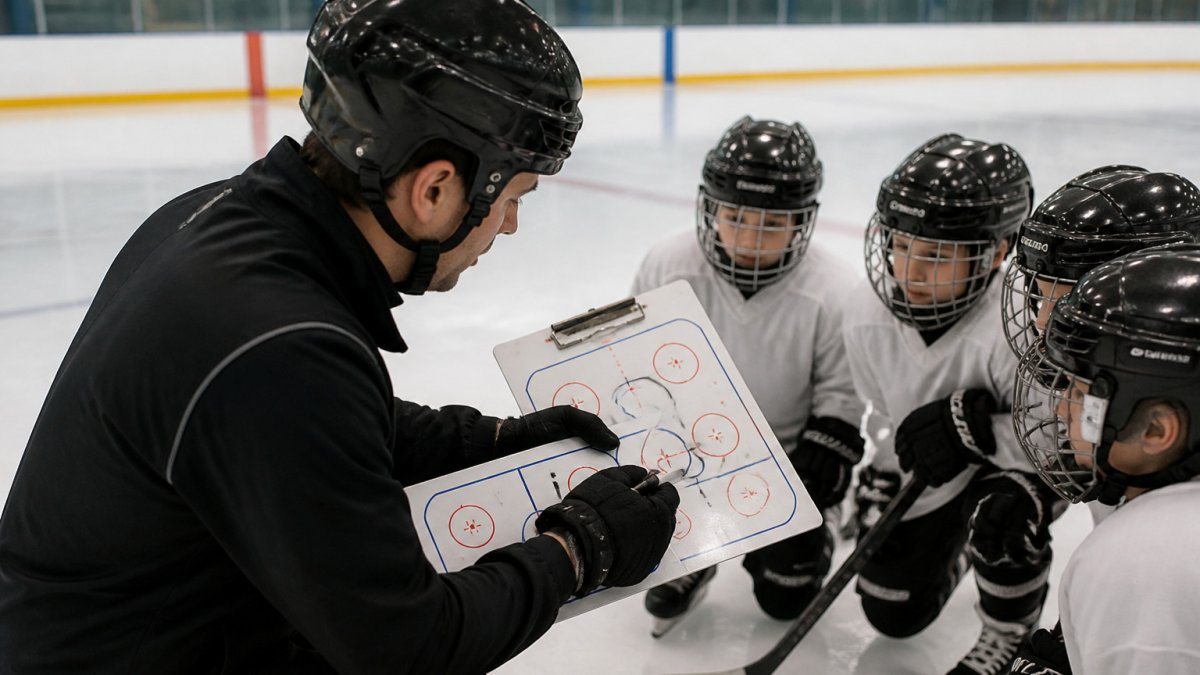
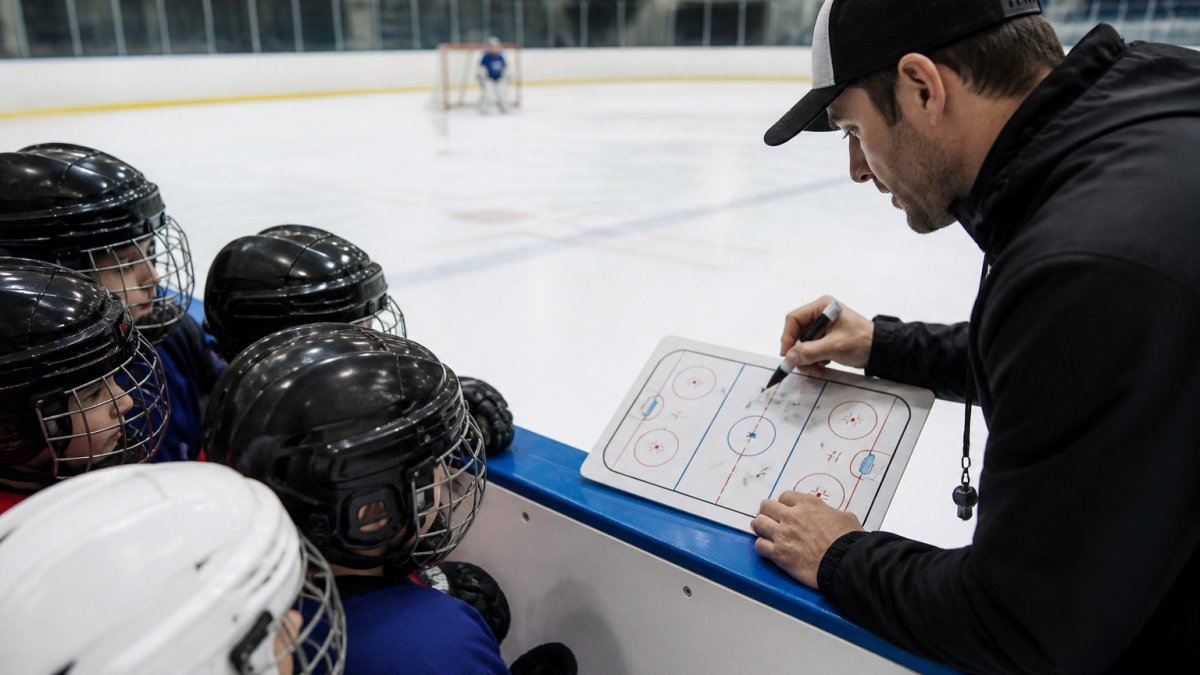
The words you use shape how kids think about the game. Instead of saying "You're out of position," try a question: "Where could you have been to help Sam?" Questions help kids find the answer themselves.
Use short, specific feedback:
- "Nice job staying between the puck and the net."
- "Next time, move to the open space near the top of the circle."
- "Keep your head up so you can see the player behind you."
Parents can help too. Ask your child what they saw on the ice instead of asking whether they scored or won. Praise effort and smart decisions, even when the play does not work out.
Your Next Step: Starting Positioning Practice This Week
You do not need a full season plan to begin. Pick one position idea, one small-area drill, and one question to ask after practice. Repeat that routine for a week.
Positioning improves when kids practice it often, in short sessions, with clear and encouraging feedback. Start small, keep the focus on where to be, and celebrate each good decision.
Frequently Asked Questions
How do you explain hockey positions to a child?
Keep it concrete. Tell a young player that forwards score and create chances, defensemen keep the puck out of their own net and start breakouts, and a goalie is the last line of defense. Then show them where each role sits on the ice: forwards mostly in front of the opposing blue line, defensemen closer to their own net, and the goalie inside the crease. Use a simple shape like a triangle for a three-forward unit to make spacing visible. Ask the child to repeat the job in their own words, which confirms understanding better than a lecture. Revisit the roles after each game so the ideas connect to real moments on the ice.
At what age should kids learn hockey positioning?
Basic awareness can start as soon as children are on the ice, usually around ages 5 to 7, through simple ideas like staying spread out and not chasing the puck as a group. More formal positional responsibilities usually make sense around ages 9 to 11, when players can read basic coverage and understand their role in each zone. Teach through games and small-area play before adding rules. Keep the language simple at younger ages and add terminology gradually as players gain confidence.
How can kids learn where to go when they do not have the puck?
Teach players to look for open space and to get open to receive a pass. Practice a simple habit: scan the ice before the puck arrives, identify a teammate and an open area, then move to that space at a controlled speed. Use small games where the only scoring rule is a successful pass to an unmarked player. Reinforce head up, knees bent and shoulders over knees as the body posture that lets a player move and react. Praise the movement itself, not only the goal, so the habit becomes automatic.
How long should a hockey positioning practice last for kids?
For most youth players, 10 to 15 minutes of focused positioning work inside a regular practice is enough to build the skill without overloading attention. Younger players usually do better with shorter, game-based blocks of 5 to 8 minutes. Spread positioning work across the week rather than packing it into one long session. Keep the emphasis on repetition with clear feedback, and stop the drill before players lose focus.