 how-to
Youth Hockey Positioning Drills for Beginners
Table of Contents
- Why Hockey Positioning Matters for Young Players
- Fundamental Positioning Concepts Before You Start
- Age-Appropriate Positioning Drills for Beginners
- Small Area Games to Build Positioning Instinct
- How to Improve Hockey IQ at Home
- Teaching Hockey Spacing Drills Step by Step
- Frequently Asked Questions
Last Updated: October 1, 2026
Why Hockey Positioning Matters for Young Players
Young hockey players often chase the puck instead of moving to the right spot on the ice, which is why hockey positioning drills are essential to teach proper placement. When kids understand positioning, they play smarter and score more because positioning teaches players where to be before the puck arrives.
Players who know their spot use less effort, create more scoring chances, and make fewer turnovers because they're in the right place to receive passes. This is why youth hockey positioning drills for beginners form the foundation of every strong player's development.
Fundamental Positioning Concepts Before You Start
Before you run any drills, your young player needs to understand two core ideas: spacing and body positioning.
Understanding spacing and puck support
Spacing is the distance between players on the ice. If three players stand too close together, only one can receive the puck. If they spread out correctly, all three are passing options, creating more movement and scoring chances.
Puck support means having a teammate ready to receive the puck at all times. When your child learns to position for puck support, they stop chasing. Instead, they move to where the puck is going next.
Here's what good spacing looks like:
- Players are 8-12 feet apart (not bunched up)
- At least one teammate is always open for a pass
- Players face the puck, not away from it
- Movement happens before the puck arrives, not after
Body positioning and gap control
Body positioning is how a player stands and faces the ice, it determines speed and affects passing, shooting, and defending. Gap control means protecting the space between you and an opponent to stop scoring chances. Young players often stand flat-footed or face the wrong direction; the fix is teaching them to face the play and stay ready.
Key body positioning rules:
- Knees bent slightly (ready to move in any direction)
- Stick on the ice (ready to receive or pass)
- Eyes on the puck and teammates (not looking down)
- Weight on the balls of the feet (not heels)
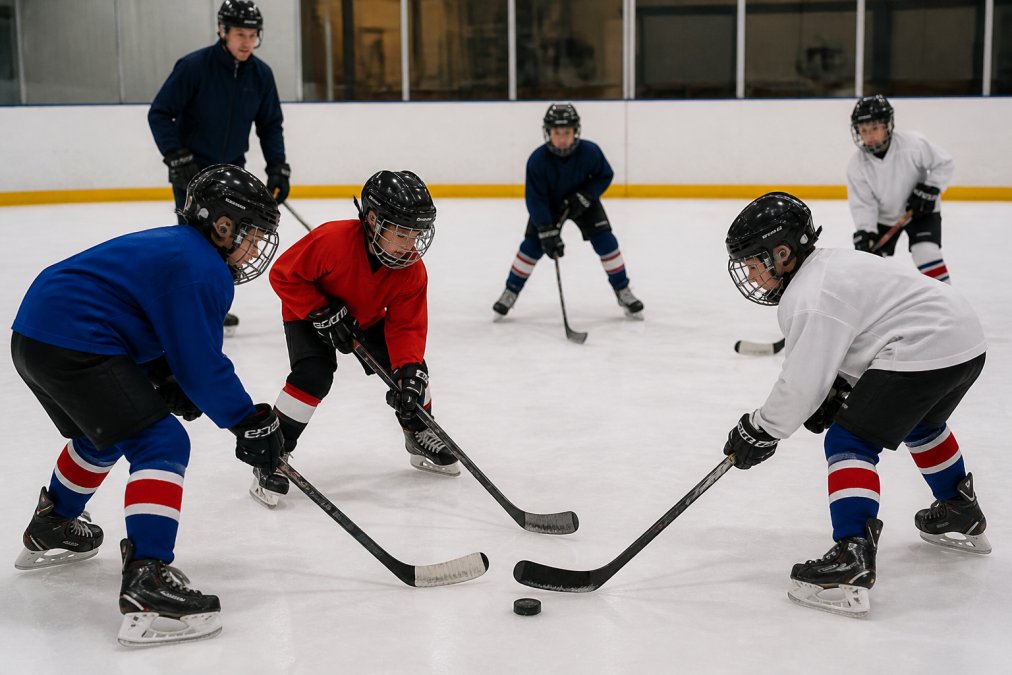
Age-Appropriate Positioning Drills for Beginners
Skill levels vary widely within age groups. A drill that works for a confident 7-year-old won't work for one still building skating confidence. Here's how to match drills to age and skill level.
Drills for ages 5-7: Introduction to zones and awareness
At this age, keep it simple. Kids need to learn the basic zones, offensive, defensive, neutral, and build confidence on skates.
Start with the "Zone Awareness Skate":
- Divide the ice into three zones with cones or lines
- Call out a zone name (offensive, defensive, or neutral)
- Players skate to that zone as fast as they can
- Repeat 5-6 times, mixing up the order
This drill teaches zone names and gets kids comfortable moving across the ice in 5-10 minutes. For low-skill skaters, reduce the ice size to half or quarter-ice, call out zones more slowly, and allow walking or slow skating instead of sprinting.
Next, try the "Spacing Circle":
- Place 4-5 players in a small circle (15 feet across)
- One player passes to another
- After passing, the passer skates to a new spot in the circle
- Keep the circle moving and passing for 1-2 minutes
This teaches spacing without pressure, kids learn that moving creates passing lanes. For low-skill skaters, reduce the circle to 10 feet, use a larger or softer puck, and allow repeated passes to the same player.
Common mistake at this age: Standing still after passing. Kids pass and freeze.
Drills for ages 8-10: Transition and rotation
By age 8, kids can handle transition (moving from defense to offense) and rotation (players switching positions), though skill gaps widen at this age.
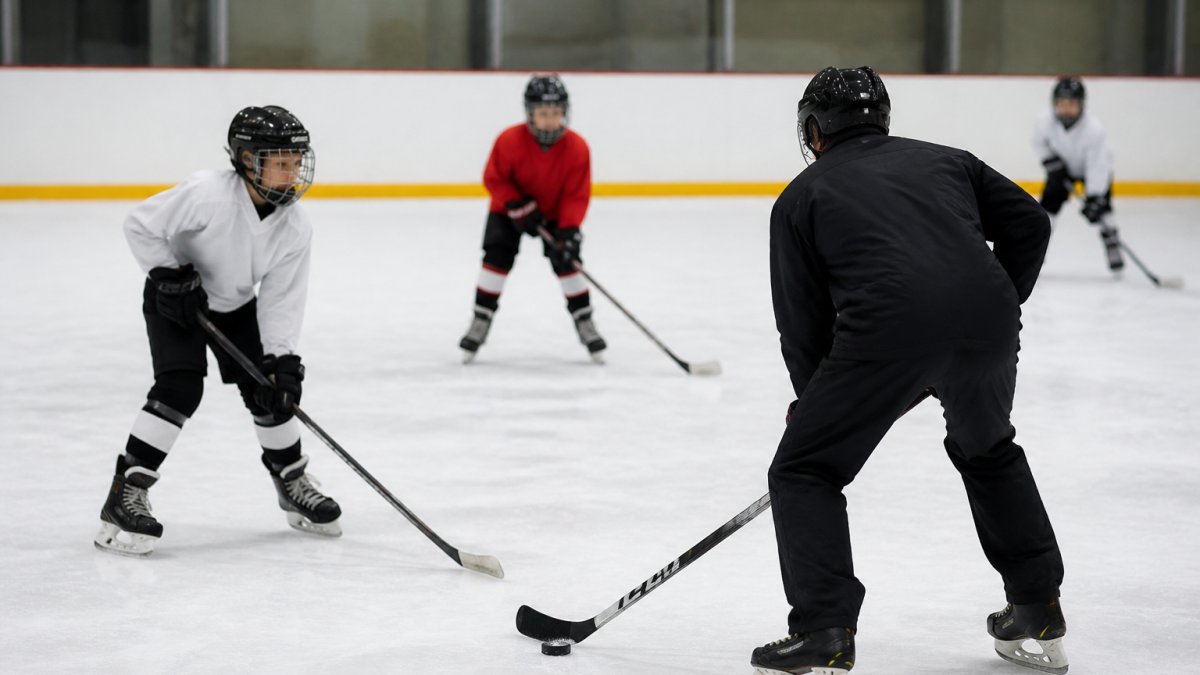
Try the "Transition Drill":
- Start with 3 players in the defensive zone
- Coach shoots the puck into the offensive zone
- Players skate to get the puck
- They pass it back to the coach (transition to offense)
- Coach passes it back to them, and they skate it down the ice
Next, the "Half-Ice Rotation":
- Set up 3v3 on half the ice
- Players rotate positions every 30 seconds
- If a player was on the wing, they move to center next
- This forces them to learn all positions
Drills for ages 11-13: Advanced positioning and hockey IQ
Older kids are ready for game-like scenarios. They can think ahead and understand why positioning matters. However, skill gaps are largest at this age, some kids are near-elite, others are still building confidence.
Try the "Power Play Setup":
- Set up a 5v4 (power play) scenario
- Offensive players must move the puck around the perimeter first
- They can't shoot until they've made 3 passes
- This teaches patience and spacing on offense
Progression Framework: When to Move to the Next Level
Don't rush progression. A player is ready to progress when they execute drills without reminders, anticipate teammate positions, and understand the "why." If struggling, modify the current drill instead of moving to a harder one.
Small Area Games to Build Positioning Instinct
Small area games are the fastest way to build hockey IQ because less ice means more touches per player, faster learning, and better positioning instinct. Run them 2-3 times per practice for 10-15 minutes.
How to Improve Hockey IQ at Home
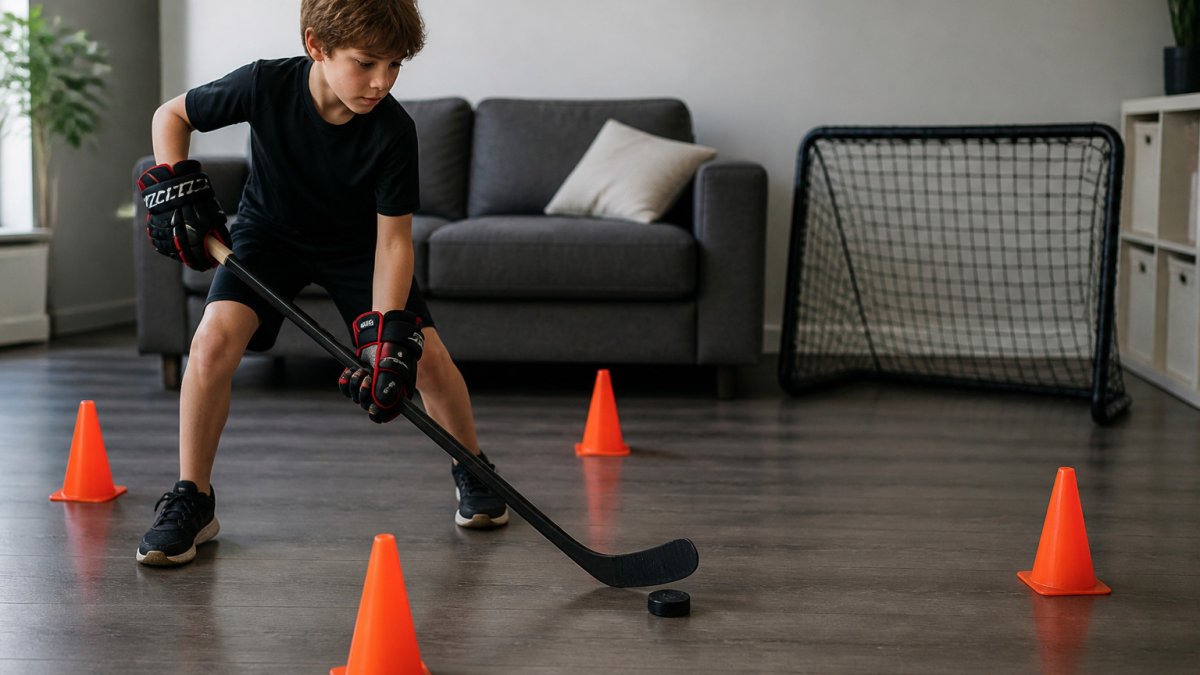
Many positioning concepts can be taught off-ice in a gym, driveway, or living room. This off-ice work builds the mental foundation so kids already understand spacing and gap control when they hit the ice.
Off-Ice Positioning Simulation Without Equipment
The "Positioning Scenario Walk-Through": Mark a simplified ice surface with tape or cones and call out scenarios like "Your teammate just got the puck in the corner. Where do you go?" Your child walks to the correct spot. Repeat 10-15 scenarios per session. This teaches anticipation, kids learn to think one step ahead instead of reacting to where the puck already is.
Visual Positioning Learning: The Tape Diagram Method
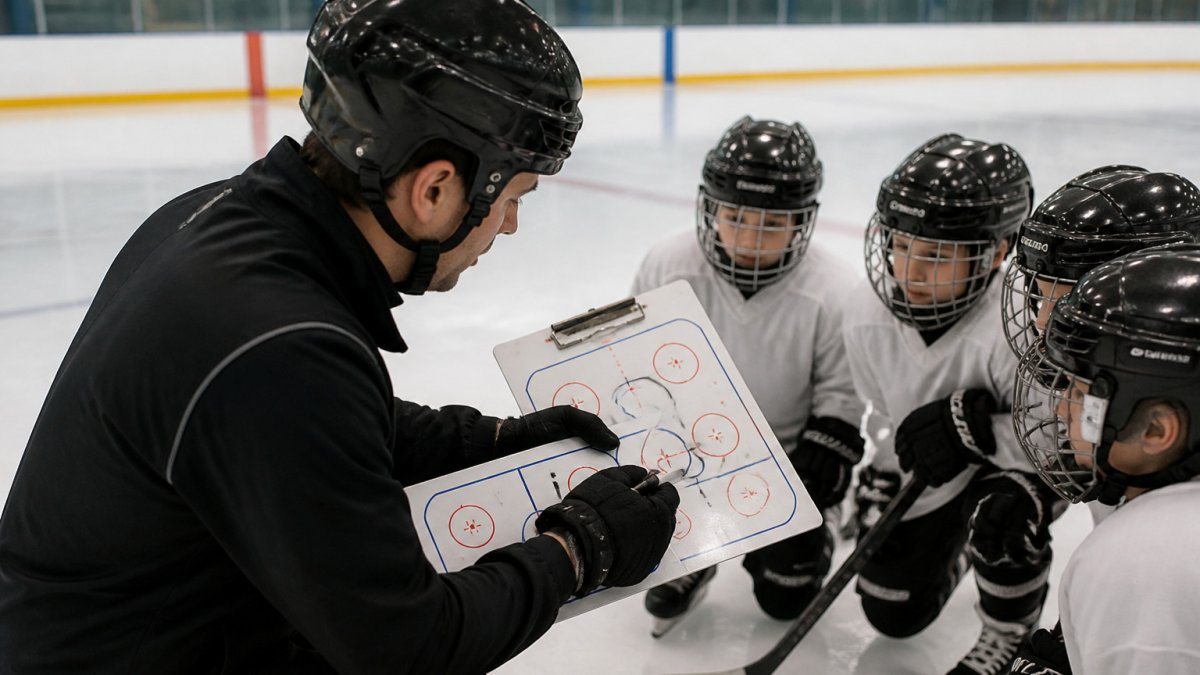
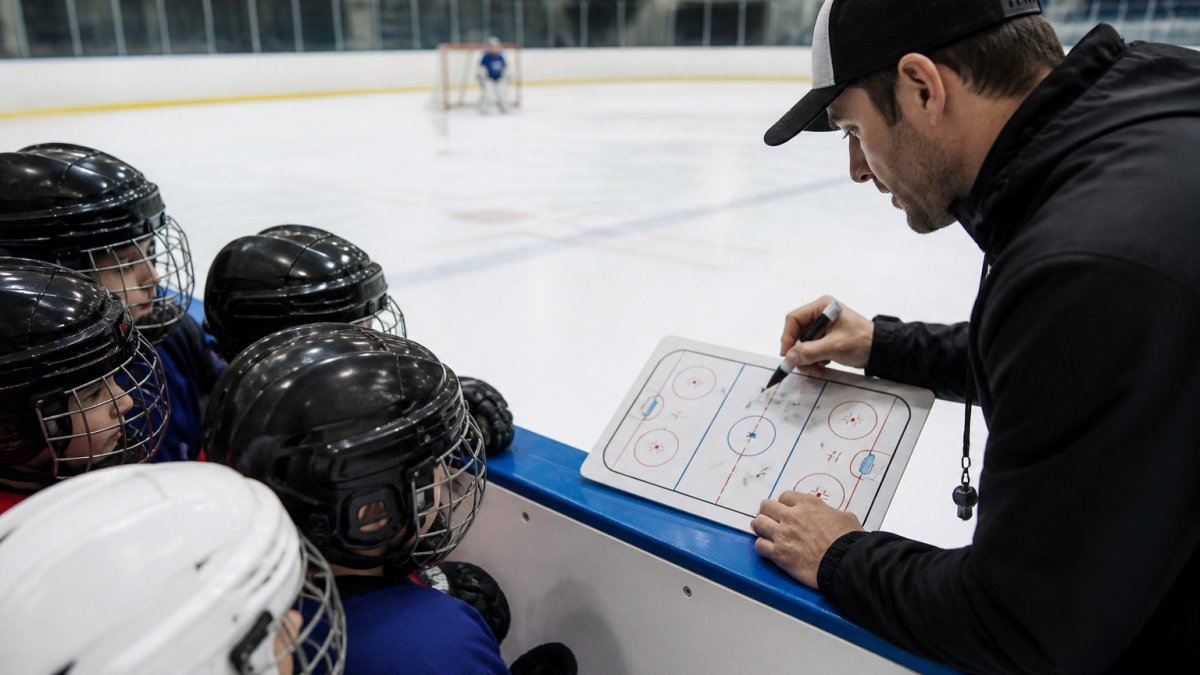
Create a home positioning reference: Draw a hockey rink on paper or whiteboard and use coins or game pieces to represent players. Show different scenarios (3v3 breaks, defensive positioning, transition) and let your child move pieces and explain positioning. This builds spatial reasoning, understanding where players should be relative to each other and the puck.
Video Analysis: Pause-and-Predict Method
Video Analysis: Find a short clip (30 seconds to 2 minutes) of hockey, pause before a key play, and ask your child where a player should move. Play the video and discuss why the player moved there. This teaches game awareness by forcing critical thinking about positioning decisions.
The "No-Puck" Positioning Drill
The "No-Puck" Positioning Drill: Mark a small area representing one zone and have kids move and position as if creating a scoring chance, no puck. They must maintain spacing and avoid bunching. After 30 seconds, freeze and ask if they're in good position. This isolates positioning habits from skating ability.
Building Positioning Vocabulary at Home
Teaching positioning terminology off-ice makes on-ice coaching more effective. Key terms: Support (spot to receive a pass), Gap (space between you and opponent), Spacing (distance between teammates), Transition (defense to offense), High slot (in front of net, closer to blue line), Low slot (directly in front of net), Perimeter (outside edges of offensive zone), Backcheck (forward returning to defend).
Off-Ice Positioning Work: Frequency and Duration
For best results, do off-ice work before on-ice practice: ages 5-7 (10-15 min, 2-3x/week), ages 8-10 (15-20 min, 2-3x/week), ages 11-13 (20-30 min, 1-2x/week). This builds the mental model so on-ice practice refines and automates positioning.
Teaching Hockey Spacing Drills Step by Step
Spacing drills are the foundation of good positioning. Step 1: Explain spacing with words. Tell your child: "Spacing means being far enough apart so everyone can get the puck. If you're too close, only one person can pass to another."
Common positioning mistakes beginners make
Mistake 1: Bunching. Kids cluster around the puck. Fix: Make spacing a rule, "You must be 10 feet from your nearest teammate." Mistake 2: Puck chasing. Kids follow the puck instead of moving ahead. Fix: Teach them to think ahead, "Where is the puck going next?" Mistake 3: Facing the wrong direction. Kids face away from play.
Frequently Asked Questions
How do you explain hockey positioning to a 6-year-old?
Start with simple concepts: teach zones (where to stand on the ice), puck support (staying near teammates), and awareness (watching the puck). Use visual demonstrations on ice or interactive tools that show where players should move. Avoid complex terminology. Focus on one position at a time, and praise effort and positioning even when plays don't result in goals.
How can I improve my child's hockey IQ at home?
Use interactive positioning apps that let your child drag the puck across an ice surface and see where all players should move. Watch game footage together and pause to discuss positioning choices. Play small area games in your driveway or basement. Ask your child questions like 'Where should that player go?' to build decision-making.
What are the best drills to teach defensive zone coverage to beginners?
Start with half-ice drills focusing on gap control and body positioning. Practice the butterfly stance for defensemen and teach forechecking recovery for forwards. Use small area games where players must defend a defined zone. Progress to full-ice scenarios showing transition from defense to offense. Emphasize active participation and game-like scenarios rather than static positioning lectures.
At what age should kids start learning specific hockey positions?
Ages 5-7 should focus on general awareness and basic zone concepts. Ages 8-10 can begin learning positional responsibilities like center, winger, and defenseman roles. Ages 11-13 are ready for advanced positioning including power plays and penalty kills. Age-appropriate progression prevents overwhelm and builds confidence. Younger players benefit from visual learning tools that make positioning clear without complicated diagrams.
Young hockey players who master positioning early become better players. They play smarter, score more, and have more fun. The drills above work because they're simple, age-appropriate, and game-like. Start with the basics. Add complexity as your child improves. Use Hockey Positioning™ to visualize scenarios and reinforce what they learn on ice. With consistent practice, your child will stop chasing the puck and start playing with purpose. That's when hockey becomes fun.