 how-to
Hockey Penalty Kill Positioning for Kids
Table of Contents
- Why Penalty Kill Positioning Matters for Young Players
- Understanding the Penalty Kill Box Formation
- The Penalty Kill Diamond Formation for Different Situations
- Key Defensive-Zone Positioning Principles
- Youth Hockey Penalty Kill Drills to Build Muscle Memory
- Common Penalty Kill Positioning Mistakes Kids Make
- Practice Penalty Kill Positioning at Home
- Frequently Asked Questions
Last Updated: October 10, 2026
Why Penalty Kill Positioning Matters for Young Players
A penalty kill is your team's defensive strategy when playing with fewer players than the other team. Good positioning stops goals before they happen.
Most youth coaches focus on skating and hitting, but positioning wins games. A player in the right spot blocks passes without moving; a player in the wrong spot leaves the net wide open.
Kids who learn penalty kill positioning early develop hockey sense that carries through their entire playing career. They stop chasing the puck, anticipate plays before they happen, and become the players coaches trust in tight games.
Penalty kill positioning follows simple patterns your child can learn at home, on the ice, or through interactive visual tools.
Understanding the Penalty Kill Box Formation
The penalty kill box formation is the most common defensive setup when short-handed. Four defenders spread in a square shape, protecting the area in front of the net.
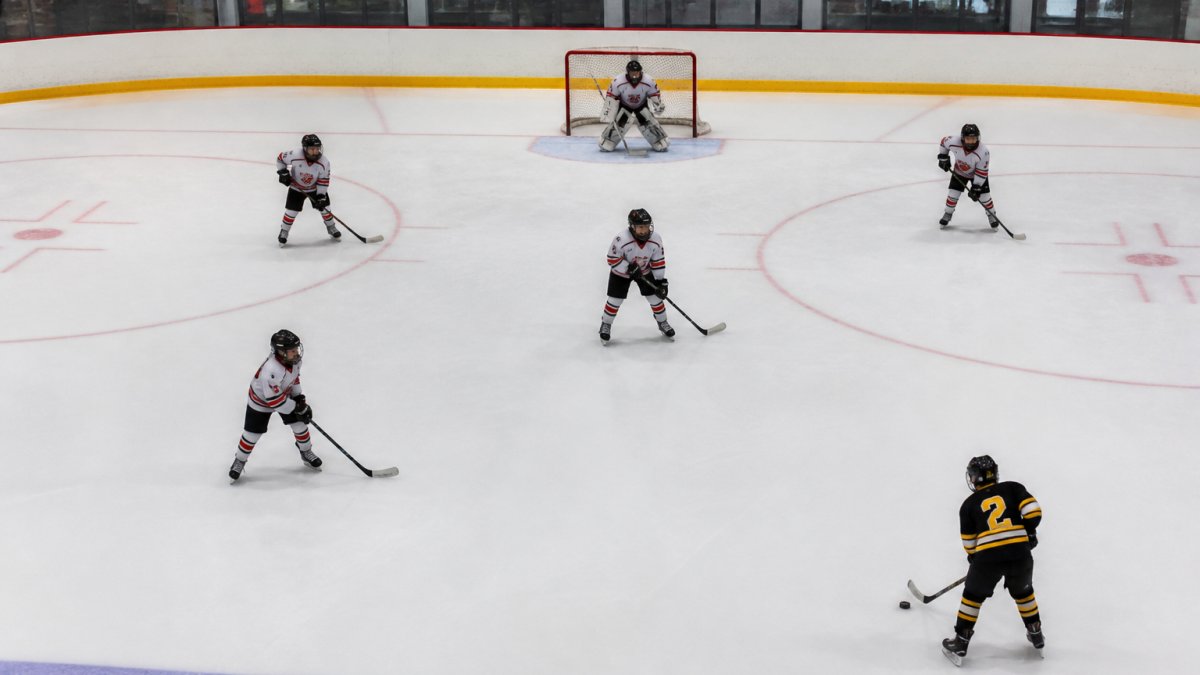
The goalie sits in the center while four skaters form the walls around them. The box moves with the puck but always stays between the puck carrier and the goal.
How the Box Protects the Slot
The slot is the most dangerous scoring area on the ice, directly in front of the net, about 10-15 feet out. Your job during a penalty kill is to keep the other team out of the slot.
The box formation protects the slot by placing defenders between the puck and the goal. When the puck moves, the box shifts with it, staying tight and never spreading too wide.
A common mistake is leaving gaps in the box when kids chase the puck, creating open lanes to the slot where goals happen.
Positioning Each Defender in the Box
The two defensemen stand low in the box, closest to the goalie. Their job is to protect the slot at all costs, keeping their sticks on the ice and blocking shots.
The two forwards stand higher in the box, closer to the puck. Their job is to apply pressure to the puck carrier while watching for passes into the slot and keeping passing lanes blocked.
All four players stay roughly the same distance apart, close enough to prevent passing lanes, far enough to avoid gaps. Players should see the puck and their teammates at the same time.
The Penalty Kill Diamond Formation for Different Situations
The penalty kill diamond formation works better in certain situations. Instead of a square, defenders spread in a diamond pattern: one high, two in the middle, one low.
The diamond works best when the other team passes around the outside quickly. The high forward pressures the puck, the two middle players cover passing lanes, and the low defender protects the slot.
When to Use the Diamond Setup
Use the diamond when the other team has a strong outside game or when your team is down by multiple goals late in the game. It's more aggressive and applies more pressure. Most youth leagues use the box formation because it's simpler, but teaching the diamond gives young players flexibility to adjust based on the opponent.
Player Roles in the Diamond
The high forward stands at the top of the diamond, farthest from the goal, pressuring the puck carrier to force a bad pass.
The two middle players stand on the sides of the diamond, watching for passes and blocking passing lanes with active sticks while staying in their lanes.
The low defender stands at the bottom of the diamond, closest to the goalie, providing pure slot protection without chasing the puck.
The diamond requires more communication than the box, with players calling out who's pressuring and when to rotate.
Key Defensive-Zone Positioning Principles
Good penalty kill positioning comes down to three core principles. Master these and your child will understand penalty kill defense at any level.
Active Stick Placement and Passing Lane Coverage
An active stick is the difference between a good penalty killer and a great one. Your stick should always be between the puck and the player you're defending, on the ice, not in the air.
Teach your child to hold their stick horizontally, parallel to the ice, between the puck and the goal so it's already in position when a pass comes.
Passing lane coverage means predicting where passes will go before they happen. Have your child watch games and predict passes before they occur, this builds the ice-reading skills that separate good penalty killers from great ones.
Shot Blocking and Closing Shooting Lanes
Blocking shots is smart defense, a blocked shot is a stopped goal. Teach your child to block with their body (not face), turn sideways to the shooter, keep hands up, and make themselves big without being reckless.
Shooting lanes are the paths a player can shoot through. Close these lanes by positioning your body and stick between the shooter and the goalie. Avoid standing too close to teammates, which creates gaps elsewhere. Cover dangerous areas first: the slot, high slot, and point.
Pressure and Containment Without Overcommitting
Pressure means skating toward the puck carrier to force a quick decision. Containment means staying between them and the goal. Young players often overcommit and miss. The right approach is controlled pressure: skate toward the carrier, keep your stick on the ice, keep your body between them and the goal, and stay under control. Containment is active defense, more important than making a hit.
Youth Hockey Penalty Kill Drills to Build Muscle Memory
Drills build muscle memory so your child's body learns positioning without thinking, allowing muscle memory to take over during fast-paced games.
Drill 1: Stationary Box Positioning
Set up four cones in a box shape about 15 feet from the goal line with four players at the cones and the goalie in the net. Call out puck locations (left, right, top, bottom) and have players shift their weight toward the puck while maintaining box shape. Run for 10 minutes twice a week so kids understand spacing naturally.
Drill 2: Active Stick and Passing Lane Denial
This drill teaches stick positioning and passing lane coverage. Use four players and one passer.
The four players stand in a box formation around the goal. The passer stands outside the box with a puck. The passer tries to pass the puck into the box.
This forces kids to understand stick positioning. They learn where their stick needs to be to block a pass. After 10 passes, rotate the passer.
Run this drill for 15 minutes. It's frustrating at first because passes will get through. That's okay. Kids learn from mistakes.
Drill 3: Puck Movement and Rotation Response
This drill adds movement. The four players start in a box. A passer moves the puck around the perimeter.
The passer moves the puck slowly at first. The defenders shift to stay between the puck and the goal. As the drill continues, the passer moves the puck faster.
This teaches the most important skill: keeping the box shape while the puck moves. It's the difference between understanding the box and actually playing penalty kill defense.
Run this drill for 20 minutes. Start slow. Speed it up gradually. Kids will learn to shift as a unit.
Common Penalty Kill Positioning Mistakes Kids Make
Every young player makes these mistakes. Knowing them helps you correct them faster.
Chasing the Puck Instead of Staying Positioned
This is the biggest mistake. Kids see the puck. They chase it. The box falls apart. Gaps open up. Goals happen.
The fix: teach your child that their job isn't to chase the puck. Their job is to stay in their position. The puck will come to them. When it does, they'll be ready.
Use this phrase: "Position first, puck second." Say it during drills. Say it during games. Eventually it becomes their instinct.
Leaving the Slot Unprotected
The slot is the most dangerous area. Some kids leave the slot to chase the puck on the outside. That's backwards. Protect the slot first. Everything else is secondary.
If your child is a defenseman, their primary job is slot protection. They should rarely leave the area directly in front of the net. If they do leave, another defender should move down to replace them.
Pressuring Too Early or Too Late
Some kids rush at the puck carrier the moment they get the puck. They're too early. The puck carrier passes before the pressure arrives.
Other kids wait too long. By the time they pressure, the puck carrier is already in the slot.
The timing is: pressure when the puck carrier is about 10 feet away. Not before. Not after. Right when they're in range. This takes practice. But it's learnable.
Practice Penalty Kill Positioning at Home
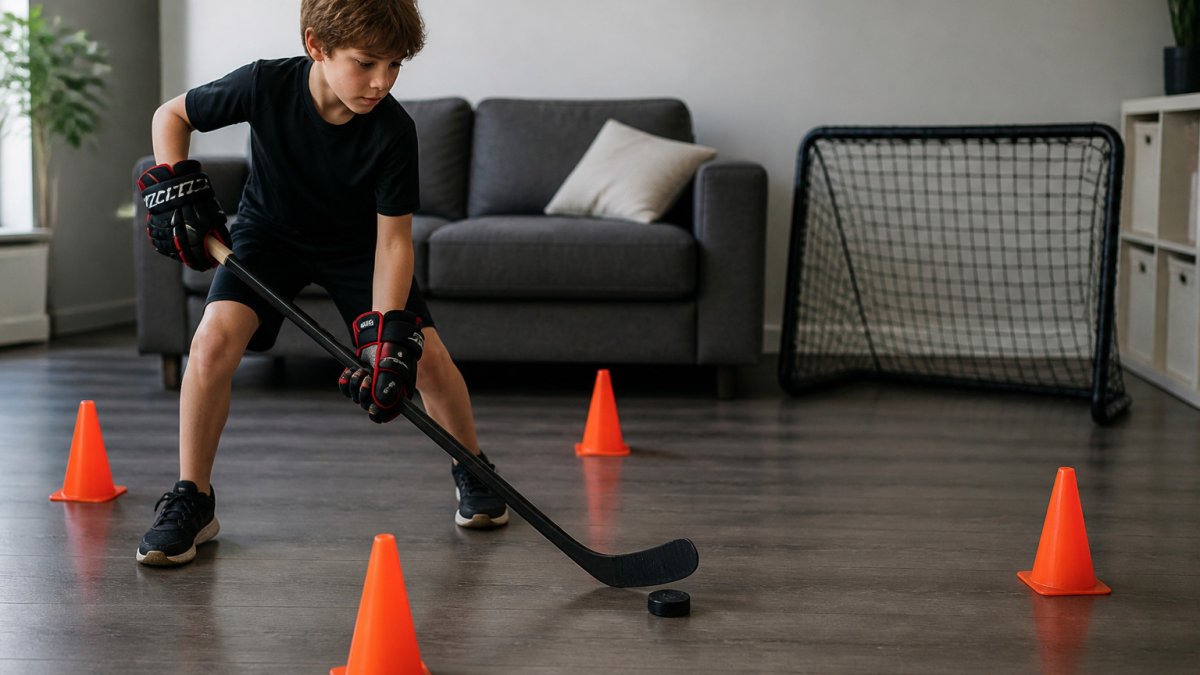
Your child doesn't need ice time to practice penalty kill positioning. They can practice at home.
Using Visual Learning Tools
Interactive apps like Hockey Positioning™ let kids drag the puck across a virtual ice surface and see where every player should stand. They can practice every penalty kill scenario without leaving home.
This visual learning works because kids see the positioning from above. They understand the spacing. They see how the box moves with the puck.
Hockey Positioning™ includes pro coaching tips at every puck location. Kids learn not just where to stand, but why they're standing there. They learn what happens if they move too early or too late.
Spend 10 minutes a day with these tools.
Mental Reps and Game Scenario Practice
Mental reps are real reps. Have your child close their eyes and imagine a penalty kill scenario.
Let them answer. Then describe what happens next: "The puck moves to the point.
This builds hockey sense. Kids learn to anticipate. They learn to think two steps ahead.
Watch games together and pause at penalty kills.
Teaching your child penalty kill positioning takes time.
Start with the box formation. Master the basics. Then add the diamond. Use the drills we covered.
The difference between a player who chases the puck and a player who understands positioning is huge.
Frequently Asked Questions
What is the best penalty kill positioning for kids just starting out?
The box formation is the simplest penalty kill positioning for young players. Four defenders arrange themselves in a loose box shape around the slot to protect the front of the net and block shooting lanes. Kids should focus on staying in their assigned area rather than chasing the puck, keeping their sticks active in passing lanes, and communicating with teammates about who covers which opponent. This structure teaches defensive-zone coverage without overwhelming beginners.
How do you teach kids to stay in position during a penalty kill instead of chasing the puck?
Teach kids that their job is to control space, not the puck. Use drills where players hold their positions while the puck moves around them, rewarding them for maintaining formation and active stick placement. Emphasize that defensive pressure comes from good positioning and anticipation, not from always being on the puck carrier. Visual tools that show correct positioning help kids understand where to be before the puck arrives, building the discipline to trust their formation over instinct.
What are the main differences between the box and diamond penalty kill formations?
The box formation uses four defenders arranged in a square shape around the slot, best for teams facing perimeter passing plays. The diamond formation stacks defenders vertically with one high and one low, working better against teams that shoot from the point or drive the net hard. Kids should learn both formations since different opponents and game situations call for different structures. The box is typically easier for younger players to understand and execute.
How can kids practice penalty kill positioning at home?
Use interactive visual learning tools that let kids see player positioning instantly when the puck moves across the ice. Mental practice, imagining different penalty-kill scenarios and where they should position themselves, builds understanding without needing a rink. Parents can also use simple drills with household items to mark zones, having kids move to the correct positions as scenarios are called out. Combining visual learning with repetition helps muscle memory develop faster than watching videos alone.