 blog
Interactive Hockey Drills for Youth Teams
Last Updated: October 23, 2026
Quick Summary
Interactive hockey drills teach decision-making and game awareness by forcing players to think about positioning, timing, and game flow in real time, rather than executing isolated skills in empty space. These drills help youth players build the mental map they need on game day by practicing in game-like situations where they see immediate consequences of their positioning choices.
- U10 players should practice in small-area games and game-like situations, with 40-50% of practice time dedicated to interactive activities.
- Small-area games increase puck touches from 5 times in a full-ice game to 15-20 times, building skills faster through high repetition.
- A balanced 60-minute practice includes 25% skill work, 40% small-area games, and 35% transitions and game flow.
- Stickhandling drills should progress through four levels from stationary work to game-like situations, building foundation skills before adding pressure.
- Interactive apps work best as supplements to on-ice practice, teaching positioning concepts off-ice before reinforcing them during drills.
Table of Contents
- Why Interactive Hockey Drills Work Better Than Static Practice
- U10 Hockey Practice Drills That Build Real Game Awareness
- Small Area Games for Youth Hockey: High-Repetition Skill Building
- Youth Hockey Practice Plans: Structuring a Full 60-Minute Session
- Interactive Hockey Training Apps: Bridging the Gap Between Theory and Ice
- Puck Control and Stickhandling Drills That Stick
- Making Interactive Drills Work: Setup, Progression, and Common Mistakes
- Frequently Asked Questions
Why Interactive Hockey Drills Work Better Than Static Practice
Most hockey coaches run the same practice structure every week: a warm-up, some skating drills, passing drills, maybe a scrimmage. Players execute the movements. Then they leave the ice.
The problem? Static drills don't teach decision-making. A player can nail a passing drill in isolation but still chase the puck during a game because they never practiced reading the ice in real time.
Interactive hockey drills flip this. Instead of running through motions, players learn where to be and why. They see what happens when they move to the wrong spot.
At Hockey Positioning™, we've designed our platform around this principle.
Teams using interactive drills can help players make smarter decisions, stay in position longer, and understand their role in the offense or defense. That's what happens when practice mirrors the actual game.
U10 Hockey Practice Drills That Build Real Game Awareness
U10 players are at the perfect age to start understanding positioning. They're old enough to grasp concepts but still learning the basics. The key is making positioning visible and fun.
USA Hockey's youth development guidelines emphasize that players this age benefit from small-area games and game-like situations over isolated skill work.
Here are the drills that work:
1v1 Chase and Recover One player starts with the puck at center ice. The other defends. The offensive player tries to move toward the net while the defender applies light pressure. After 10 seconds, they switch roles. Players learn how to protect the puck and how to pressure the puck carrier. This teaches edge work and basic defensive positioning.
3v3 Continuous Play Three players attack, three defend. When the defense gets the puck, they become the offense. No stoppages. This forces players to think about transitions and positioning in real time.
Pass and Follow Players pass to a teammate and move to a new spot. The receiver passes to the next player and moves again.
Hockey Canada's practice design resources stress that U10 practice should include 40-50% game-like activities. These drills hit that mark because they mirror what happens in actual games.
Small Area Games for Youth Hockey: High-Repetition Skill Building
Small-area games are where interactive hockey drills shine. They force more touches, more decisions, and more game-like situations in a shorter time.
In a small area (think half-ice or a quarter-ice section), players get the puck more often. They face defensive pressure sooner. They have to make quicker decisions. A U10 player might touch the puck 5 times in a full-ice game but 15-20 times in a small-area game. That repetition builds skills fast.
2v2 Tight-Space Battles
Two offensive players try to score on two defenders in a confined area. The space is tight enough that passing is the best option, but close enough that individual skill still matters. Players learn when to pass, when to shoot, and how to support a teammate in tight space.
Set it up with cones marking a box about 40 feet by 30 feet. One team attacks for 30 seconds. If they score or the defense clears the puck, the other team goes. Rotate teams every minute.
The learning happens fast. A player quickly realizes that forcing a shot from a bad angle doesn't work. They see that a quick pass to an open teammate is more effective.
3v3 Continuous Play
Three attackers, three defenders. When possession changes, the team with the puck attacks and the other team defends. No stoppages. No line changes. The game flows continuously for 2-3 minutes, then rotate.
This drill teaches transition play. Players learn that they need to get back when they lose the puck and push forward when they win it. The continuous nature means they can't rest or reset. They have to adjust on the fly.
For U10 players, use a half-ice setup. For older youth, full ice works. The smaller the space, the more game-like the pressure.
Youth Hockey Practice Plans: Structuring a Full 60-Minute Session
A good practice has rhythm. It builds skills, adds pressure, and finishes with game-like situations. Here's a structure that works:
Warm-Up (5-10 minutes) Start with skating and light touches. Get the ice warm, get players moving. Nothing too intense yet.
Skill Work (15-20 minutes) Focus on one or two specific skills: passing accuracy, puck control, or shooting. Use drills that build that skill in isolation first, then add game-like pressure.
Small-Area Games (20-25 minutes) This is where interactive hockey drills shine. Players apply the skills they just practiced in a game-like setting. They make decisions. They face pressure. They see what works and what doesn't.
Cool-Down and Game Review (5-10 minutes) Bring players together. Talk about what you saw. Ask them what they learned. End on a positive note.
The balance matters. Too much skill work and players get bored. Too much game-like play and they never build the fundamentals. A 60-minute practice that's 25% skill, 40% small-area games, and 35% transitions and game flow works for most youth teams.
Interactive Hockey Training Apps: Bridging the Gap Between Theory and Ice
Video coaching and whiteboard diagrams teach positioning in theory. But there's a gap between understanding a concept and executing it on ice.
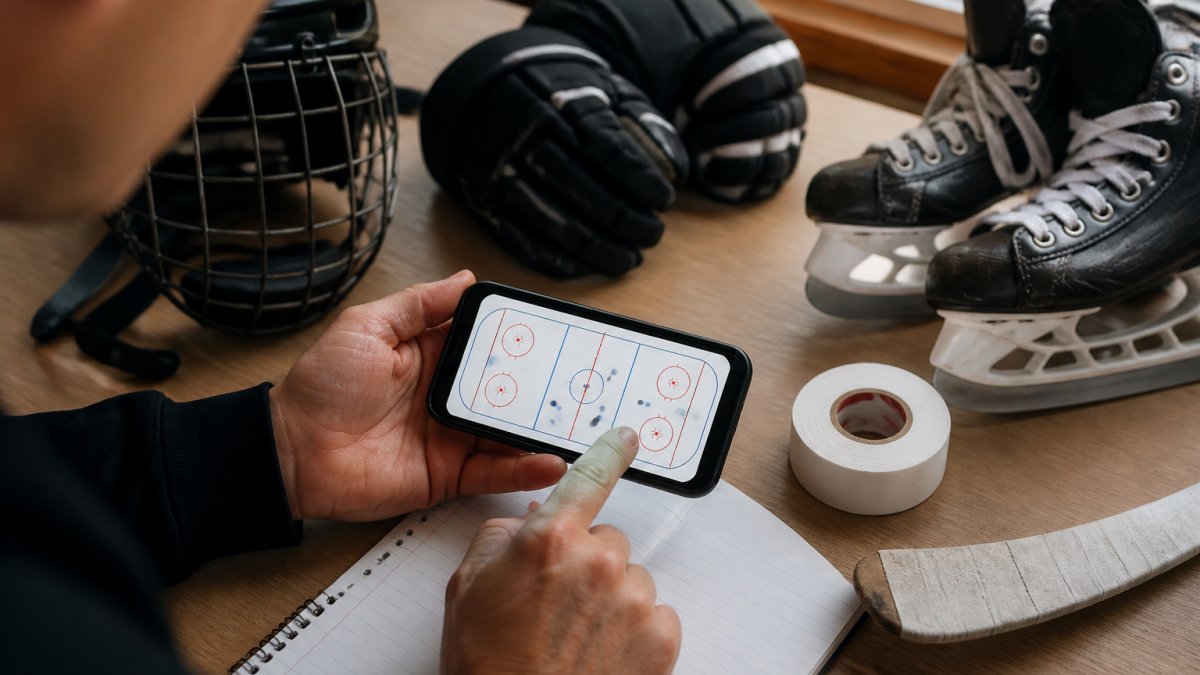
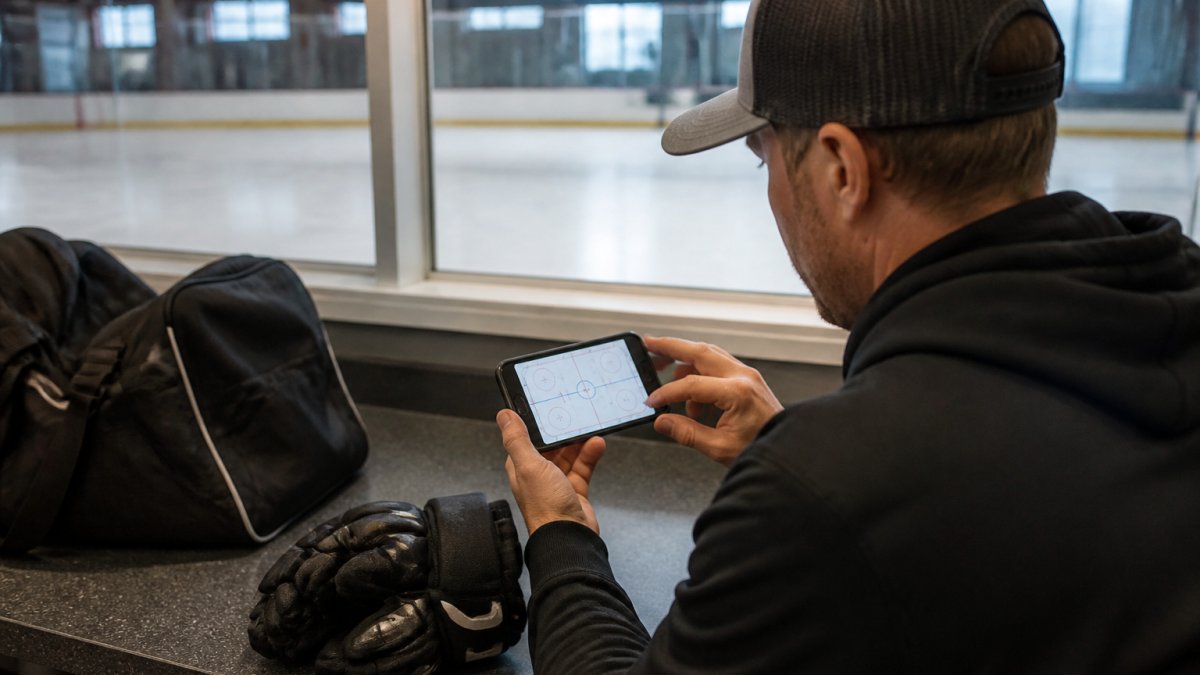
Interactive hockey training apps bridge that gap. When a player uses an app like Hockey Positioning™, they drag the puck across an ice surface and see where all five of their teammates should be. They see it happen instantly.
The app works because it makes positioning visual. A coach can explain that the right wing should be at the hash marks when the center has the puck on the boards. Or the app can show it.
Educational technology research on visual learning shows that visual explanations improve retention and understanding compared to text alone.
The best apps include:
- Full ice positioning for power plays, penalty kills, and even-strength play
- Pro coaching tips at every puck location, so players understand the why behind each position
- Game scenarios that let players practice decision-making, not just positioning
- Customizable teams so players can practice with their own jersey colors and lineup
Hockey Positioning™ includes all of these. Players can explore every game scenario and see exactly where they should be.
Puck Control and Stickhandling Drills That Stick
Puck control is the foundation. A player who can't handle the puck can't execute any positioning concept they learn.
Stickhandling drills should progress from simple to complex:
Level 1: Stationary Stickhandling Player stands in one spot and handles the puck. Focus on hand position, stick angle, and touch. This builds muscle memory.
Level 2: Stickhandling While Moving Player moves forward while handling the puck. Add cones to create a path.
Level 3: Stickhandling Under Pressure A defender applies light pressure while the offensive player handles the puck.
Level 4: Stickhandling in Game-Like Situations A small-area game where puck control is the focus. Players use their stickhandling skills in a real game context.
Each level teaches something different. Stationary work builds touch. Movement work teaches spatial awareness. Pressure work teaches protection.
The key is this: Don't skip the basics. A player who rushes through stationary stickhandling will struggle under pressure. Build the foundation first.
Stickhandling drills should progress through four levels, each building on the previous one.
| Level | Focus | What Players Learn |
|---|---|---|
| Level 1: Stationary Stickhandling | Hand position, stick angle, touch | Muscle memory |
| Level 2: Stickhandling While Moving | Handle puck while scanning ice | Spatial awareness |
| Level 3: Stickhandling Under Pressure | Protect puck against defender | Puck protection |
| Level 4: Stickhandling in Game-Like Situations | Use skills in small-area game | When to use each skill |
Making Interactive Drills Work: Setup, Progression, and Common Mistakes
Interactive drills only work if you set them up right.
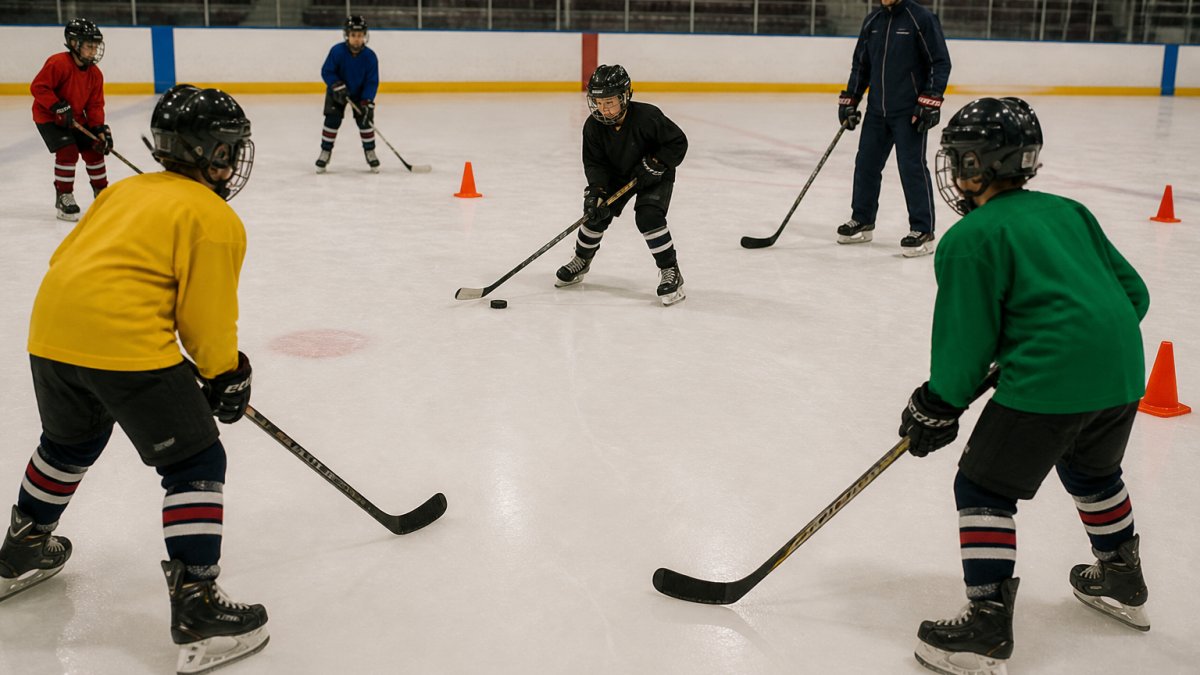
Setup Matters Define the space clearly. Use cones or lines. Tell players the rules before they start.
Progression is Key Start simple. A 2v2 with no pressure teaches positioning. Add a defender. Add a time limit. Add a scoring rule.
Common Mistakes
Too much talking, not enough playing. Explain the drill in 30 seconds. Let them play for 3 minutes.
Drills that are too easy. If players can execute the drill without thinking, it's not teaching them anything. Add pressure.
No clear learning outcome. What should players learn from this drill? Better passing? Smarter positioning? Faster transitions?
Ignoring individual differences. Some players learn faster than others. Some need more touches. Some need more pressure.
Not connecting the drill to the game. Youth Hockey Positioning Drills for Beginners offers guidance on teaching positioning concepts and helping players understand how drills apply to real game situations.
Interactive hockey drills work because they make the game visible.
For a deeper dive into positioning concepts and how to teach them, Hockey Positioning™ offers an interactive platform where players can explore every game scenario and see exactly where they belong on the ice. Download on the App Store and give your team the edge they need to play with confidence.
Frequently Asked Questions
What are some fun interactive hockey drills for youth teams?
The best interactive hockey drills combine game-like movement with clear learning goals. Examples include 2v2 tight-space battles that force decision-making under pressure, 3v3 continuous play that teaches positioning and puck movement, and progressive passing sequences where players must read passing lanes. These drills work because they mimic real game situations while keeping players engaged through competition and immediate feedback on their choices.
How can interactive hockey training apps help my child understand positioning better than watching YouTube videos?
Interactive apps let players actively control the puck and see immediate consequences of their positioning choices. Unlike passive video watching, dragging the puck across a full ice surface shows exactly where teammates should move for every scenario, power plays, penalty kills, and standard play. This hands-on, visual learning helps young players build mental models of positioning that transfer to real games, because they're making decisions, not just observing them.
What skills should youth hockey practice drills focus on?
Effective youth hockey drills build five core skills: puck control and stickhandling, passing accuracy and puck movement, shooting and scoring opportunities, skating agility and edge work, and puck protection during battles. Age-appropriate drills progress these skills in order, starting with fundamental skills and gradually adding competitive small-area games and position-specific scenarios. Each drill should isolate one skill while keeping players moving.
How long should interactive hockey drills last during practice?
Youth hockey drills can be structured to allow players to repeat movements enough to build muscle memory without losing focus. Drills can be adjusted for different age groups and skill levels, with clear setup and transitions. A full practice can include various drills, warm-up, and cool-down time.