 how-to
Teaching Hockey Positioning at Home: A Step-by-Step Guide
Table of Contents
- Why Teaching Hockey Positioning at Home Matters
- Understanding Hockey Positions Explained for Beginners
- Core Positioning Concepts Every Player Needs
- Hockey Positioning Drills for Beginners at Home
- How to Improve Hockey IQ Off the Ice
- Using Visual Hockey Strategy Tools for Home Training
- Common Positioning Mistakes and How to Fix Them
- Adapting Positioning Lessons by Age and Skill Level
- Frequently Asked Questions
Last Updated: October 11, 2026
Why Teaching Hockey Positioning at Home Matters
Most young hockey players chase the puck instead of learning WHERE to be on the ice, the biggest problem parents and coaches face.
Teaching hockey positioning at home changes that. When kids understand their role, they stop panicking, make smarter decisions, and become the player coaches want on the ice.
Kids who learn positioning early play with confidence and anticipate plays instead of reacting late. They need to SEE positioning, not just hear it, and practice in a low-pressure environment where mistakes don't matter.
This guide shows you how to teach hockey positioning at home with no rink or expensive equipment, just a clear plan.
Understanding Hockey Positions Explained for Beginners
Hockey has six players on the ice, each with a specific job. Hockey positions are the assigned areas and responsibilities each player takes on the ice to support the team's strategy.
The Forward Roles: Center, Left Wing, Right Wing
Forwards are offensive players who spend most of their time in attacking zones trying to score goals.
The center plays in the middle, handles the puck in the neutral zone, directs play, takes faceoffs, and supports both wings, the quarterback of the forward line.
The left wing and right wing play on the sides, support the center, create scoring chances, and fill the lanes on either side.
Good forwards also defend and transition the puck back to their team, critical for young players to understand.
The Defensive Roles: Left Defense, Right Defense, Goalie
Defensemen protect the goal. They clear the puck and stop opposing forwards from scoring.
The left defense and right defense play in front of the goalie, read the play, position themselves between the puck and the net, and battle in the corners.
The goalie is the last line of defense, stops shots, directs the defensemen, and communicates what's happening on the ice.
Teaching young defensemen proper spacing between the net and boards is one of the biggest wins you can achieve at home.
Core Positioning Concepts Every Player Needs
Before you run drills, your player needs to understand four core ideas. These concepts apply to every position and every situation.
Body Position and Balance
Body position is how your player stands on the ice. Feet should be shoulder-width apart with knees bent slightly for a low center of gravity, allowing faster acceleration and quicker stops.
Many young players stand too upright with straight legs and weight on their heels, slow and unstable.
Teach your player to bend their knees, lean forward slightly, and keep weight on the balls of their feet, the athletic stance that allows movement in any direction without delay.
Practice by calling out directions while your player holds the stance and moves instantly, building muscle memory.
Spacing and Angle
Spacing is the distance between players on the ice; angle is how your player's body faces relative to the puck and net. Good spacing means close enough to help but far enough to avoid interference. Angle matters because a player facing the puck can react instantly, while one facing the wrong way must turn first, that split second matters in hockey.
Teach your player to always face the puck carrier and rotate their body to keep eyes on it as the puck moves.
Practice by moving around the room while your player tracks and faces you, adjusting instantly when you change direction.
Supporting the Puck Carrier
Supporting the puck carrier means being in position to receive a pass or take over if the puck is turned over. Stay one to two strides away, close enough to receive a pass but far enough to avoid interference and maintain an escape route.
Teaching this concept early prevents bad habits and turnovers from forming.
Hockey Positioning Drills for Beginners at Home
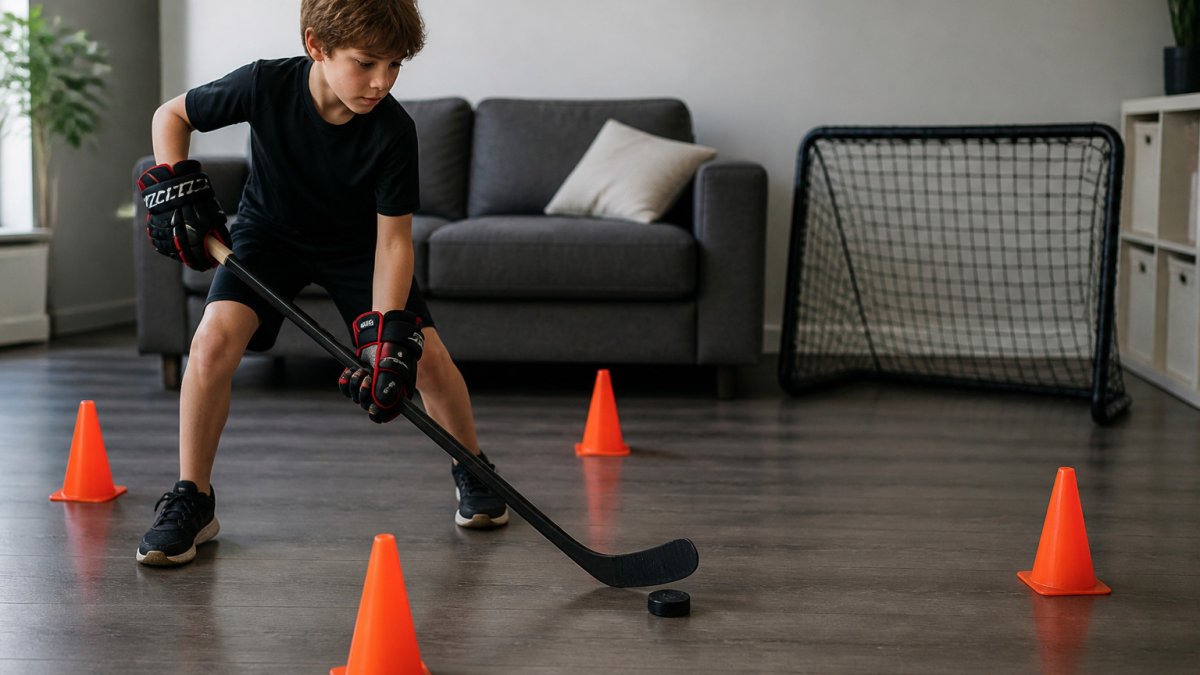
Drills don't require a full rink, teach positioning in your living room, basement, or driveway through controlled repetition.
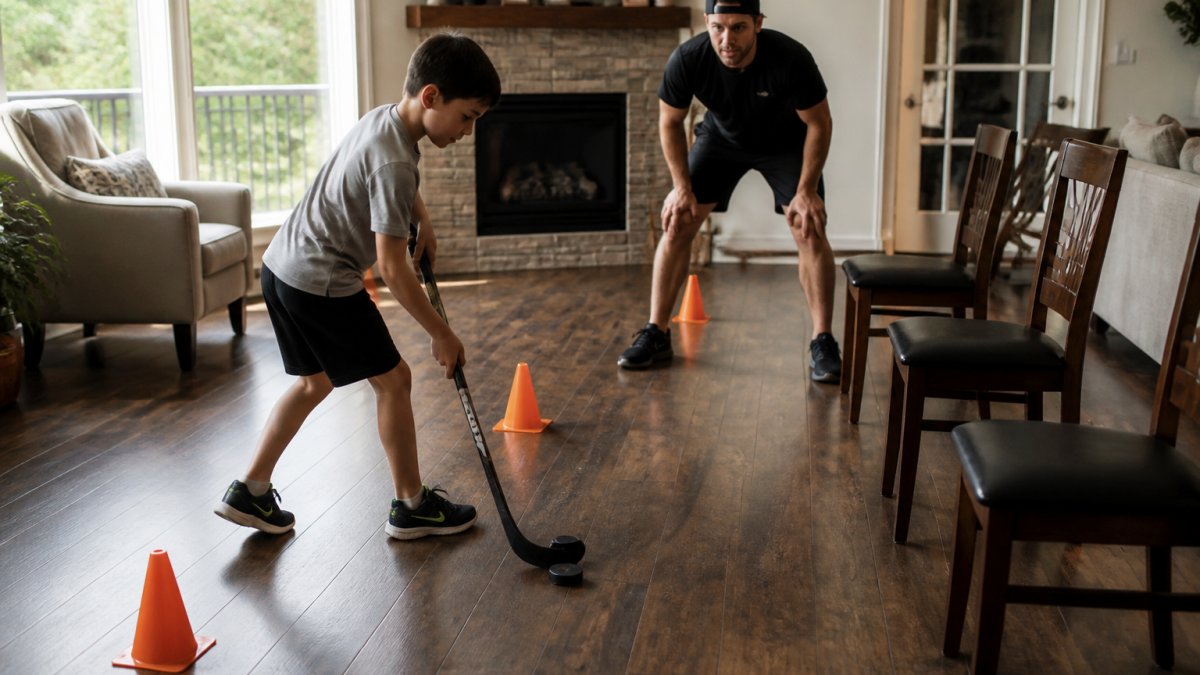
Drill 1: Lane Awareness Using Household Items
Set up three lines using cones, chairs, or tape spaced six feet apart. Have your player move to called lanes, assume the athletic stance, and face the center. Vary the speed for five minutes. Repetition trains smooth lane movement and builds the foundation for understanding positioning during actual play.
Drill 2: Footwork and Stance Practice
Have your player stand in the athletic position and move in called directions (forward, backward, left, right, stop), returning to the athletic stance each time. Start slowly, focusing on form, then increase speed. Do this three times per week for ten minutes, you'll see improvement in balance and quickness within two weeks.
Drill 3: Read and React Positioning Scenarios
Describe a scenario (e.g., "The puck is in the corner on your right. What do you do?") and have your player move to the correct position and explain their thinking. Ask follow-up questions about teammate locations, distance from the puck, and puck movement. This teaches your player to THINK about positioning, not just move.
How to Improve Hockey IQ Off the Ice
Hockey IQ is the ability to read the game and make smart decisions. You don't need ice to build this skill.
Visual Learning and Mental Mapping
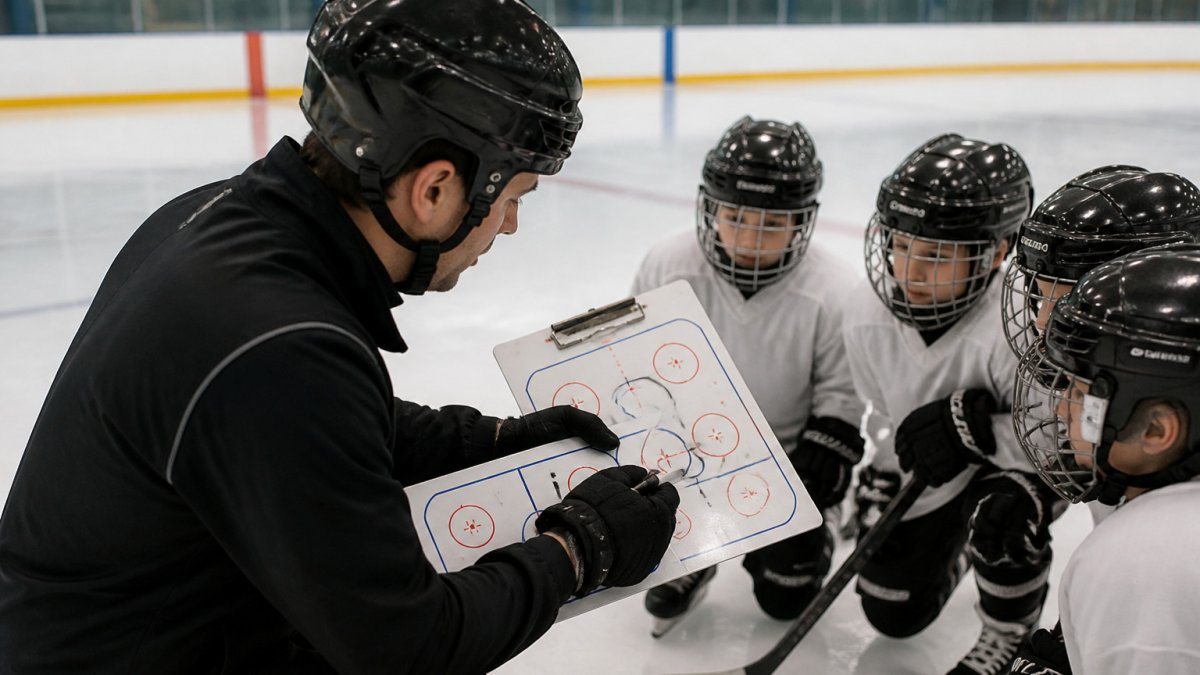
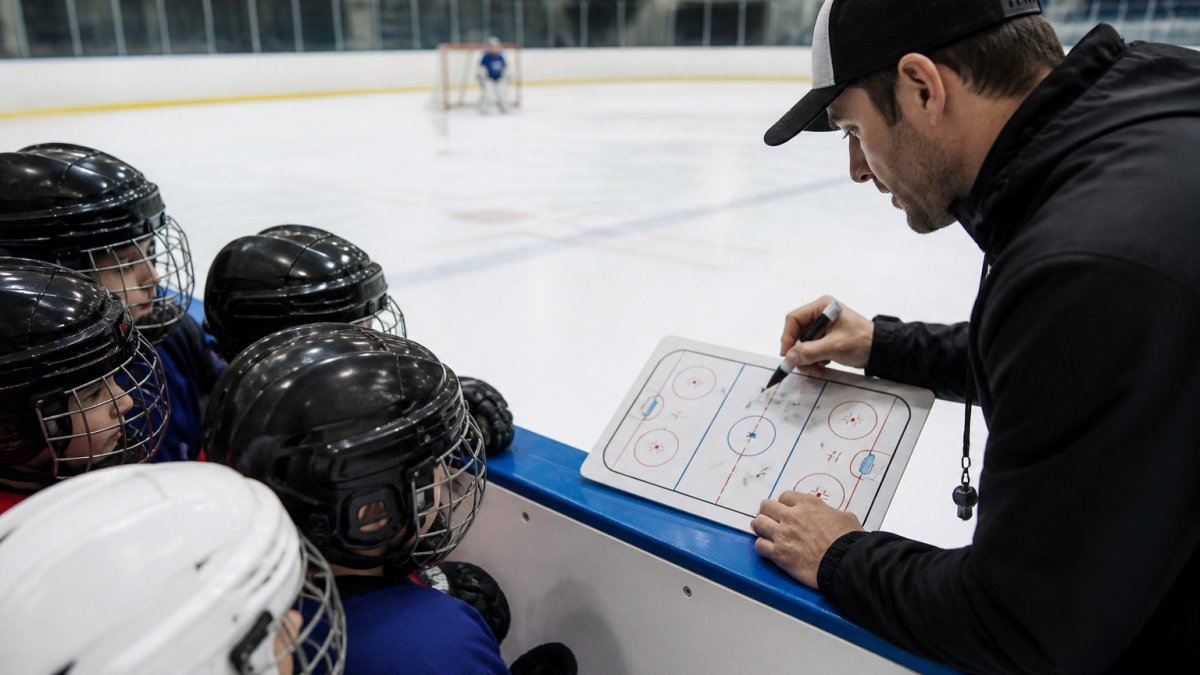
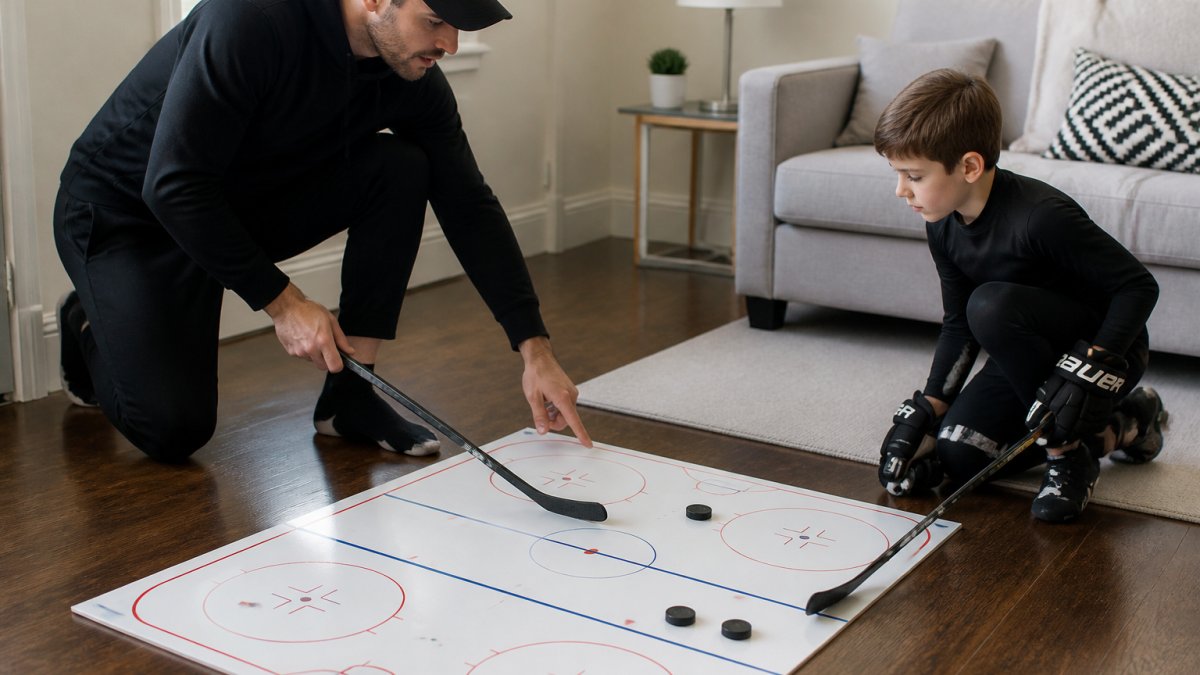
Draw the ice on paper with circles representing players in different scenarios (power play, 3-on-3, breakout). Have your player draw their own diagrams and explain positioning for specific situations, forcing them to think through positioning step by step.
Have your player close their eyes and visualize the ice while you describe a scenario, building positioning intuition without needing a rink.
Game Film Study and Positional Recognition
Watch hockey games together, pausing to identify player positions and point out good and bad positioning examples. Most young players watch the puck, not the full ice. Watch clips of your player's own games and ask them to evaluate their positioning in different situations.
Using Visual Hockey Strategy Tools for Home Training
Technology can help. The right tools make positioning visual and interactive.
Interactive Apps for Positioning Practice
Hockey Positioning™ is an interactive app where you drag the puck across a virtual ice surface and the app instantly shows where each player should be. Your player sees positioning happen in real time, experiments with different puck locations, and learns not just WHERE to be but WHY through pro coaching tips covering power plays, penalty kills, zone entries, and defensive situations.
The app teaches the CONCEPT of positioning that translates to real ice. Designed for players ages 5-13 and adults new to hockey, it works for absolute beginners and competitive players with scenarios that scale with skill level.
Measuring Progress and Adjusting Your Approach
After two weeks of drills, assess positioning during games. Keep notes on what's improving and what needs work, adjusting your approach based on your player's learning style.
Common Positioning Mistakes and How to Fix Them
Every young player makes the same mistakes. Knowing what to look for saves time.
Chasing the puck instead of reading the play: Pause during games and ask "Where SHOULD you be right now?" Standing too close to teammates: Emphasize spacing during drills. Facing the wrong direction: Make body position a focal point during every drill. Not supporting the puck carrier: Teach the one-to-two stride rule. Poor balance and stance: Drill the athletic stance until it's automatic.
Adapting Positioning Lessons by Age and Skill Level
Positioning teaching changes based on age. A 6-year-old needs different lessons than a 12-year-old.
Ages 5-7: Foundational Movement and Zone Awareness
At this age, skating is still new. Positioning lessons should be simple.
Focus on zone awareness. Teach your player the three zones: offensive, neutral, defensive. Show them which zone they're in during games. This is the foundation for understanding positioning.
Keep drills SHORT. Five to ten minutes is plenty. Young players have short attention spans. Better to do one drill well than three drills poorly.
Use games and fun. Don't make it feel like work. "Let's practice being in the right lane" is better than "We're doing positioning drills." Make it playful.
Introduce the athletic stance but don't obsess over it. At this age, just getting them comfortable on skates is the win.
Ages 8-10: Defensive and Offensive Responsibilities
At this age, players can understand more complex concepts.
Introduce position-specific responsibilities. What does a center do differently than a wing? What's the defenseman's job?
Start teaching supporting the puck carrier. This is when they can understand spacing and being in position to help.
Increase drill complexity slightly. Add scenarios. "You're a wing. The center has the puck. Where are you?" Make them think about their role.
Introduce reading the play. Ask them to predict where the puck will go. This builds hockey IQ.
Ages 11-13 and Adults: Advanced Scenarios and Strategy
At this age, players can handle advanced positioning concepts.
Teach transition play. How do you move from defense to offense? When do you support? When do you move up the ice?
Introduce power play and penalty kill positioning. These are more complex scenarios with specific roles.
Use game film study more heavily. Have them analyze real games and identify positioning mistakes and successes.
Teach reading defensive strategies. What is the other team trying to do? How should you position yourself to counter it?
At this level, positioning becomes about anticipation and strategy, not just knowing where to stand.
Teaching hockey positioning at home builds the foundation for confident, smart play on the ice.
The biggest difference between players who struggle and players who excel is understanding. Struggling players don't know where to be.
Hockey Positioning™ makes this teaching process visual and interactive. You can show your player exactly where to be for any puck location.
USA Hockey's coaching resources provide additional positioning frameworks aligned with national development standards. Hockey Canada's player development guide offers age-specific positioning progressions for young players.
Frequently Asked Questions
Can hockey positioning be learned with diagrams or a mobile app?
Yes. Interactive visual tools make positioning concrete and easier to understand than static diagrams. Apps that let you drag the puck and see player movement in real-time help players build spatial awareness and decision-making faster. Combined with home drills, visual tools reinforce where to be on the ice and why, bridging the gap between theory and on-ice application.
How can you practice hockey positioning at home without ice?
Use floor-based drills with cones, tape lines, or household items to mark zones and lanes. Practice footwork, body positioning, and stance without needing skates. Study game film to recognize positioning patterns. Mental visualization exercises help players internalize where to be. Interactive apps let you explore full-ice scenarios on your phone, building positional awareness before stepping on the ice.
How often should beginners practice hockey positioning?
Beginners benefit from consistent, short practice sessions, 15 to 20 minutes three to four times per week. Mix off-ice drills, visual learning, and film study. Regular practice at home between ice sessions can help improve on-ice performance.
What should a defenseman do in the defensive zone?
A defenseman's primary job is to stay between the opponent and the net, cutting off scoring chances. Key responsibilities include reading the puck carrier, positioning to block passing lanes, supporting teammates by filling gaps, and managing spacing to prevent odd-man rushes. Defensive positioning requires anticipating play, communicating with the goalie, and reacting quickly to transitions from offense to defense.