 how-to
7 Best Hockey Drills for 10-Year-Olds
Table of Contents
- Why These 7 Hockey Drills Work for 10-Year-Olds
- Ice Hockey Skating Drills for Beginners
- Hockey Puck Handling Drills for Kids
- Passing, Receiving, and Shooting Fundamentals
- Small-Area Games for Youth Hockey
- Building a Hockey Practice Plan for 10-Year-Olds
- At-Home and Low-Equipment Alternatives
- Safety, Supervision, and Equipment Guidance
- Conclusion
- Frequently Asked Questions
Last Updated: October 6, 2026
Why These 7 Hockey Drills Work for 10-Year-Olds
At this age, players build the skating and puck-handling fundamentals through the 7 best hockey drills for 10 year olds that underpin everything on ice.
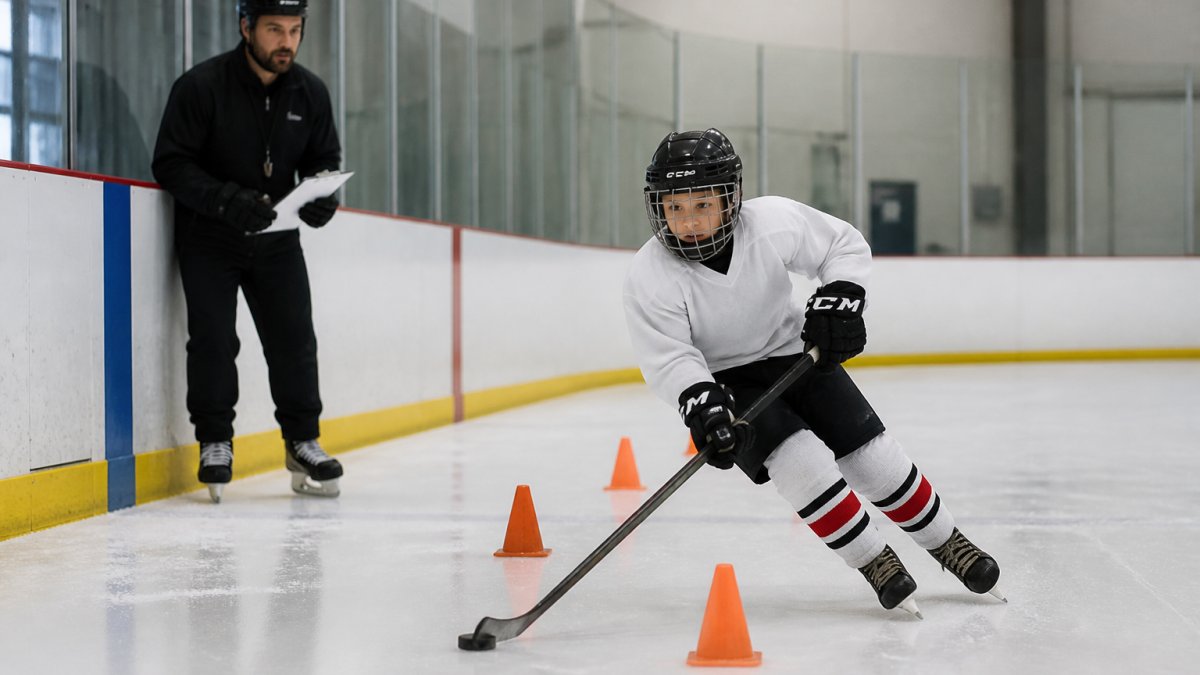
The biggest mistake coaches make is treating 10-year-olds like smaller competitive players.
These 7 drills build skating edges and puck control that transfer to games. Each takes 5-10 minutes and needs only basic ice and equipment.
Ice Hockey Skating Drills for Beginners
Skating is everything in hockey. A player with great edges and balance can learn to shoot and pass; a weak skater struggles forever. For 10-year-olds, focus on confidence and muscle memory for forward and backward movement.
Drill 1: Edge Work and Balance
What it teaches: Players learn to control the inside and outside edges of their skate blades, the foundation of all skating.
Setup:
- Use the full width of the ice or a designated lane
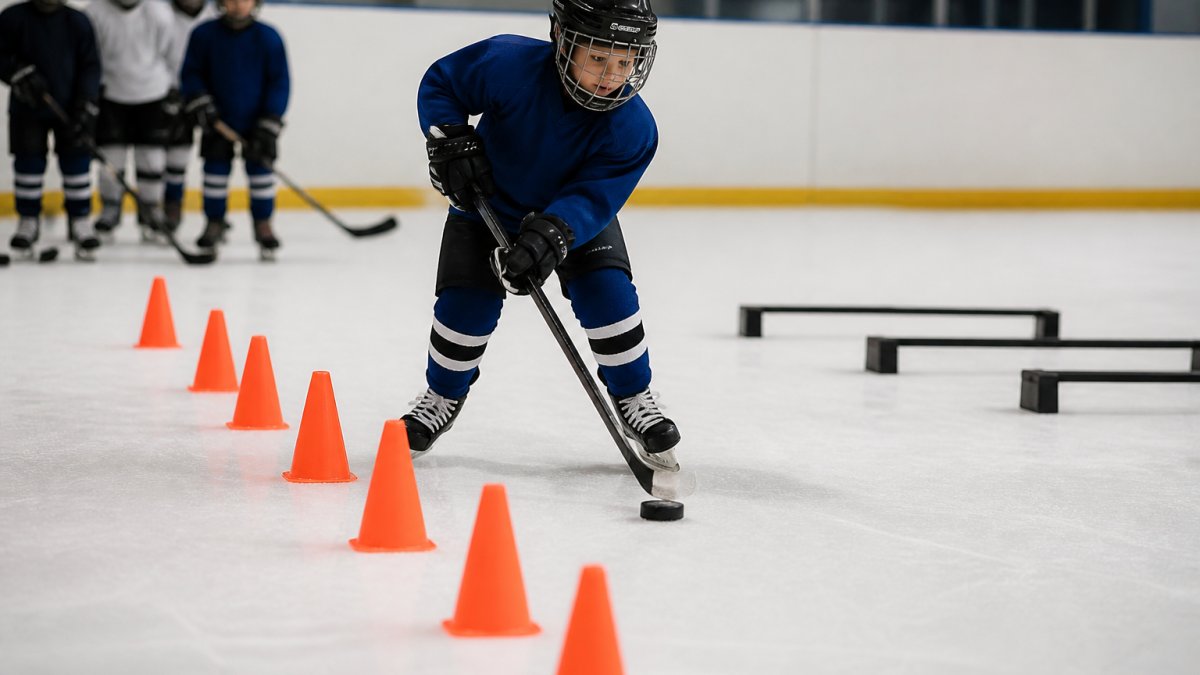
- Place cones every 15-20 feet in a straight line
- Start with no puck
How to run it:
- Players skate forward between cones, pushing off with their inside edge
- They should feel like they're "pushing the ice away" with each stride
- Repeat for 30 seconds, then rest; do 3-4 repetitions
Coaching cues:
- "Bend your knees, you should see your thighs getting low"
- "Push the ice, don't just move your legs"
- "Stay on your edges, not flat-footed"
Duration: 5 minutes total (including rest between reps)
Drill 2: Backward Skating and Pivot Turns
What it teaches: Players develop confidence moving backward and learn to transition between forward and backward directions.
Setup:
- Same cone setup as Drill 1
- Start with players facing forward
How to run it:
- Players skate forward to the first cone
- At the cone, they stop and pivot to face backward
- They skate backward to the next cone
- Pivot again and repeat
Coaching cues:
- "Look over your shoulder before you pivot"
- "Keep your knees bent when you go backward"
- "Push with both feet when you pivot"
Duration: 5 minutes total
Backward skating is essential for defensive positioning, and repetition builds confidence many 10-year-olds lack.
Hockey Puck Handling Drills for Kids
Once players have basic skating confidence, introduce the puck. Puck handling at this age is about control and awareness, knowing where the puck is without looking down.
Drill 3: Puck Pickup and Control
What it teaches: Players learn to scoop a loose puck and gain control of it quickly.
Setup:
- Scatter 5-6 pucks across a small area (about 30x30 feet)
- Players start in the center without sticks
How to run it:
- On the whistle, players skate to a puck and scoop it up with their stick
- They control it for 5 seconds
- On the next whistle, they leave it and find another puck
Coaching cues:
- "Cup the puck with your stick, don't stab at it"
- "Keep your eyes up, not down on the puck"
- "Move to open ice after you pick it up"
Duration: 6 minutes (3 minutes of active play, 3 minutes of rest/feedback)
Drill 4: Stickhandling in Tight Spaces
What it teaches: Players develop close puck control and learn to move the puck side-to-side without losing it.
Setup:
- Create a small box with cones (about 15x15 feet)
- Each player has a puck and a stick
How to run it:
- Players skate around inside the box, stickhandling the puck
- They practice moving the puck from forehand to backhand without losing it outside the box
- Run for 30 seconds, rest, repeat
Coaching cues:
- "Keep the puck in front of you, not behind"
- "Use your wrists, not your whole arm"
- "Stay relaxed, tension makes you lose the puck"
Duration: 6 minutes total
Tight-space stickhandling teaches players to protect the puck under pressure, a skill that transfers directly to games.
Passing, Receiving, and Shooting Fundamentals
Passing and shooting are the skills kids love to practice. Use that enthusiasm to build proper technique. Accuracy matters far more than power at this age.
Drill 5: Passing and Receiving Accuracy
What it teaches: Players learn to pass with accuracy and receive passes cleanly.
Setup:
- Partner players in pairs
- Position pairs 20-25 feet apart
- Each pair has one puck
How to run it:
- Player A passes to Player B
- Player B receives the pass and passes back immediately
- Continue for 30 seconds
- Rest and repeat
Progression (if players master the basic version):
- Add movement: players skate while passing
- Increase distance between partners
- Add a small target (cone) to pass around
Coaching cues:
- "Pass to their stick, not to their skates"
- "Follow through on your pass, your stick should point at them"
- "Cushion the puck when you receive it, don't let it bounce"
Duration: 8 minutes total (4 minutes active, 4 minutes rest/feedback)
Drill 6: Shooting and Scoring from Different Angles
What it teaches: Players practice shooting accuracy from various positions around the net, building confidence and consistency.
Setup:
- Set up a net with a goalie (or a target area if no goalie)
- Place cones at three positions: top of the circle (35 feet), slot area (20 feet), and below the goal line (behind the net)
How to run it:
- Players start at the first position with a puck, skate in and shoot
- After shooting, they move to the next position
- Continue until they've shot from all three positions, then repeat the circuit 2-3 times
Coaching cues:
- "Keep your head up before you shoot"
- "Follow through, your stick should point at the net"
- "Shoot for accuracy first, power second"
Duration: 8 minutes total
Small-Area Games for Youth Hockey
Small-area games teach positioning, decision-making, and how to apply skills under game-like pressure, where drills become real hockey.
Drill 7: Three-on-Three Game Play
What it teaches: Players learn to read space, make quick decisions, and work together in a simplified game situation.
Setup:
- Use a quarter or half of the ice (depending on available space)
- Set up a small net at each end
- Divide players into two teams of three
How to run it:
- Play 3-on-3 with normal hockey rules
- Games last 5 minutes
- Rotate teams between games
Why it works:
- More puck touches per player than full-ice hockey
- Players see scoring chances more frequently
- Defensive positioning becomes obvious when space is limited
Coaching focus:
- Watch for players who chase the puck instead of staying in position
- Praise good defensive positioning (staying between opponent and net)
- Encourage passes over individual attempts
Duration: 10-15 minutes total (including rotation time)
Building a Hockey Practice Plan for 10-Year-Olds
A solid practice plan balances skill development with game-like situations. Here's how to structure a 60-minute practice using these 7 drills.
| Section | Duration | Activity | Purpose |
|---|---|---|---|
| Warm-up | 5 min | Skating laps, light stretching | Get heart rate up, loosen muscles |
| Skating Fundamentals | 10 min | Drills 1 & 2 combined | Build edges and confidence |
| Puck Handling | 10 min | Drills 3 & 4 combined | Develop control and awareness |
| Shooting & Passing | 10 min | Drills 5 & 6 combined | Build accuracy and decision-making |
| Game Play | 15 min | Drill 7 (3-on-3) | Apply skills in game situations |
| Cool-down | 10 min | Light skating, review | Lower heart rate, reinforce learning |
Key principles for practice planning:
Start every practice with skating, it's the foundation, and players have the most energy early.
Mix individual skill work with partner and team drills. Young players learn from each other.
End with a game or game-like activity. Kids remember what they do in competitive situations.
Keep transitions short. Downtime kills momentum and engagement.
Rotate through all positions.
At-Home and Low-Equipment Alternatives
Not every player has daily ice time. These alternatives keep skills sharp between practices.
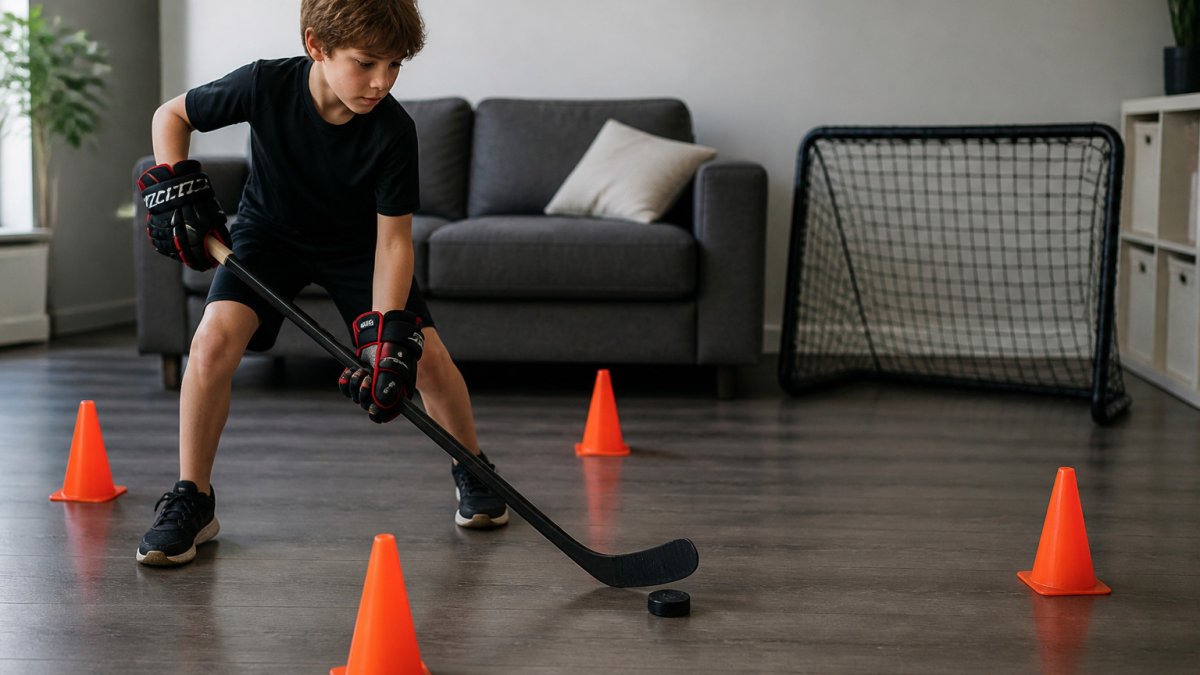
Stickhandling without ice:
- Use a smooth floor (gym, driveway) and a ball or street hockey puck
- Run Drills 3 and 4 on a flat surface to build hand-eye coordination and touch
Skating fundamentals without ice:
- Agility ladder drills improve edge work and balance; cone weaving develops the same movement patterns as ice skating
- These don't replace ice time, but they build muscle memory
Passing and shooting targets:
- Set up a small net in a garage or basement
- Practice passing accuracy against a wall
- Use a ball instead of a puck for safety
Visualization:
- Have players watch pro hockey games and describe the positioning they see: "Where are the forwards?" "Why did that player move there?"
- Mental practice reinforces what they learn on the ice
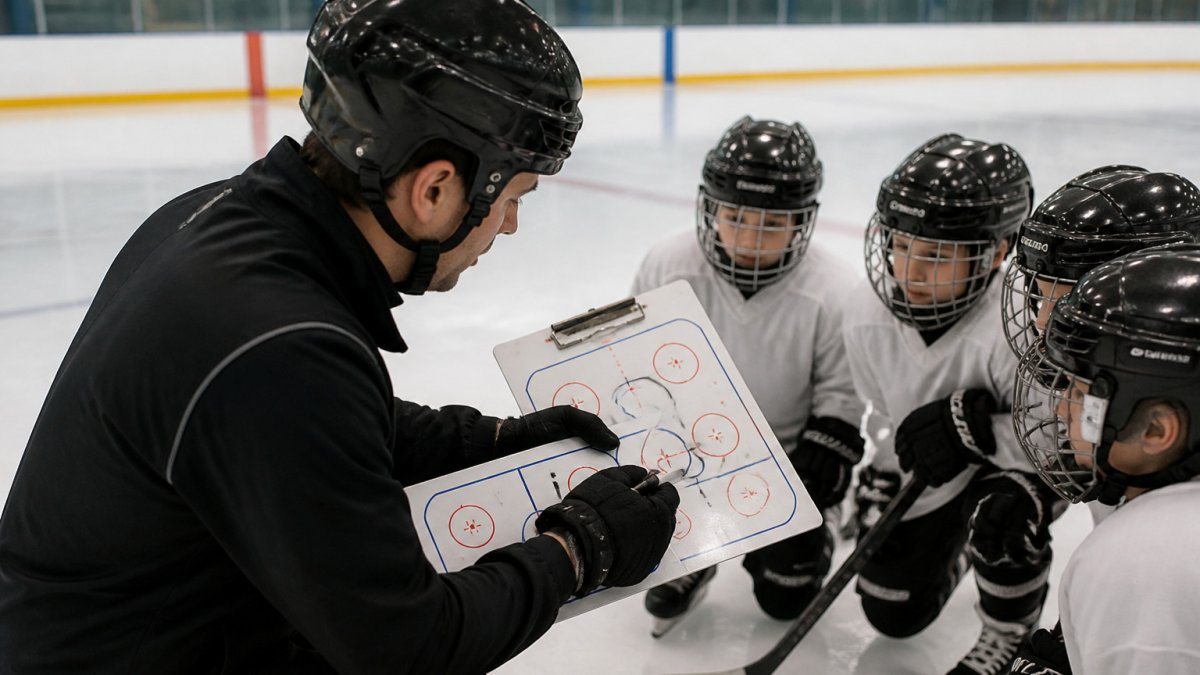
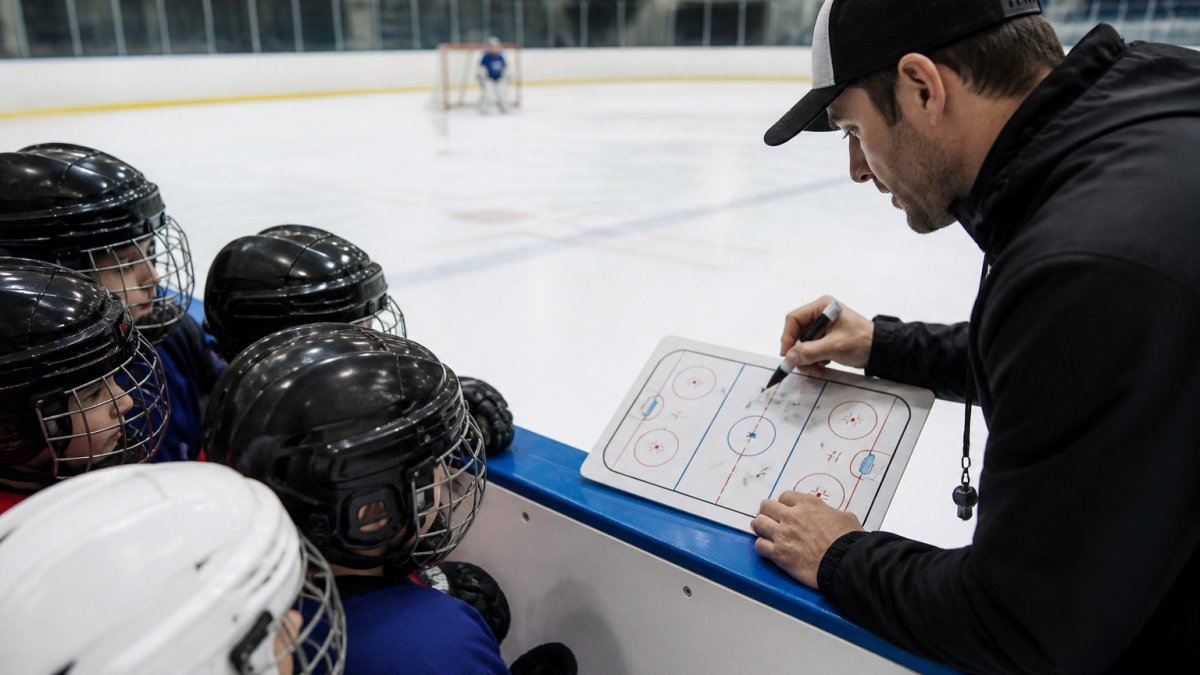
The app shows exactly where players should be positioned in different game scenarios, accelerating learning between practices.
Safety, Supervision, and Equipment Guidance
Safety comes first. Proper equipment and supervision prevent injuries and build confidence.
Essential equipment for 10-year-olds:
- Well-fitting helmet with cage (non-negotiable)
- Shoulder pads and elbow pads
- Hockey gloves
Supervision during practice:
- Always have a certified coach or responsible adult present
- Keep a first aid kit on the bench and know the nearest medical facility
- Establish clear, age-appropriate rules about checking and contact
Common injuries to watch for:
- Ankle sprains from improper skate fit
- Wrist injuries from falls
- Shoulder injuries from contact
Preventing injuries:
- Check equipment fit before every season
- Start practices with a 5-minute warm-up
- Teach proper falling technique (slide on hip, not on wrist)
Hydration and rest:
- Water breaks every 10-15 minutes
- Don't push players through visible fatigue
- Monitor for overuse injuries; young players shouldn't play year-round without breaks
Conclusion
These 7 best hockey drills for 10 year olds build the skating, puck handling, and positioning skills that form the foundation for everything else. Start with skating fundamentals, progress to puck work, and finish every practice with game-like situations.
The key is consistency and proper progression. Rushing through drills or skipping fundamentals creates gaps that get harder to fix later.
Get started with Hockey Positioning™ to help your young players visualize where they should be on the ice during power plays, penalty kills, and game scenarios. The app's interactive ice surface and pro coaching tips at every puck location make positional play visual, fun, and easy to understand, giving young athletes the competitive edge they need to play with confidence and stop chasing the puck.
Frequently Asked Questions
How long should each hockey drill last for 10-year-olds?
Most hockey drills for this age group work best in 5-10 minute blocks. Younger players have shorter attention spans, so rotating between different drills keeps practice engaging. A typical practice session includes a 5-10 minute warm-up, 3-4 drills of 8-10 minutes each, and a small-area game to finish. Coaches should use a whistle to signal transitions and keep the pace moving.
What's the difference between drills with pucks and without pucks?
Drills without pucks focus on pure skating fundamentals: edge work, balance, pivot turns, and body positioning. Drills with pucks add stickhandling, puck control, and decision-making. For 10-year-olds, start with puck-free drills to build confidence on skates, then introduce the puck once balance and edge work improve. This progression prevents frustration and builds a solid foundation.
Can my child practice these hockey drills at home?
Yes. Skating drills require ice, but stickhandling and puck control drills can be adapted at home using a street hockey ball or plastic puck on pavement or concrete. Edge work and balance drills can be practiced off-ice using balance exercises and agility ladder work. Small-area games need ice or a rink, but you can simulate passing and shooting mechanics in a driveway or gym with modified equipment.
Will these hockey drills help my child stop chasing the puck?
These drills build the skating speed, puck control, and awareness needed to stay positioned, but they don't directly teach where to be on the ice. That's where positioning training comes in. Apps like Hockey Positioning™ show players exactly where to move for every game scenario, forwards, defense, power plays, and penalty kills, so they understand positioning while they build the skills these drills develop.