 how-to
How to Teach Hockey Positioning Visually
Table of Contents
- Why Visual Teaching Works for Hockey Positioning
- What You'll Need Before You Start Teaching
- Step 1: Use Visual Cues and Markers to Anchor Positions
- Step 2: Build Hockey Positioning Diagrams That Players Can Read
- Step 3: Run Hockey Positioning Drills for Beginners
- Step 4: Teach Hockey Power Play Positioning Visually
- Step 5: How to Improve Hockey IQ at Home
- Common Mistakes When Teaching Positioning Visually
- Frequently Asked Questions
Last Updated: October 7, 2026
Why Visual Teaching Works for Hockey Positioning
Most young players don't struggle with hockey positioning because they aren't trying. They struggle because nobody has shown them what "the right spot" actually looks like.
Here's why it works. Kids process pictures faster than words. A coach shouting "get to the slot" means nothing to a seven-year-old.
The research backs up the visual approach. USA Hockey's American Development Model emphasizes age-appropriate, station-based teaching that lets young players see and repeat skills rather than absorb long verbal explanations.
How Kids Learn Positions Differently Than Adults
Adults can hold a mental map in their heads. Tell a grown beginner "cover the point on the weak side" and they can picture it.
Children can't do that yet. Their brains are still building spatial awareness, so they need something physical to look at. That means:
- Colored markers on the ice
- Coaches standing in the target spot
- Simple diagrams they can point to
- Repetition with the same visual each time
What You'll Need Before You Start Teaching
You don't need much to teach positioning visually. A few cheap tools do more than any whiteboard lecture.
Gather these before your first session:
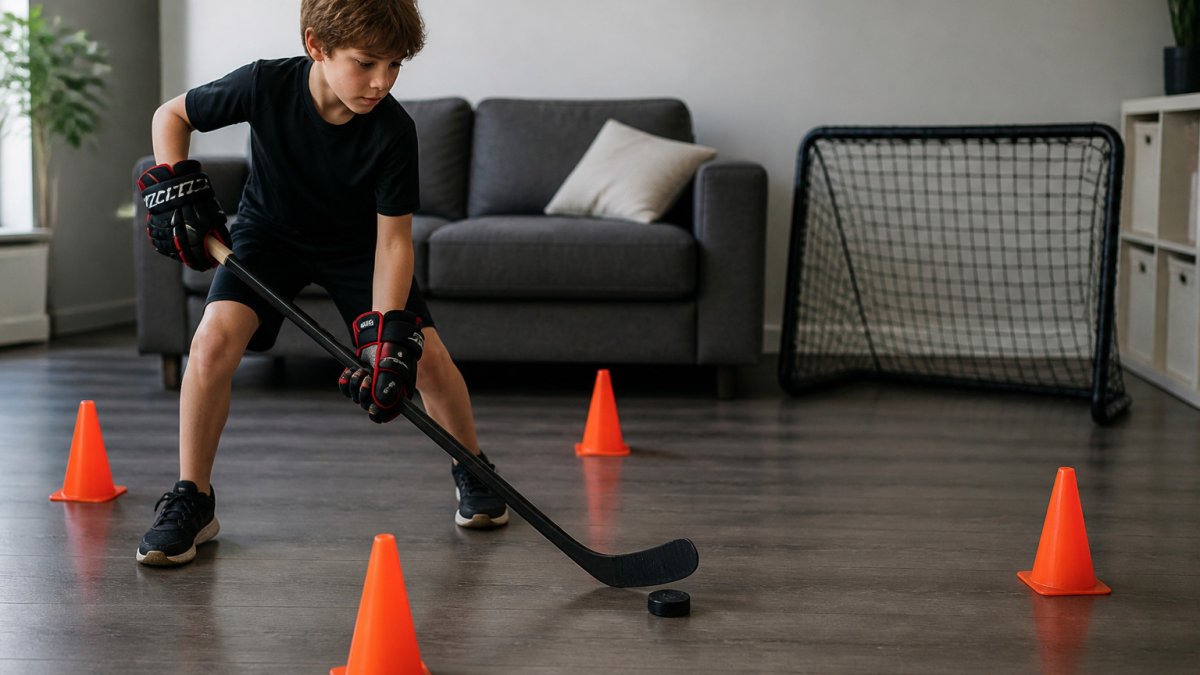
- Cones or pucks to mark positions on the ice
- Spray paint or chalk for rink lines and dots
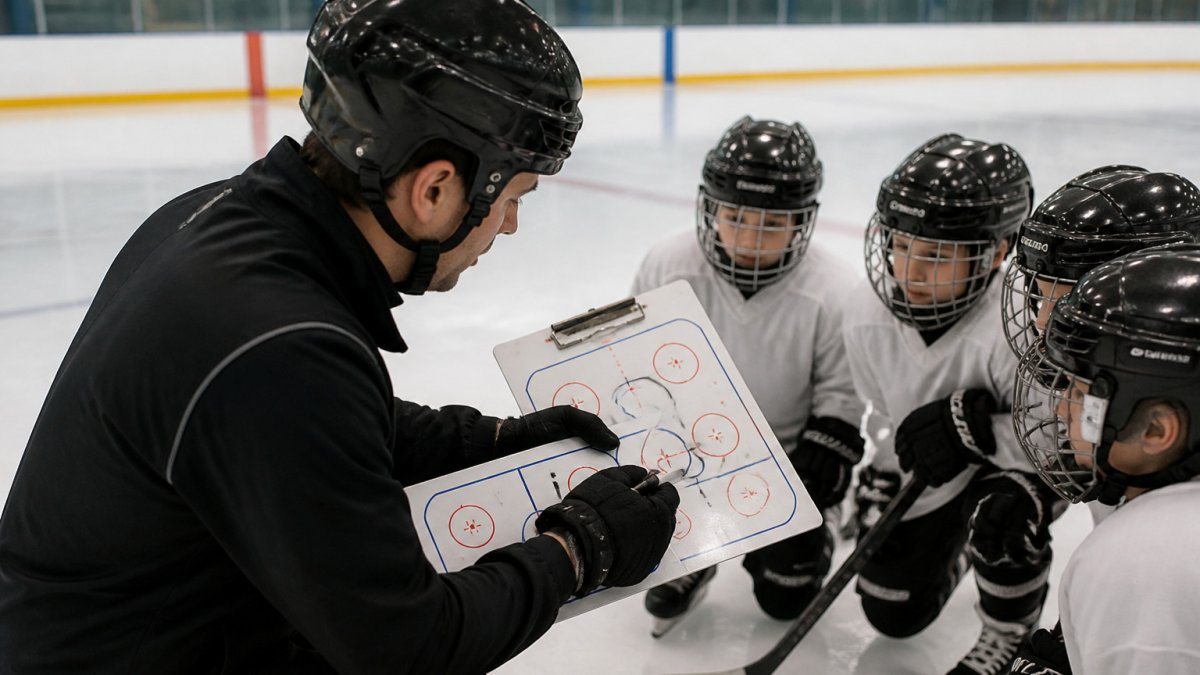
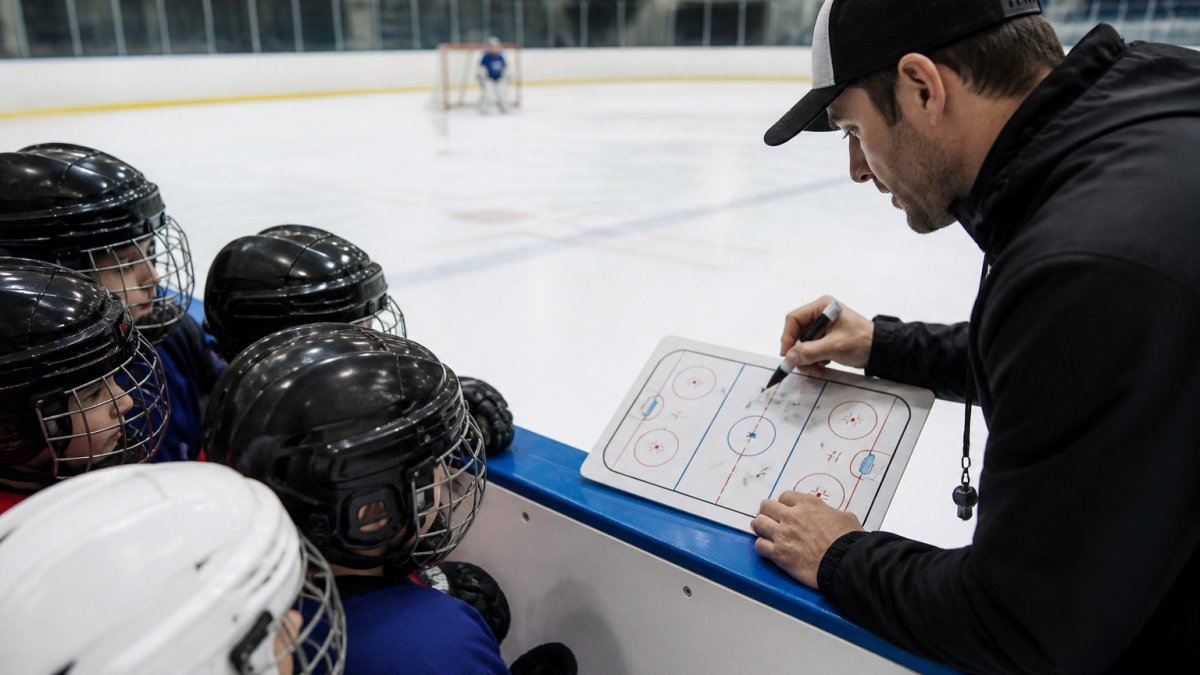
- A whiteboard or tablet for pre-practice walk-throughs
- Printed diagrams players can take home
- An interactive app for between-practice reps
The last one matters more than most parents expect. We'll come back to it.
Step 1: Use Visual Cues and Markers to Anchor Positions
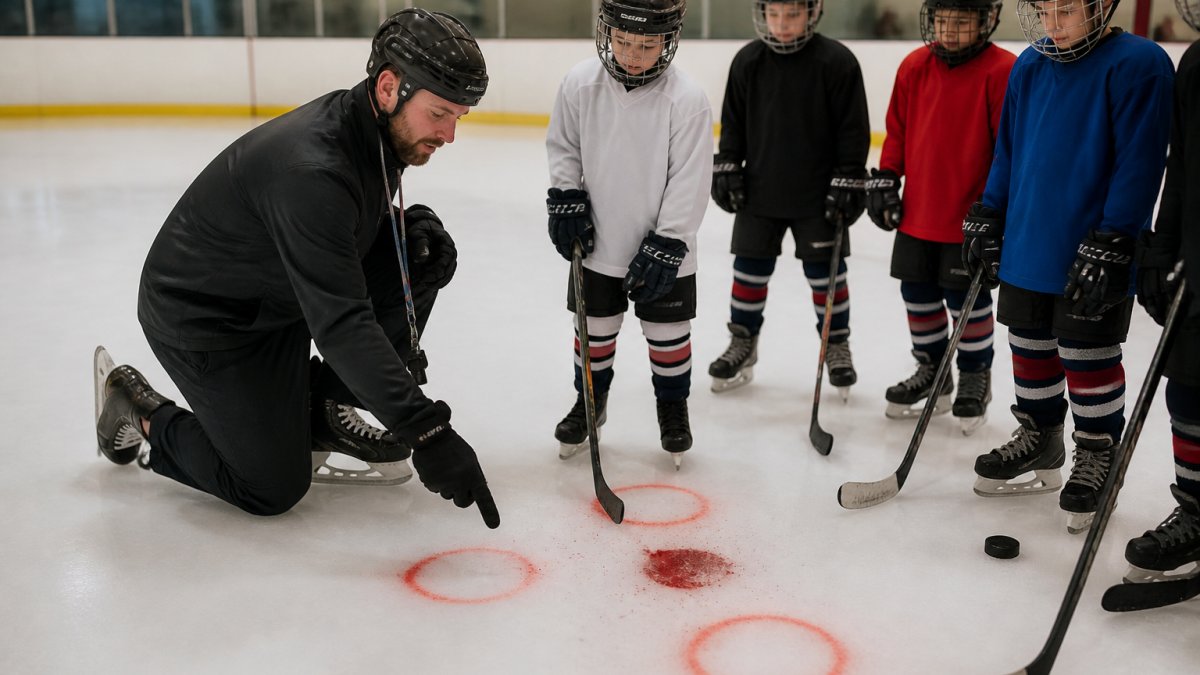
Start with the ice itself. Mark a dot for each position and leave it there for the whole session. Players skate to the dot, stop, and look around. Repeat until the spot feels normal.
The goal is simple: connect a physical place on the rink to a job on the ice.
Rink Lines, Spray-Painted Marks, and Visual Targets
Rink lines already give you free reference points. The blue lines, red line, and faceoff circles are built-in visual cues for hockey positioning.
Use them like this:
- "Defensemen, stay between the goal line and the top of the circles."
- "Wingers, line up on the boards at the hash marks."
- "Center, you own the middle lane between the dots."
Then add your own marks. A spray-painted X at the net-front tells your player exactly where to park. A dashed line shows the breakout path.
Step 2: Build Hockey Positioning Diagrams That Players Can Read
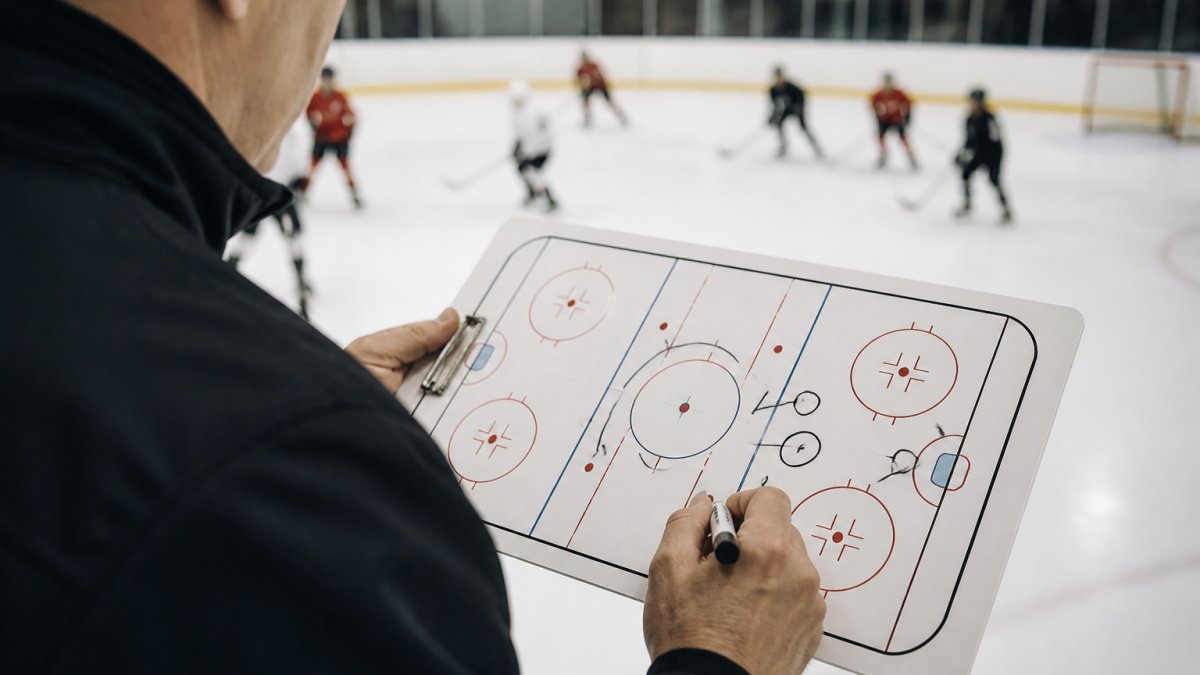
A good diagram shows one thing clearly. A bad one shows everything at once. But the biggest gap in most coaching resources is that they show isolated positions, a goalie here, a defender there, without ever giving you a coordinated set of diagrams for all six skaters and the goalie in the same system.
The Six-Skater + Goalie Diagram Set
Build one master diagram per zone, defensive zone, neutral zone, offensive zone, and label every position on it. Use the same jersey colors, the same dot shapes, and the same arrow style across all three so players recognize the language instantly.
Here is the labeling convention that works for youth teams:
- LD / RD, left and right defenseman, marked as squares
- LW / RW, left and right wing, marked as triangles
- C, center, marked as a circle
- G, goalie, marked as a star
- Puck, a small filled dot, always a different color
On the defensive-zone diagram, show the five skaters in a box-plus-one: two defensemen low in front of the net, two wingers at the top of the circles, center high in the slot. The goalie star sits in the crease with a short arrow showing the near post.
Scaling Diagrams to Rink Dimensions
For a full breakdown of how each position fits together, the NHL's official rules and rink dimensions give you the exact measurements to scale your diagrams correctly. An NHL rink is 200 feet by 85 feet; a standard youth rink is often 200 by 85 as well, but many learn-to-skate rinks are 100 by 50. If you draw on a standard sheet of paper, use a 2:1 ratio so the proportions look right to players.
One Scenario Per Page
Keep your hockey positioning diagrams simple:
- One scenario per page
- Big, labeled dots for each player
- Arrows only where movement matters
- Jersey colors that match your team
Printable and Reusable Coaching Resources
Make your diagrams reusable. Print a blank rink template on cardstock and laminate it so coaches can draw with dry-erase markers at the rink. Create a set of practice cards, one card per scenario, that you can hand to an assistant coach or a parent volunteer.
For players, print a half-page diagram they can keep in their gear bag. The physical copy matters: a player who sees the same diagram before every practice builds a stronger mental map than one who only hears the coach describe it.
Step 3: Run Hockey Positioning Drills for Beginners
Drills turn a diagram into a habit. Run them slowly first, then add speed.
Try these hockey positioning drills for beginners:
- Dot-to-dot skating. Players skate to their marked position on command.
- Freeze tag positioning. Whistle blows, everyone finds their spot.
- Two-on-one reads. One defender, two attackers, defender holds the middle.
- Net-front battle. One player clears the front, one tries to screen.
Walk-Through Drills Before On-Ice Practice
Do a dry run off the ice first. Walk players through each spot in socks or shoes. Point at the diagram, then point at the floor. This builds the mental map before skates ever touch ice.
Step 4: Teach Hockey Power Play Positioning Visually
Power play positioning confuses beginners because the ice looks open. Show them the shape instead.
Set up your markers like this:
- Umbrella: one at the point, two at the half-walls, two low
- Overload: three players stacked on one side
- 1-3-1: one high, three across the middle, one low
Walk through each setup with cones first. Then let players drag a puck around a screen to see how the shape shifts.
Step 5: How to Improve Hockey IQ at Home
Positioning doesn't improve only at the rink.
To improve hockey IQ at home, players need to see the game, not just play it:
- Watch a period and pause to ask "where should the winger be?"
- Trace player movement with a finger on a screen
- Use a positioning app for ten minutes a day
- Draw one scenario from memory after each game
Kids who study position off the ice start reading the play on it.
Common Mistakes When Teaching Positioning Visually
Even good coaches trip on the same few errors. Watch for these.
- Too many cues at once. One new visual per session.
- Talking over the diagram. Let the picture do the work.
- Never removing the markers. Fade the dots as players improve.
- Skipping the why. Tell players what the position protects.
- No home follow-up. Skills fade without repetition.
The biggest mistake is treating positioning as a one-time lesson. It's a habit you build, week after week.
How to Assess Whether Players Actually Understand Positioning
Drill participation is not the same as understanding. A player can skate to the right dot and still have no idea why they are there.
Scenario questions off the ice. Before practice, show a diagram and ask: "The puck is in the corner.
Freeze-and-point on the ice. Blow the whistle mid-drill and ask every player to point to where they should be if the puck moved to a different spot.
Remove the markers. Take away the spray-painted dots for one practice and see who still finds the right spot.
Common Positioning Mistakes and Visual Corrections
When players do drift, correct with a visual, not a lecture.
- Too much gap between defense partners. Show them a diagram with the correct spacing, usually about a stick length apart, and have them skate it.
- Wingers collapsing too low. Mark the top of the circles with a cone and tell them that is their ceiling unless the puck is below the goal line.
- Center chasing the puck. Draw the middle lane on the ice with spray paint and have the center skate it without crossing the lines.
- Goalie drifting off the post. Put a small marker at each post and have the goalie touch it with a skate blade during warmups.
- No scanning. Call out "head up" every few seconds during a drill until players build the habit of looking before they receive.
Adapting Visual Instruction for Different Learning Needs
Not every player processes a diagram the same way. Some need to see it, some need to walk it, and some need to hear it while they do it.
- Visual learners, give them the printed diagram and let them study it before practice.
- Kinesthetic learners, have them walk the position in socks on the locker room floor before stepping on the ice.
- Auditory learners, pair every diagram with a short verbal cue they can repeat to themselves.
Combine all three in every station: show the diagram, walk the spot, say the cue. Repetition across modes is what makes positioning stick for the whole team, not just the players who happen to learn the way you teach.
Frequently Asked Questions
How do you teach hockey positioning to beginners?
Start with visual anchors before adding movement. Show players where to stand using rink lines, spray-painted markers, or cones, then walk through each position slowly before adding a puck. For kids aged 5-13, interactive tools that let them drag a puck and watch players move into position make the connection between the visual cue and the physical action much faster than verbal instructions alone. Repeat the same scenarios across multiple practices so pattern recognition builds gradually.
How can visual aids help players understand hockey positioning?
Visual aids turn abstract spatial concepts into something players can see and copy. Rink lines, spray-painted marks, and interactive ice surfaces give players a reference point for where they should be relative to the puck, their teammates, and the net. When a player can see the correct position instead of just hearing about it, they build hockey sense faster and start recognizing situations during live play rather than reacting late.
What are simple hockey positioning drills for young players?
Try three drills: first, a walk-through where players skate to marked spots on the ice without a puck; second, a half-speed drill where a coach moves the puck and players shift to the correct position; third, a small-area game where players must stay in their zone or lane. Keep each drill under five minutes and repeat the same scenarios weekly. Consistency matters more than variety for players under 10.
How can parents help kids improve hockey IQ at home?
Parents can reinforce positioning away from the rink using interactive apps that show player movement on a virtual ice surface. Ten to fifteen minutes a few times a week is enough. Ask your child to explain why a player moves to a certain spot, not just where. This verbal reasoning builds the same pattern recognition they need during games, and it works without ice time, equipment, or a coach present.
Teaching positioning is hard when every player learns at a different speed. Hockey Positioning™ makes it easier with an interactive ice surface where players drag the puck and watch every skater move to the right spot. It includes pro coaching tips at each location, full coverage of power plays and penalty kills, and a design built for ages 5-13 and adults new to the game. Download Hockey Positioning™ on the App Store and give your player the visual edge that ends puck-chasing for good.