 how-to
Teach Hockey Positioning to 8-Year-Olds: A Step-by-Step Guide
Table of Contents
- Why Hockey Positioning Matters at Age 8
- Fundamental Skills Before Positioning: Balance, Edges, and Head-Up Posture
- Youth Hockey Positions Explained for Beginners
- Hockey Positioning Drills for 8U: Practical On-Ice Exercises
- Building an 8U Hockey Practice Plan for Positioning
- How to Improve Hockey IQ at Home
- Common Positioning Mistakes and How to Correct Them
- Assessing Progress and Giving Effective Feedback
- Frequently Asked Questions
Last Updated: October 12, 2026
Why Hockey Positioning Matters at Age 8
At age 8, most young players chase the puck wherever it goes. That's natural, but it's the biggest hurdle to developing real hockey IQ.
Positioning isn't about rigid rules. It's about knowing where to be so your team controls the game. Learned early, it builds confidence and smarter decisions.
The challenge is teaching it so 8-year-olds understand. Young players learn through movement and repetition, not lectures, and need to see the link between where they stand and what happens next.
This guide covers what coaches and parents need to teach hockey positioning to 8-year-olds: fundamental skills, positioning concepts, and practical drills for practice or home.
Fundamental Skills Before Positioning: Balance, Edges, and Head-Up Posture
You can't teach positioning without three foundations: balance, edge control, and head-up awareness. Without them, positioning instruction falls flat.
Skating Fundamentals and Stability
The best position in the world doesn't matter if a player falls every time they change direction.
Focus on these core elements:
- Knees bent at all times. This is the single most important cue. Bent knees = balance. Straight legs = falling.
- Shoulders over knees. When shoulders lean forward, the skater tips. Keep the upper body centered.
- Weight on the balls of the feet. This gives control. Heels are for standing still.
- Stick on the ice. A stick on the ice is a third point of contact. It helps with balance.
Practice these on a small section of ice before worrying about positioning. Spend 5-10 minutes per practice on balance work using forward crossovers, backward skating, stopping, and transitions.
A common mistake is moving to positioning too fast. If a player can't stop or turn smoothly, positioning drills confuse them, they focus on not falling instead of where to be.
Head-Up Awareness and Puck Tracking
Head-up posture bridges skating fundamentals and positioning. It lets players see the ice while moving.
Most 8-year-olds skate with their heads down, watching their skates. It's normal but a habit to break early. Players who keep their heads up see passing lanes, open teammates, and defensive pressure coming.
Teach head-up awareness through simple drills:
- Skating with eyes up. Skate forward while looking straight ahead. Call out colors or numbers on signs. Make it a game.
- Puck tracking while moving. Skate in a circle while following a puck in the center. Keep the head level. Eyes track the puck, not the skates.
- Passing and receiving with vision. Pass to a teammate while watching another teammate. This forces the eyes to move between players.
What matters most: players must see the puck and their teammates at the same time. This puck awareness is the foundation of hockey positioning. Without it, a player might be in the right spot but not know it.
Use these cues constantly:
- "Head up!"
- "Watch the puck."
- "See your teammate."
After a few weeks, head-up skating becomes automatic.
Youth Hockey Positions Explained for Beginners
At age 8, positions are simple. There are five players on the ice: three forwards and two defensemen. Each has a basic job.
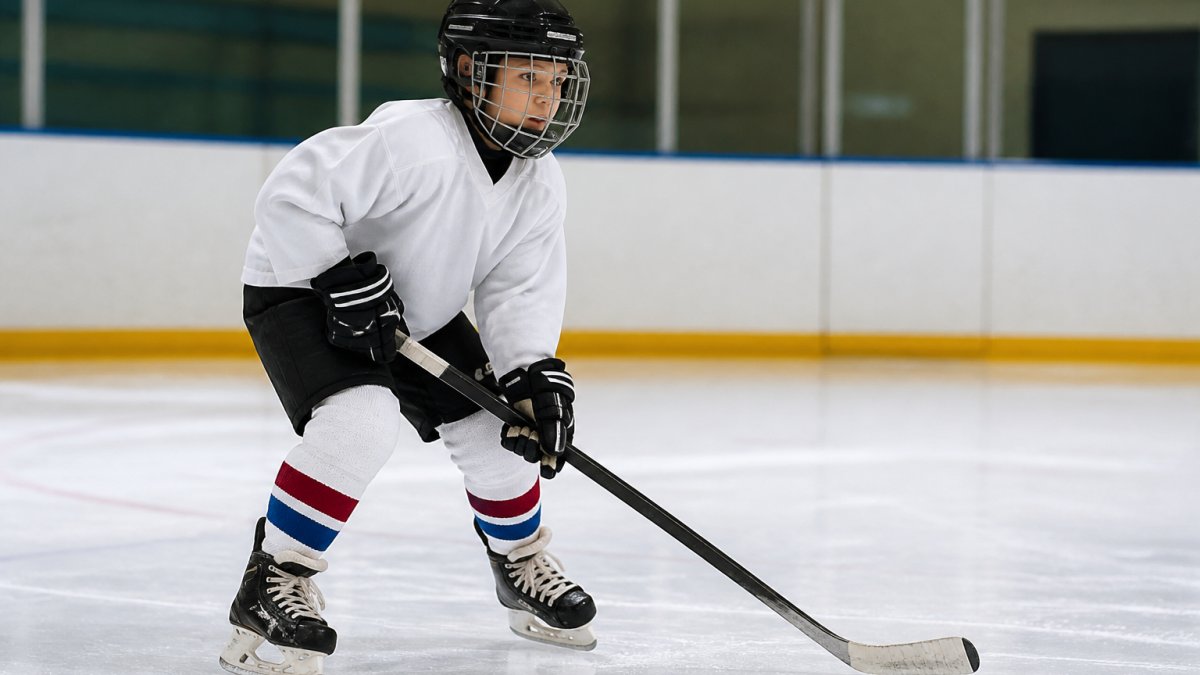
The Three Forwards: Centre, Left Wing, Right Wing
The centre plays the middle, supporting both wings and moving to open ice, reading where the puck is likely to go next.
The left wing plays the left side and the right wing the right side. Wings support the centre, take passes in scoring areas, and track back to help defense.
For 8-year-olds, keep it simple:
- Centre: Stay in the middle. Support the puck carrier.
- Left wing: Play on the left. Be ready to receive a pass.
- Right wing: Play on the right. Be ready to receive a pass.
The real skill is knowing when to move toward the puck and when to move away. This is supporting the puck carrier: if your teammate has the puck, move to open ice where they can pass to you. Don't stand still.
The Two Defensemen: Left and Right Defence
Defensemen protect the area in front of the goalie. The left defenseman plays the left side and the right defenseman the right side.
For young players, the job is simple: stay between the puck and the goalie. When the other team has the puck, position yourself to stop them; when your team has it, move up to support the forwards.
A common mistake is playing too far back. Young defensemen often stand near the goalie, leaving too much space in the middle.
Use this cue: "Move with the puck. When we have it, move forward. When they have it, move back."
Hockey Positioning Drills for 8U: Practical On-Ice Exercises
Drills teach positioning faster than explanation. Here are the most effective drills for 8-year-olds.
Small-Area Positioning Games
Small-area games force quick positioning decisions and are the best way to build hockey IQ at this age.
Set up a small zone (about 40 feet by 30 feet). Play 3-on-3 or 4-on-4, no checking, keeping the puck in the zone by passing and moving.
Coaching cues during the game:
- "Move to open ice when your teammate has the puck."
- "Stay between the puck and the goal when the other team has it."
- "Pass to the open player."
This game teaches positioning because players make real decisions, learning where to be by playing rather than standing in line.
Run it 5-10 minutes per practice. Smaller areas mean more touches and faster decisions; larger areas mean more skating and space to find.
Support-the-Puck-Carrier Drill
This drill teaches the most important positioning concept: being ready to receive a pass.
Set up three cones in a line, about 20 feet apart. One player starts with the puck at the first cone; two others stand at the second and third.
The puck carrier skates toward one player, who moves to open ice. The carrier passes, and the receiver skates to the next cone and repeats.
This drill teaches:
- How to move away from the puck carrier to create space
- How to receive a pass while moving
- How to transition quickly from receiving to passing
Run this drill in groups of three. Each player takes a turn as the puck carrier. Do it for 2-3 minutes, then rotate groups.
Open-Ice Movement and Spacing
Players need to understand how far apart to stand. Too close means no passing lanes; too far means no support.
On full or half ice, play 3-on-3 with no checking. The rule: stay at least 15 feet apart, or you're offside.
This forces spacing, teaching players to move away from teammates to create passing lanes and buy time to think.
After 5 minutes, add a second rule: players must move continuously. No standing still. This teaches dynamic positioning. Players learn to keep moving even when they don't have the puck.
Building an 8U Hockey Practice Plan for Positioning
A good practice teaches positioning step by step. Here's how to structure it.
Sample 45-Minute Practice Structure
Warm-up (5 minutes): Skating drills. Focus on knees bent and head up. Do forward skating, backward skating, and stops.
Skill work (10 minutes): Balance and edge control. Use small skating circuits. Cones, crossovers, transitions.
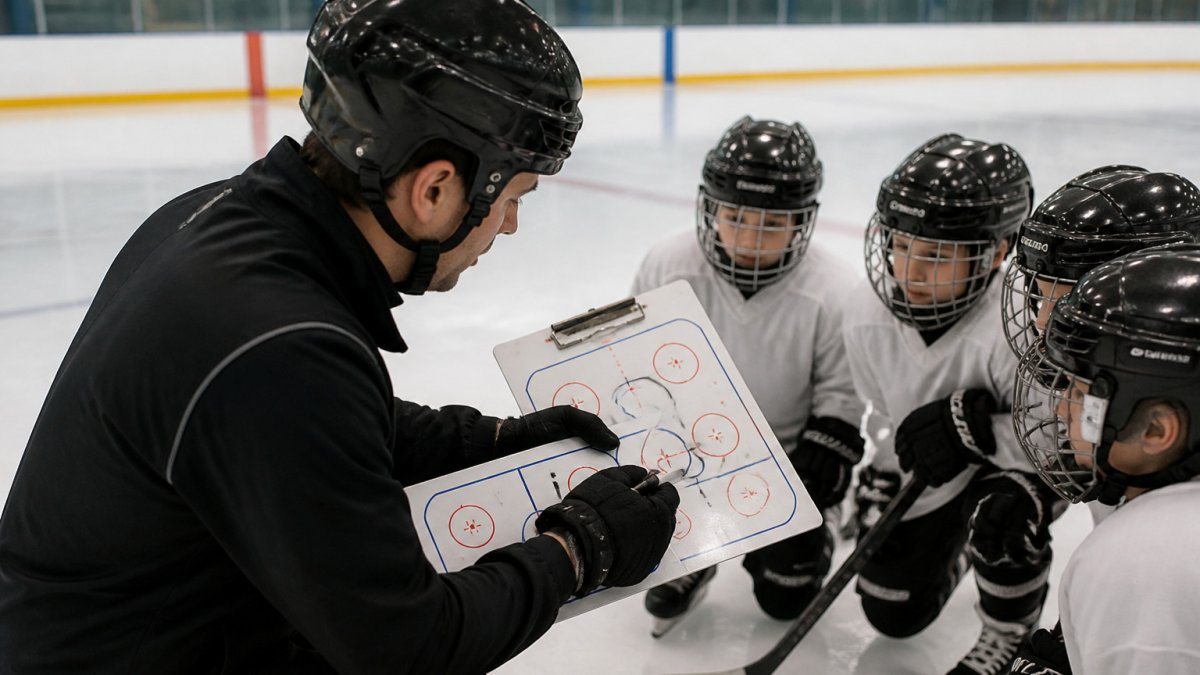
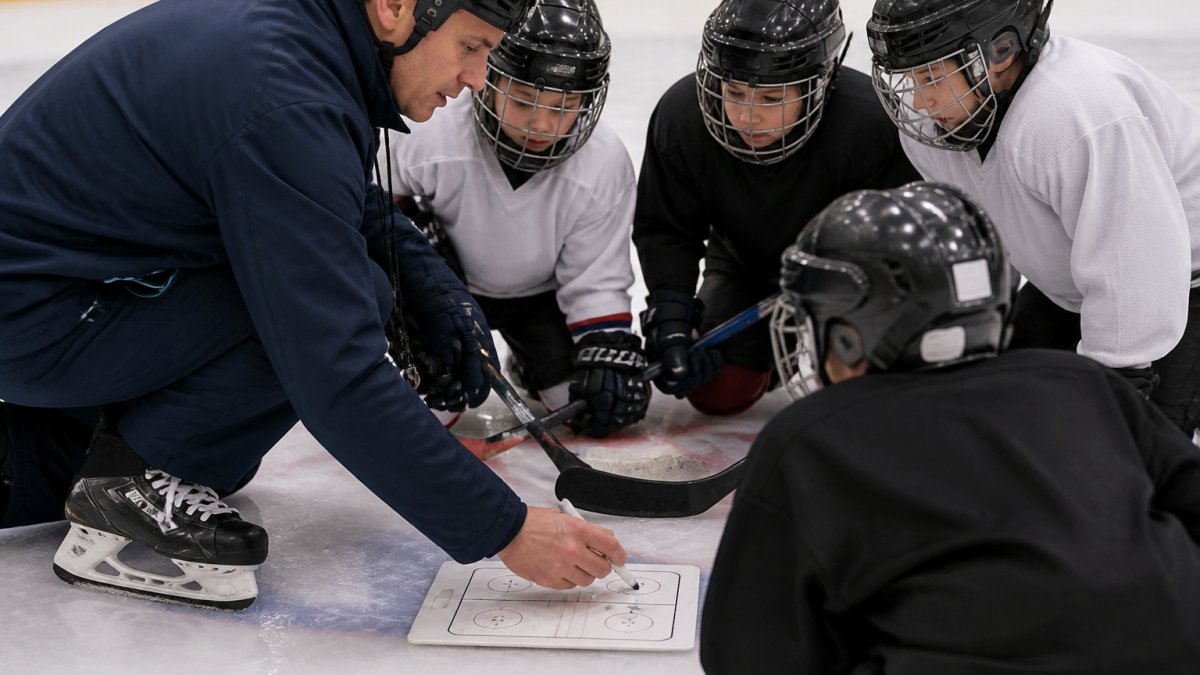
Positioning teaching (15 minutes): Introduce one positioning concept. Show it. Have players practice it in a small-area game. Keep it simple. One concept per practice.
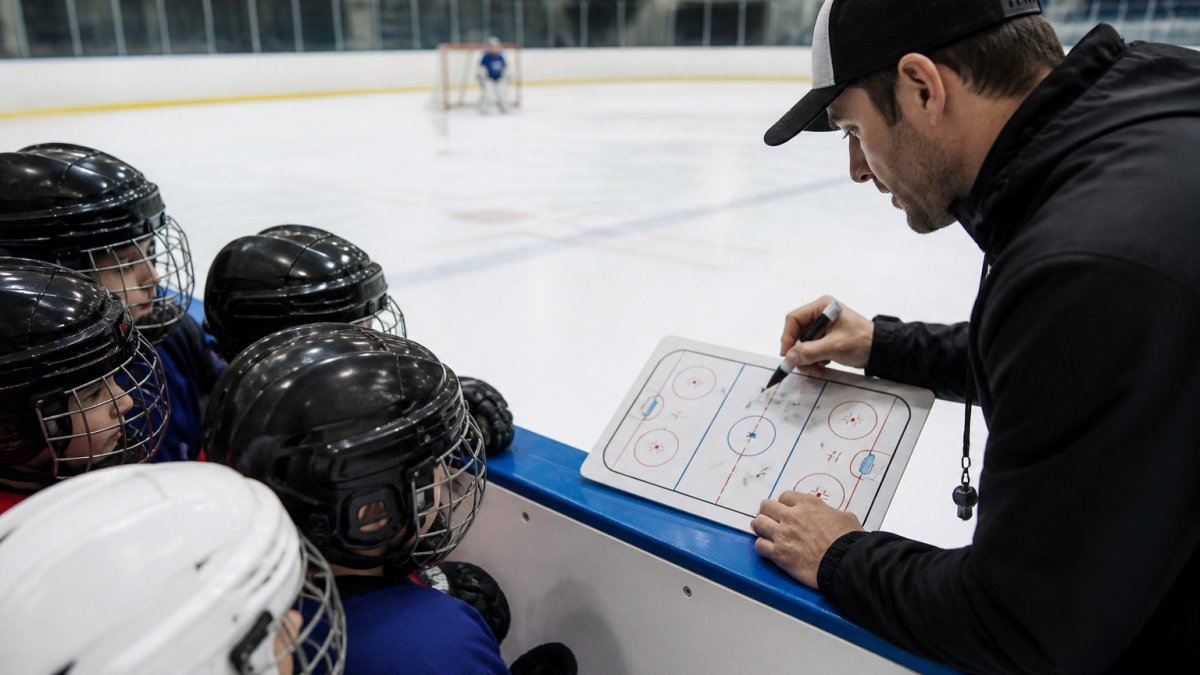
Game situation (10 minutes): 3-on-3 or 4-on-4 with no checking. Players apply what they just learned. Coach from the sideline. Give feedback.
Cool-down (5 minutes): Light skating. Stretch.
This balances teaching and playing. Young players learn positioning through repetition and game-like situations, not lectures.
Progressive Teaching: From Basics to Game Scenarios
Start simple. Add complexity over weeks.
Week 1-2: Teach support-the-puck-carrier. Players learn to move away from the puck carrier to create passing lanes.
Week 3-4: Add spacing. Players learn to stay far enough apart to pass but close enough to support.
Week 5-6: Add positioning by role. Forwards support from different spots. Defensemen track back.
Week 7-8: Add game situations. Power plays, penalty kills, transitions.
This progression builds confidence: players master one skill before the next and see weekly improvement.
A tool like Hockey Positioning™ speeds this up. Because it's visual and interactive, players see positioning concepts instantly, dragging the puck across the ice and watching where every player should move makes abstract concepts concrete.
How to Improve Hockey IQ at Home
Parents can reinforce positioning at home without ice.
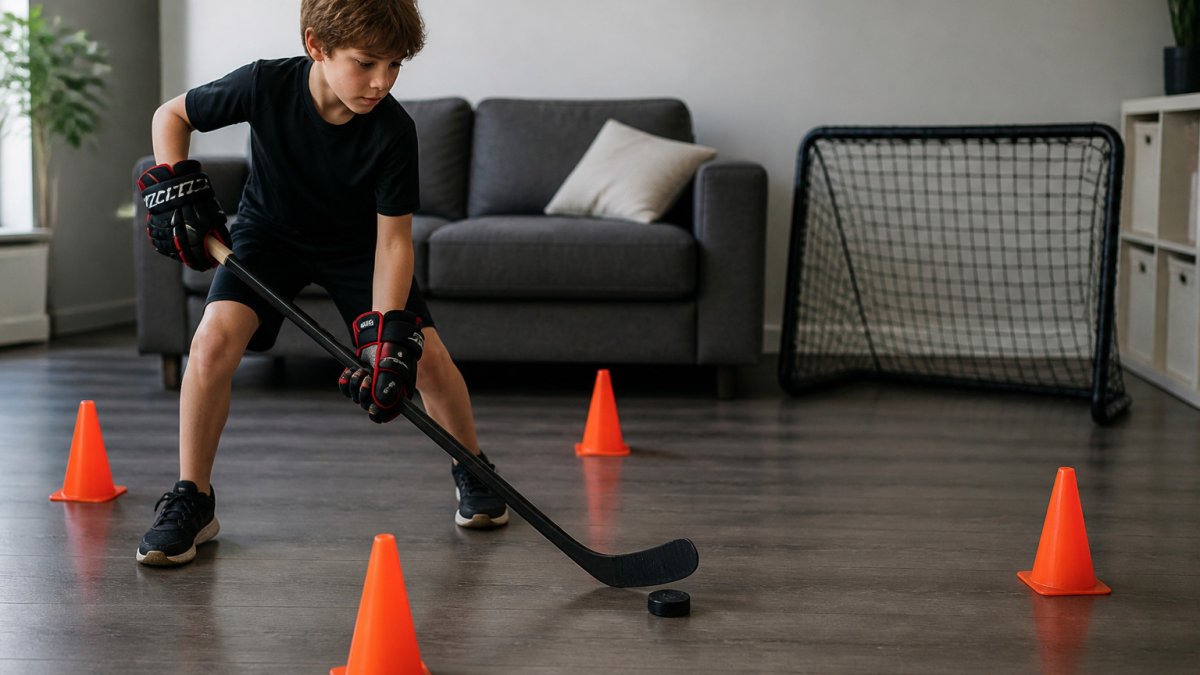
Use video: watch games together, pause, and ask "Where should this player move next?" Use a floor or driveway with cones or tape lines, having your child move around the "ice" while you move a toy puck. Talk about positioning during car rides: "If your teammate has the puck on the left side, where should you be?"
Interactive tools help too. Hockey Positioning™ lets kids drag the puck and see players move into position, like having a coach on your phone.
The goal is hockey IQ: understanding the game, not just playing it. Kids who think about positioning play better and enjoy it more.
Common Positioning Mistakes and How to Correct Them
Most young players make the same mistakes. Knowing them helps you coach better.
Mistake 1: Chasing the puck. Teammates must move too, away from the puck carrier to create space.
Mistake 2: Standing still. Young players often wait in one spot for the puck. Good positioning requires constant movement.
Fix: Cue: "Spread out." Use drills that reward spacing, like small-area games with spacing rules.
Mistake 4: Not tracking back. Forwards forget to help defense, leaving the goalie exposed.
Mistake 5: Losing sight of the puck. Players with heads down miss passing opportunities and defensive pressure.
Fix: Cue: "Head up." Practice head-up skating drills and reward players who watch the puck and their teammates.
Assessing Progress and Giving Effective Feedback
Good feedback helps players improve. Here's how to assess and coach effectively.
Watch for these signs of progress:
- Players keep their heads up while skating
- Players move to open ice without being told
- Players pass instead of always shooting
- Players track back to help defense
- Players make decisions faster
Give specific praise: "Great job moving to open ice.
Avoid vague feedback like "Good job" or "Try harder." Kids don't know what to improve.
Focus on one thing at a time.
Use video if possible. Watching practice together helps players see their own positioning and understand feedback better.
Progress takes time. Most 8-year-olds need 8-12 weeks of consistent coaching to build solid positioning habits. Be patient and celebrate small improvements.
Teaching hockey positioning to 8-year-olds is one of the most impactful things a coach or parent can do.
Hockey Positioning™ makes this easier.
Frequently Asked Questions
How do you teach hockey positioning to an 8-year-old?
Start with skating fundamentals and balance before introducing positional concepts. Use simple, game-like drills in small areas where players can see the puck and make decisions together. Demonstrate correct positioning, use clear verbal cues (e.g., 'stay wide,' 'support the puck'), and practice positioning in controlled scrimmages. Repetition and encouragement build understanding. Interactive tools like Hockey Positioning™ make this visual and engaging, helping young players see where they should be on the ice.
What are simple hockey positioning drills for 8U players?
Effective 8U drills include: support-the-puck-carrier (two forwards follow the puck and pass), small-area games (3-on-3 in a confined zone to emphasize spacing), and open-ice movement (skate to open space, receive a pass). Keep drills short (5-10 minutes each), game-like, and fun. Avoid overly rigid systems; let players move and make decisions. These drills build spatial awareness and puck tracking, core skills for positioning at this age.
Should 8-year-old hockey players have set positions?
At age 8, players benefit from learning basic positional concepts (forward vs. defenseman, general responsibilities) without rigid specialization. Rotation and flexibility are important; let players try different positions to develop well-rounded skills. Focus on understanding where to go and why (supporting teammates, taking up ice) rather than locking players into one role. This builds hockey IQ and keeps the game enjoyable while teaching spatial awareness and decision-making.
How can parents help a child improve hockey IQ at home?
Use interactive tools like Hockey Positioning™ to show your child positioning scenarios visually. Watch age-appropriate hockey games together and discuss where players move and why. Play street hockey or floor hockey to practice decision-making in a simplified setting. Ask your child questions during games: 'Where should the forward go?' or 'Why did that player move there?' This reinforces reading the play and builds confidence. Consistent, encouraging practice at home strengthens what they learn on the ice.